IGEL Customer Portal is the doorway to IGEL product-related services. Registering your company account here is the first step to using IGEL products. After registration, you can also use the IGEL Customer Portal to submit and manage support cases.
Registering for the IGEL Customer Portal
To register for the IGEL Customer Portal:
-
Open the IGEL Customer Portal and click Register in the upper right corner of the menu bar:
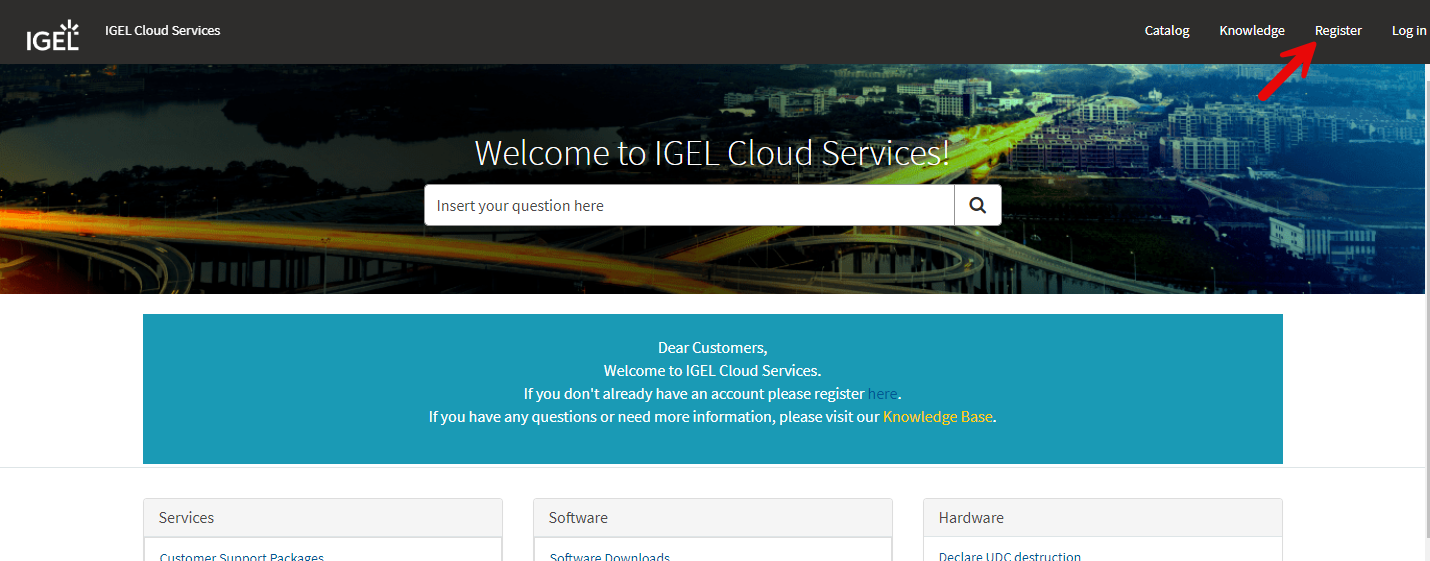
The IGEL Customer & Account Registration form opens.
-
Enter your user data.
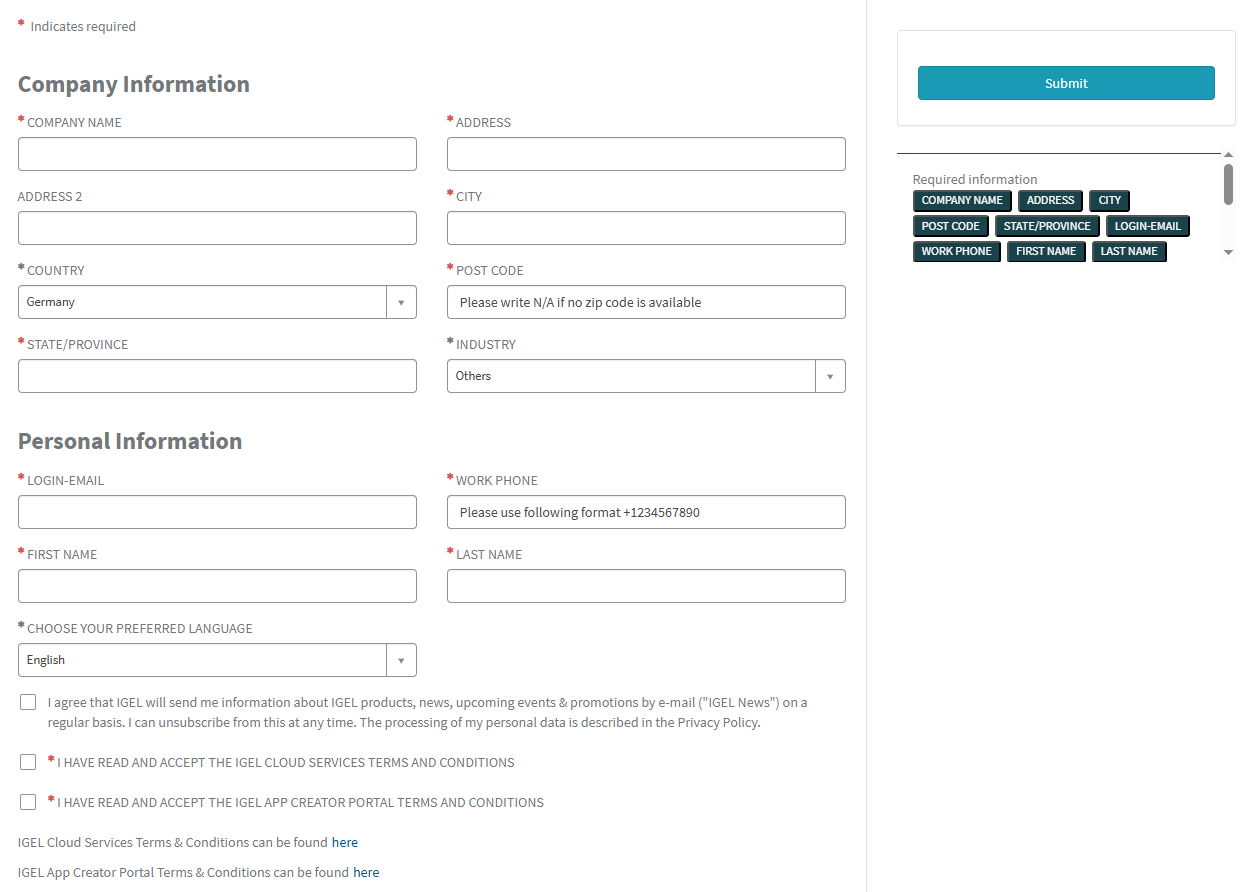
Required information is marked with an asterisk (*) and is displayed in the right pane at the same time.
When you have entered all the information, you will no longer see a reference to the required information in the right pane.
IGEL Company Account Requirements
-
Your name and email address
-
Must be a business email address with your company domain
-
No personal email addresses (solely B2B)
-
No generic contact details or email addresses, e.g. (info@company.tld)
-
No shared (multi-user) accounts (e.g. support-team@company.tld)
-
Free email provider domains are not allowed (e.g. gmail.com, http://yahoo.com , etc.)
-
Click Submit.
A confirmation email will be sent to you.
-
Check your mailbox and confirm your registration by clicking on the appropriate link. If you have not received the email, please check your spam folder.
Your user data will now be internally checked. When your registration has been approved, you will receive an email confirmation containing your username and one-time password. As soon as you log in for the first time, you will be prompted to change your password. The registration approval process usually takes no more than 24 hours.
To ensure communication related to your registration is delivered, make sure your IT organisation does not block noreply@id.igel.com. If you have registered, and your registration has been approved, please make sure the welcome email containing your password is not in your spam folder, and has not been quarantined by your organisation’s email system.
-
To log in to the IGEL Customer Portal, click the button Log in in the received email.
Please remember your login email address. It will be used as Super Admin credentials, with which you can later invite new users and assign them specific roles, see Managing Users and Roles in the IGEL Customer Portal.
Enabling Multi-Factor Authentication (MFA) for the IGEL Customer Portal
It is recommended to add multi-factor authentication (MFA) to your IGEL Customer Portal account.
The following methods are available:
-
Authenticator app; the supported apps are:
-
Google Authenticator
-
Microsoft Authenticator
-
Authy
-
-
Email verification
Authenticator App
-
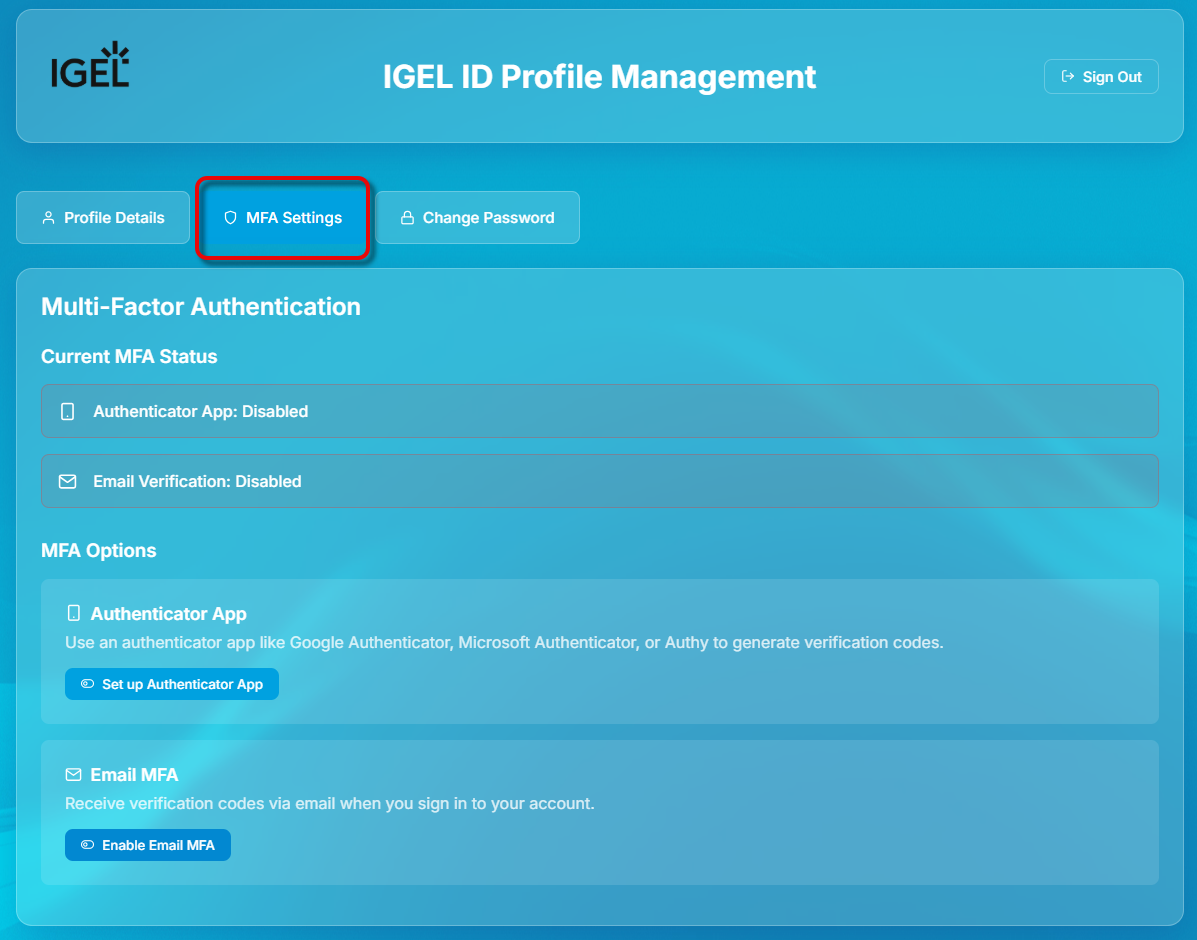
In the IGEL Customer Portal, open the user menu and select My IGEL ID Profile.

You are taken to the IGEL ID Profile Management site in a separate browser tab or browser window.
-
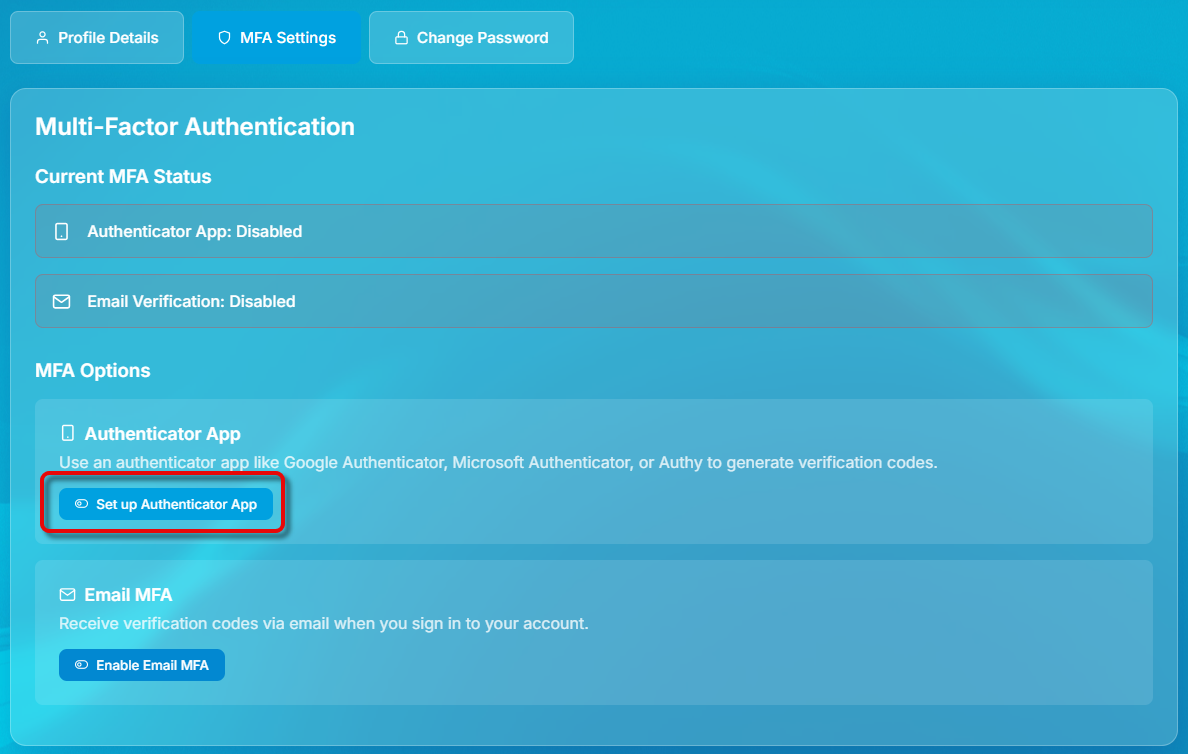
Select MFA Settings.
-
Click Set up Authenticator App.
-
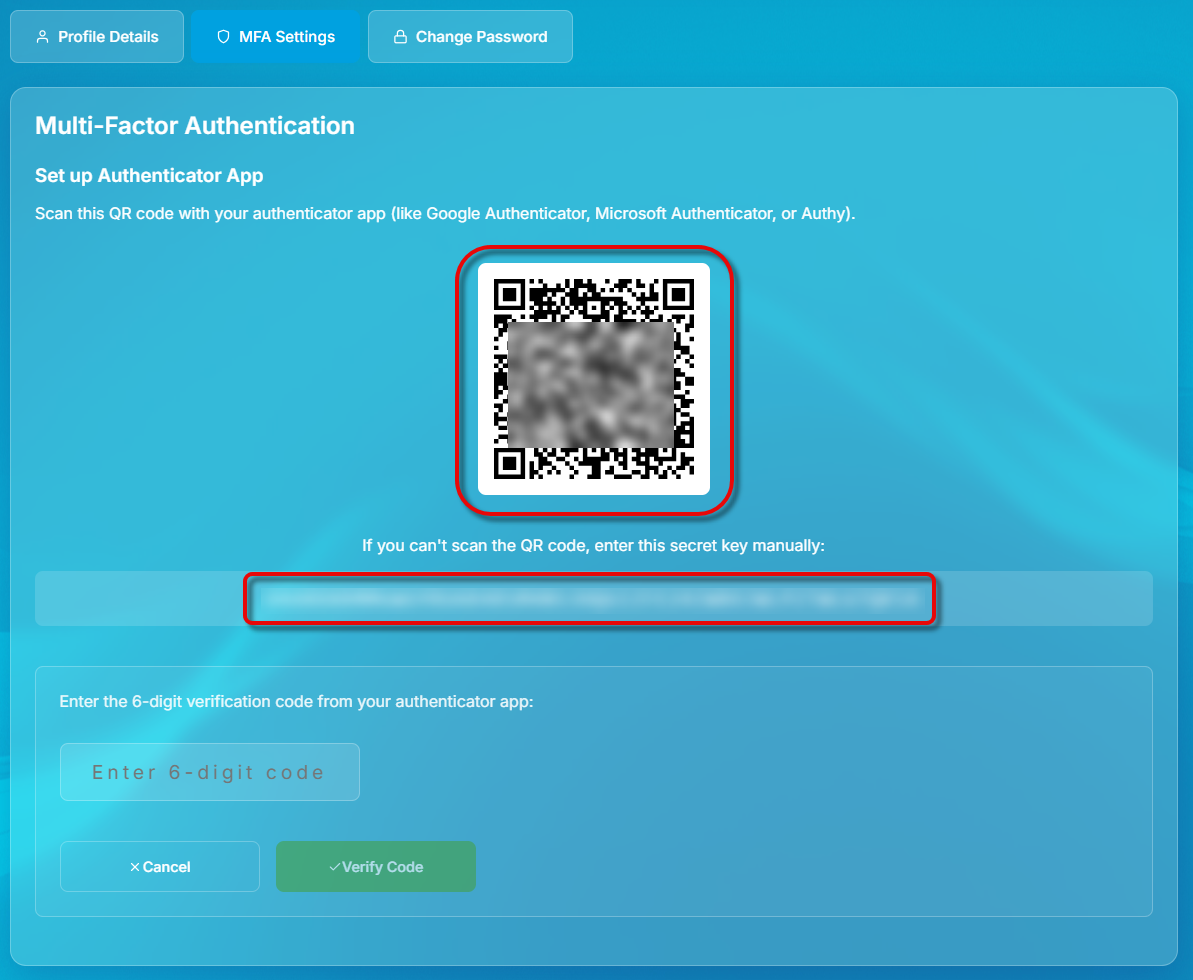
Scan the QR code with your authenticator app or enter the secret key manually.
-
Enter the 6-digit verification code from your authenticator app and verify it.
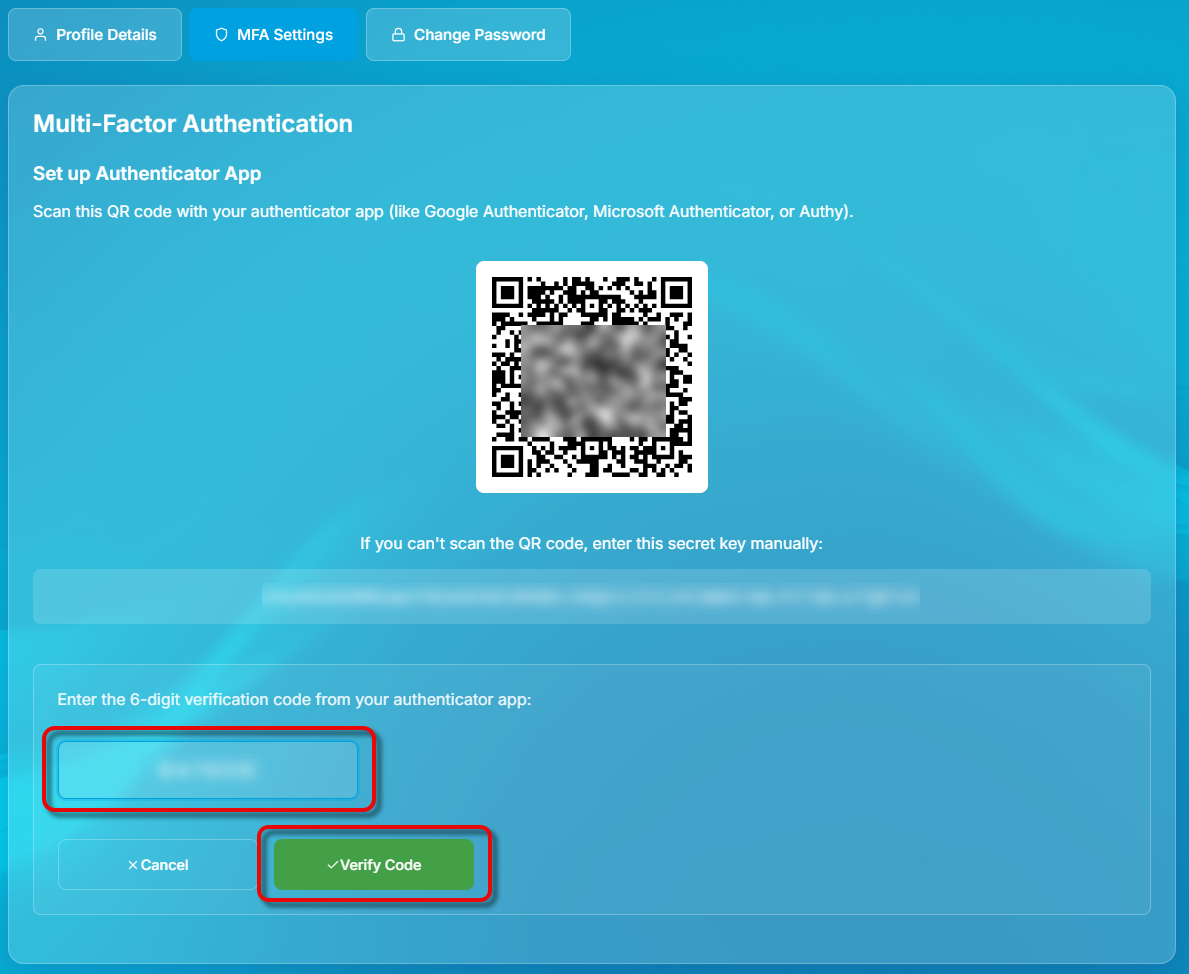
When you log in to the IGEL Customer Portal, you will be prompted to enter the current verification code from your authenticator app.
Email Verification
-
In the IGEL Customer Portal, open the user menu and select My IGEL ID Profile.
You are taken to the IGEL ID Profile Management site in a separate browser tab or browser window.
-
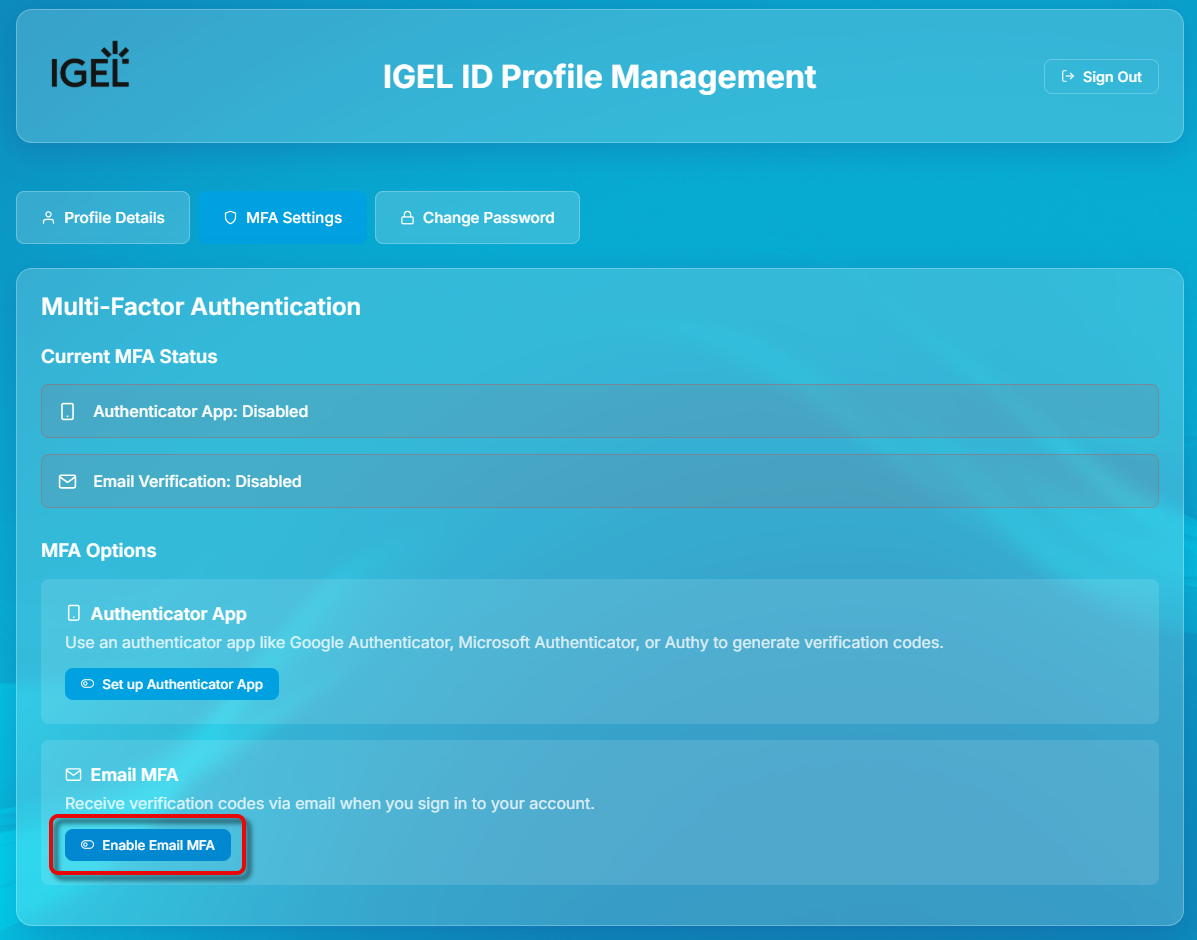
Select MFA Settings.
-
Click Enable Email MFA.
When you log in to the IGEL Customer Portal, you will be prompted to enter the one-time authentication code sent to you via email.
Changing Your Personal Information in the IGEL Customer Portal
-
In the IGEL Customer Portal, open the user menu and select My IGEL ID Profile.
You are taken to the IGEL ID Profile Management site in a separate browser tab or browser window.
-
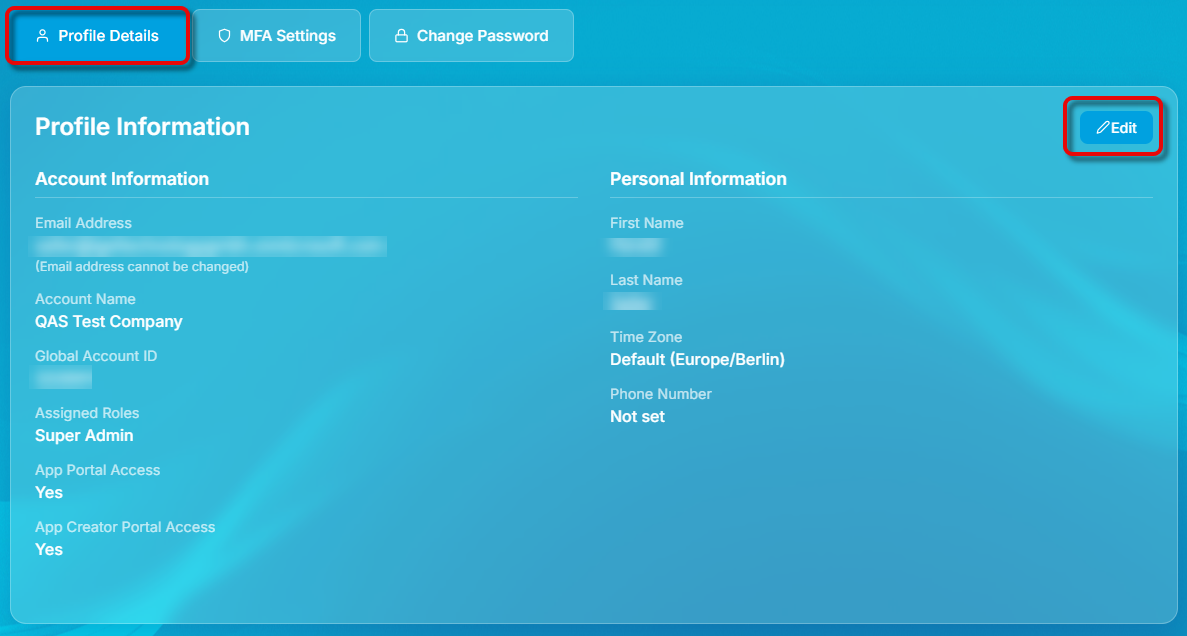
Ensure that Profile Details is active and click Edit.
-
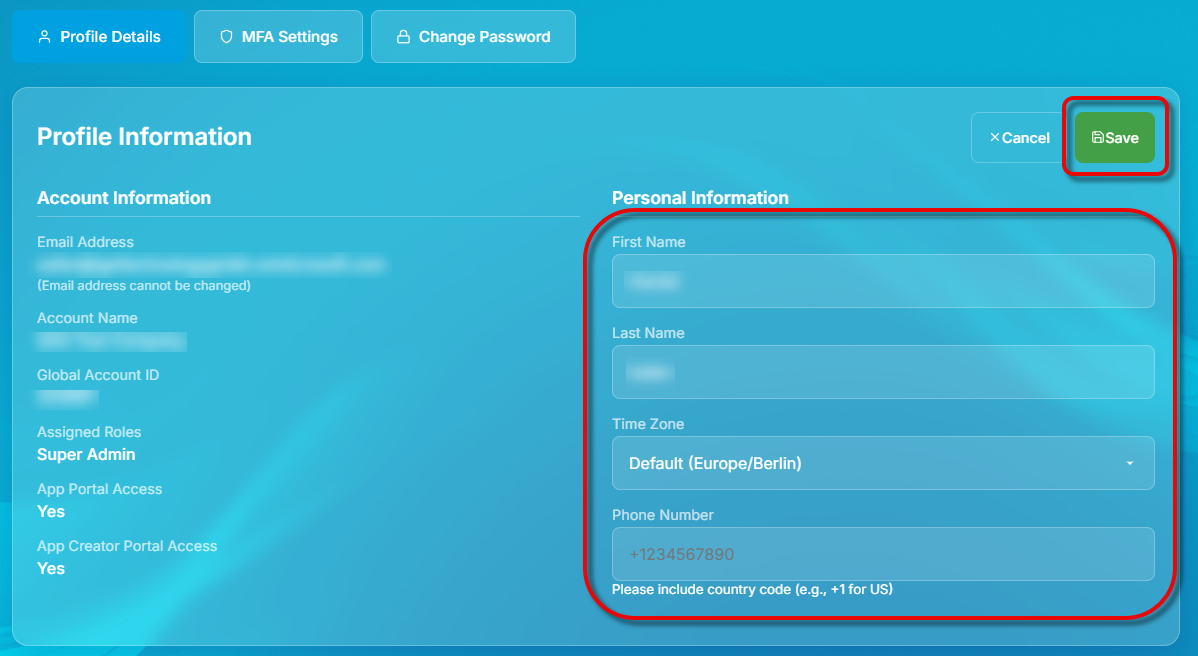
Edit your personal information as desired and click Save.
Please note the following about the phone number:
-
When you set/edit your phone number, a text message is sent to that number for verification purposes.
-
Your phone number will be used to send a verification code for password reset (see Login Credentials Forgotten?). If you have not provided a phone number, your email address will be used instead.
Changing Your Password in the IGEL Customer Portal
-
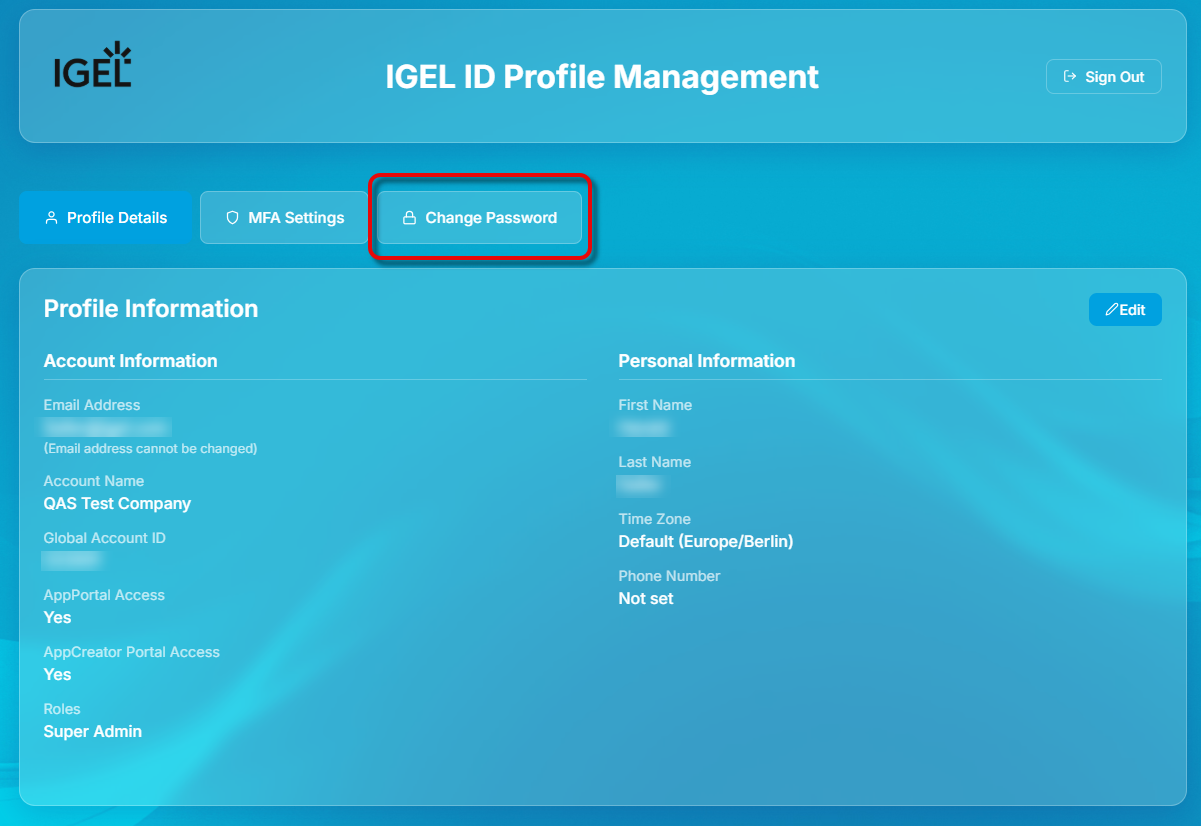
In the user menu, click My IGEL ID Profile.

You are taken to the IGEL ID Profile Management site in a separate browser tab or browser window.
-
Click Change Password.
-
Enter your current password and the new password, and confirm with Change Passwort. Please note the password requirements.
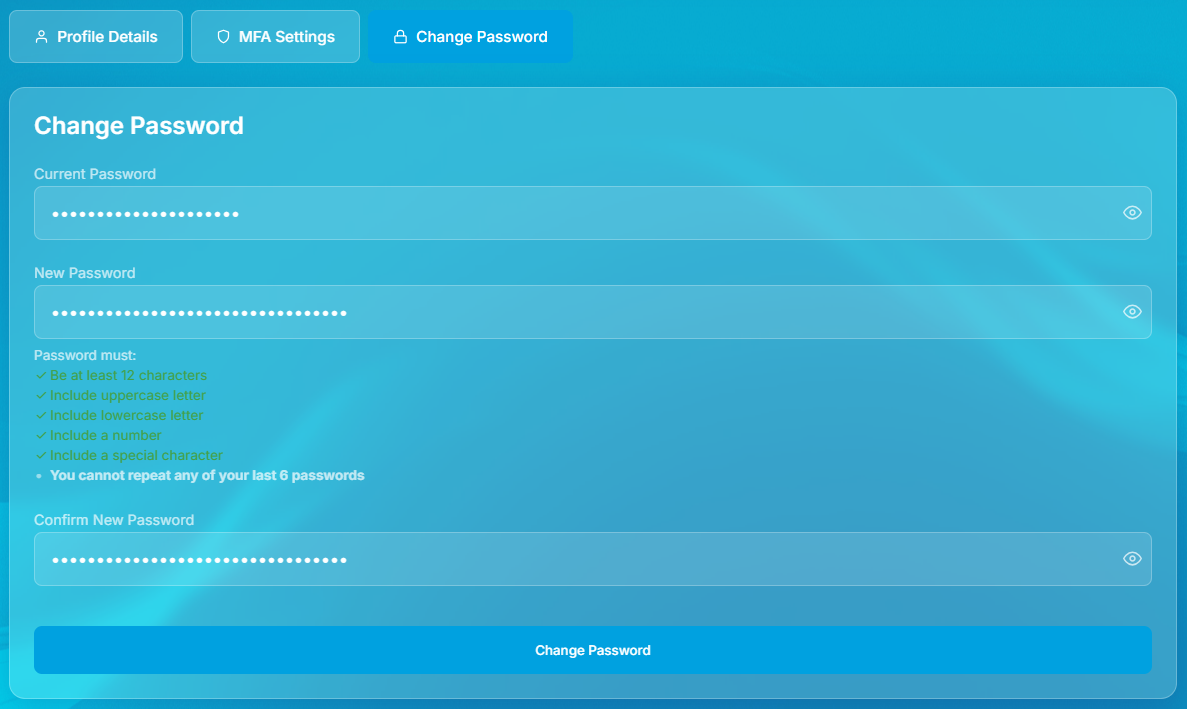
A confirmation message will be displayed briefly.
Logging in to the IGEL Customer Portal
-
Open the IGEL Customer Portal and click Login.
If your browser is already logged in to the IGEL Customer Portal, the IGEL App Portal, or the IGEL App Creator Portal, you do not need to authenticate again. When you select Login, you are automatically logged in via SSO.
-
Enter the credentials you used to register with IGEL and click Sign in.
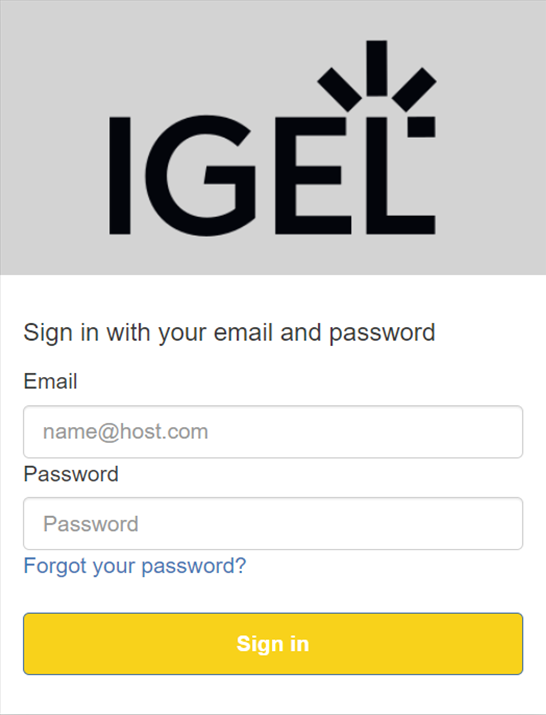
The IGEL Customer Portal opens. If you have configured MFA, you must enter a verification code first.
Login Credentials Forgotten?
-
Open the IGEL Customer Portal and click Login.
-
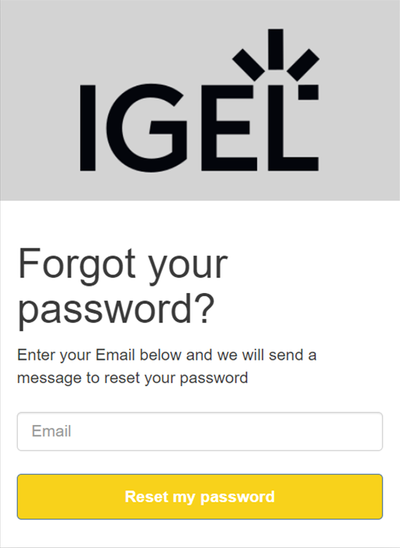
Click Forgot your password? to reset a password.
A dialog for requesting a new password opens.
-
Enter the email address to which the verification code should be sent and click Reset my password.
-
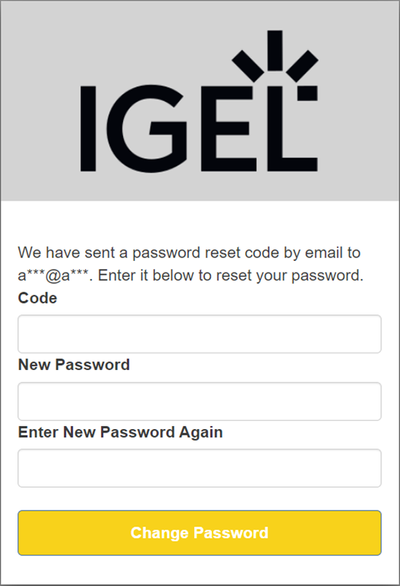
Check your email inbox for the email with the code. If you have not received the email, please check your spam folder.
-
Provide the code you received under Code and set a new password.
-
Confirm by clicking Change Password.
With the verified user data and the new password, you can now log in to the IGEL Customer Portal.
IGEL Support Information on the IGEL Customer Portal
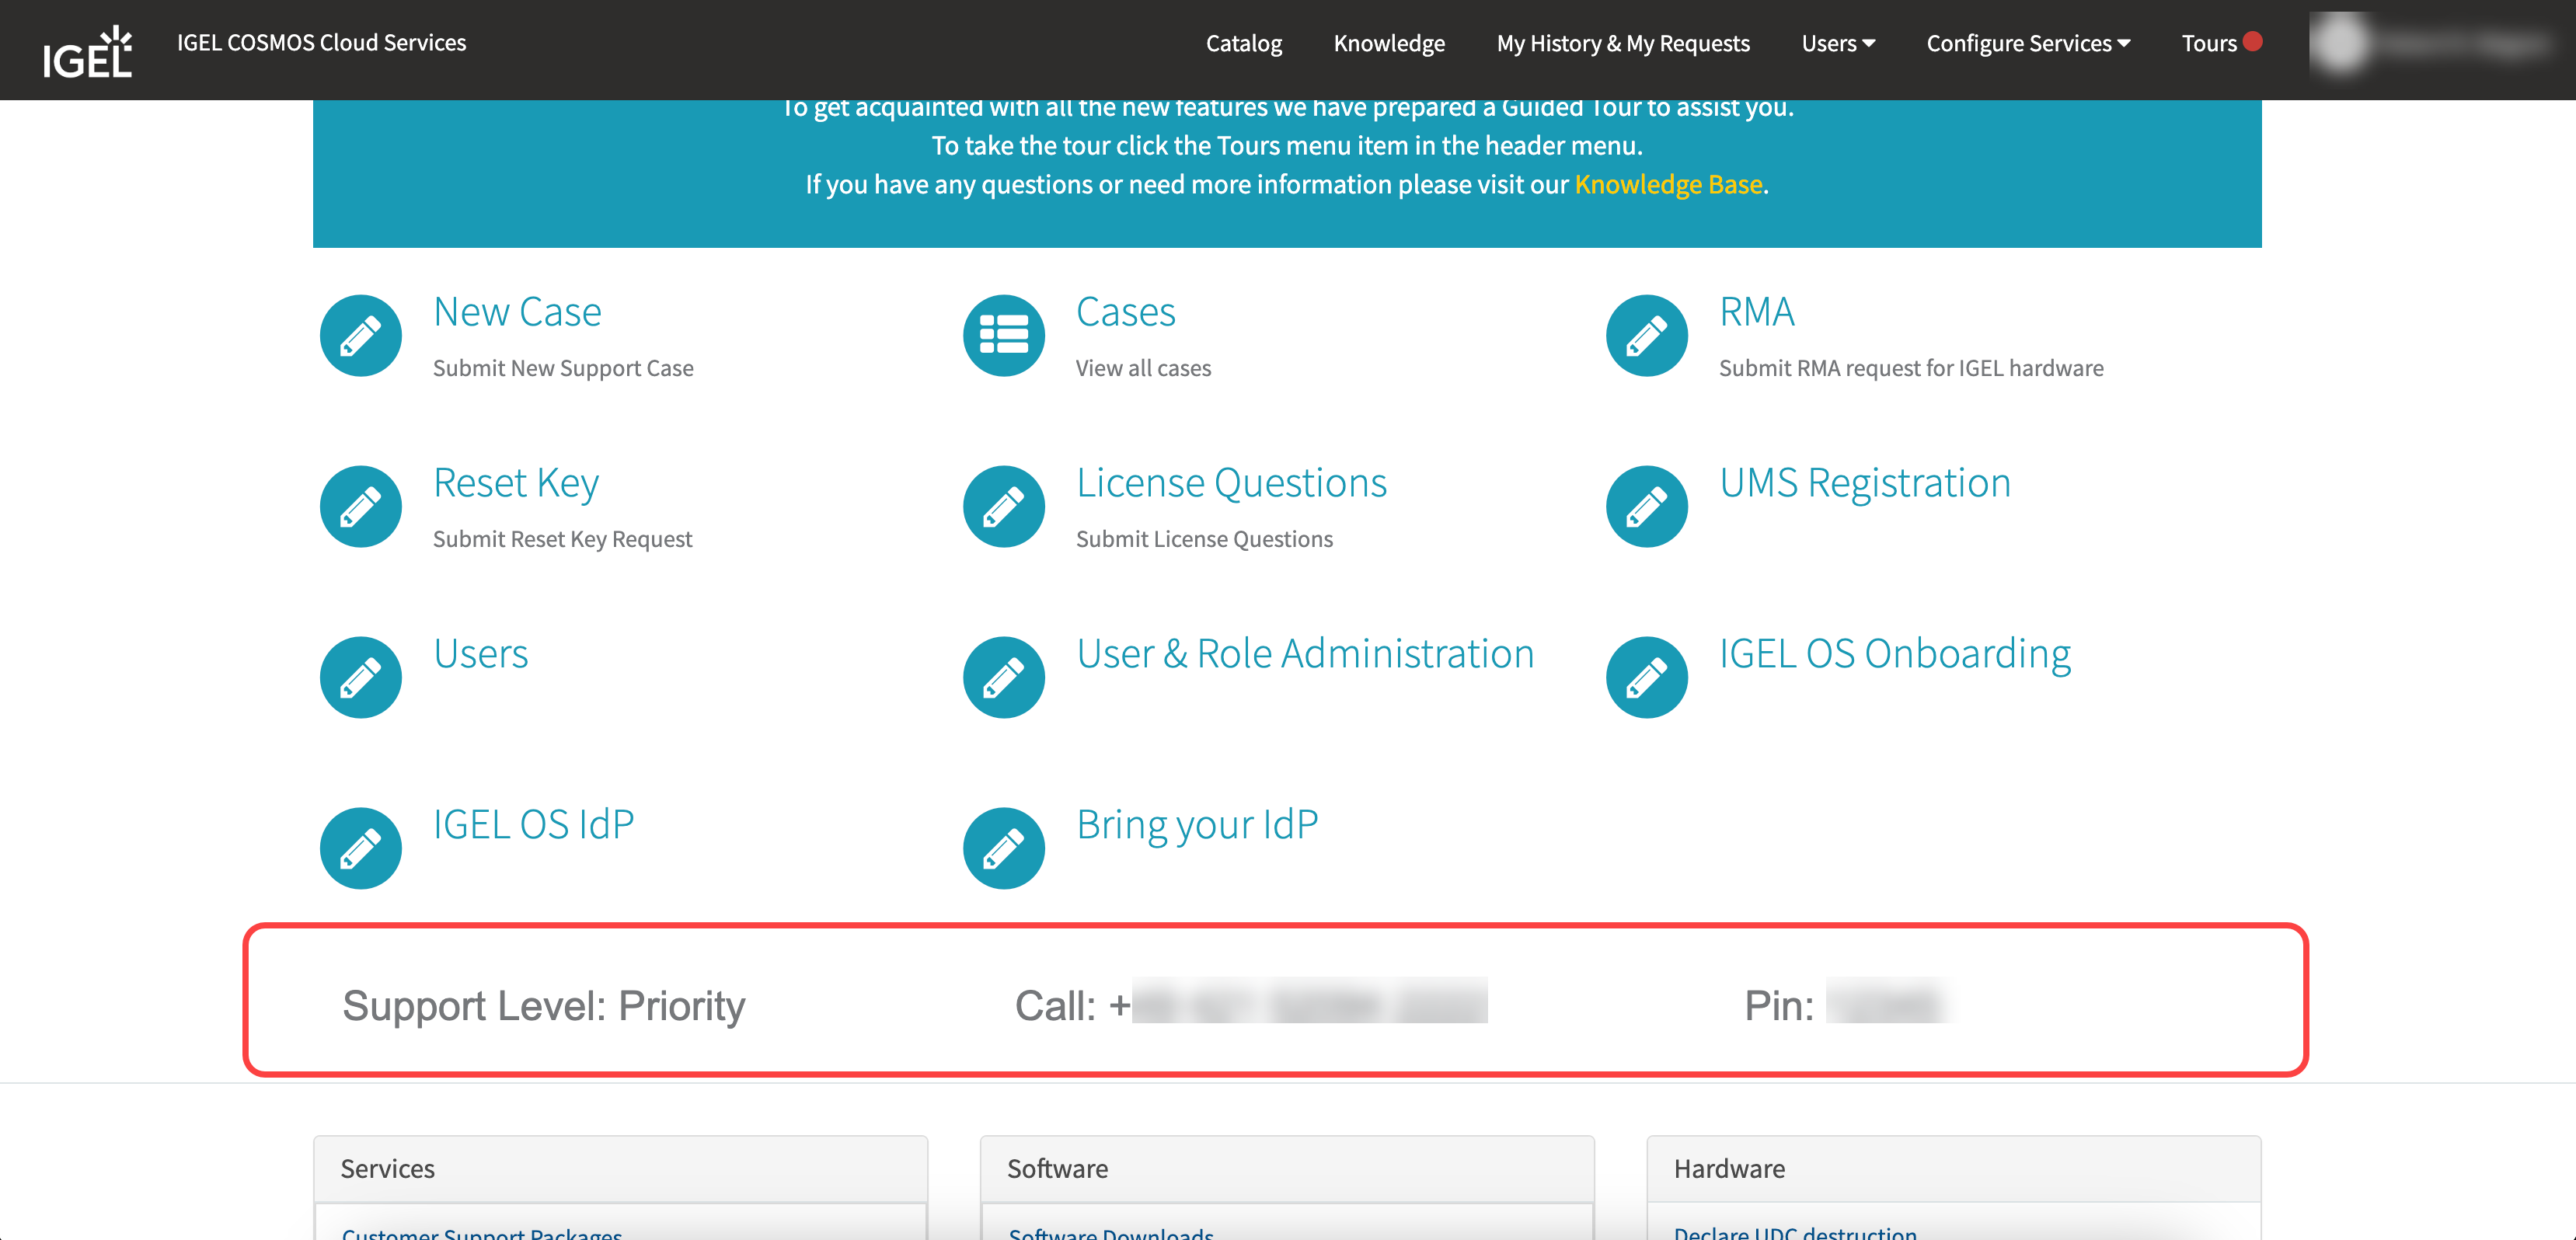
If you have Priority or Plus support, you can find the following support information on the landing page after login:
-
Support Level
The level of support you have. You can find more information on support levels at https://www.igel.com/support/. -
Call
Regional support number. -
PIN
The PIN that you use for authentication during a support call.
Changes in Support Contact Information
Starting from 12 August 2024 a new phone system is introduced at IGEL Support. As a result, the following will change:
-
New phone number to contact IGEL Support.
-
New 8 digit authentication PIN. The new PINs are assigned to individual users and not to customer accounts and they will change periodically.
You will find the new information after login under Call and PIN.
Creating Support Cases in the IGEL Customer Portal for Different Environments
When submitting a new case, you need to select the type of your environment under Is this a production environment?.
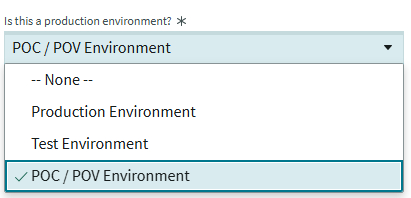
Select one f the three options using the drop-down menu:
-
Production Environment - Your case is connected to a production environment. A production environment is a real-time setting where users are working with the software.
-
Test Environment - Your case is connected to a test environment. A test environment is an internal environment, used to test, check, and validate new technology. The system is not used in production.
-
POC/POV Environment - Your case is connected to an IGEL supported Proof of Concept (POC) or Proof of Value (POV) environment, where IGEL Presales and you are in touch.
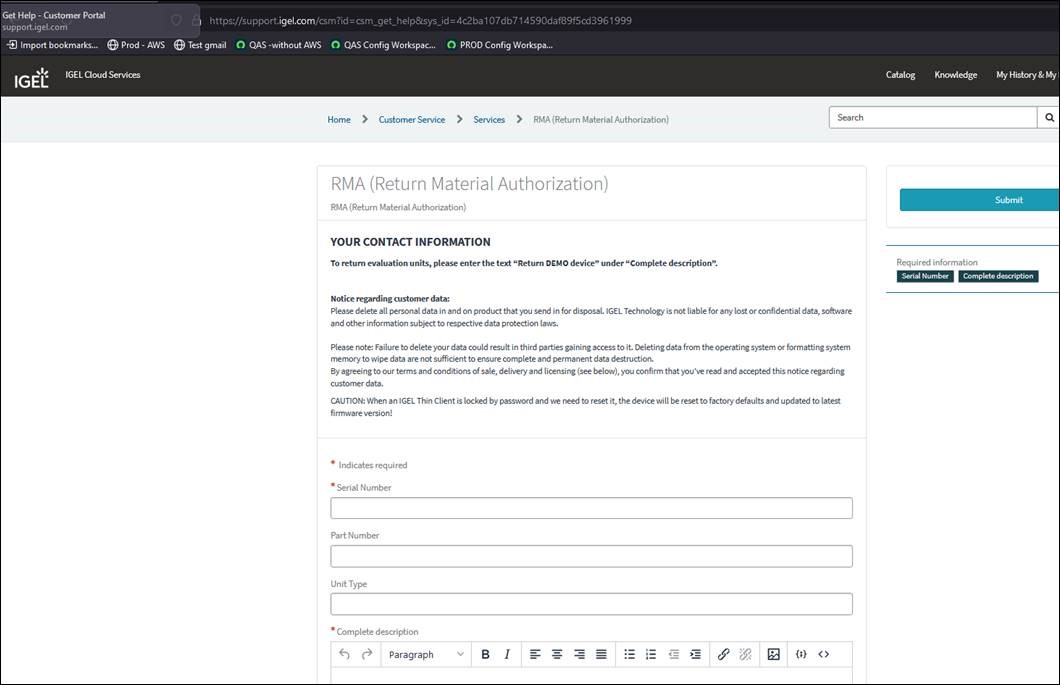
Creating an RMA Request in the IGEL Customer Portal
You can submit a Return Material Authorization (RMA) request after registering for the IGEL Customer Portal.
The RMA request form is for IGEL hardware only.
If you would like to request an RMA for hardware produced by an IGEL partner, you need to refer to the vendors RMA process.
-
Click RMA or Request an RMA.
-
Fill out the RMA form with the following information:
Mandatory fields:
-
Serial Number
-
Complete description
-
Delivery address (for new, or repaired devices)
The delivery address must be checked as it is not updated automatically and gets taken from the customer’s registered details.
Optional fields:
-
Part Number
-
Unit Type
-
“MORE THAN ONE DEVICE”
If this drop-down is set to Yes, you can insert additional Serial Numbers of endpoints showing a similar issue.