As Cisco Jabber VDI (JVDI) handles multimedia redirection but is not a standalone application, it cannot be used on its own. At least one of the following apps must be installed and configured on IGEL OS devices as well:
-
Citrix Workspace app
-
Omnissa Horizon Client
Requirements
-
Cisco Jabber VDI app is imported to your IGEL UMS. For details on app import, see How to Import IGEL OS Apps from the IGEL App Portal.
-
A dongle must be used if delivered with a device (e.g. with a headset, etc.).
Known Issues
-
Jabra wireless headsets are not supported by Cisco.
-
Cisco JVDI application does not work with Pipewire set as the multimedia backend. Instead, Pulseaudio should be used.
Disabling or Enabling the Plugin
-
In the IGEL UMS, create a profile configuring the app. For details on profile creation, see How to Create and Assign Profiles in the IGEL UMS Web App.
-
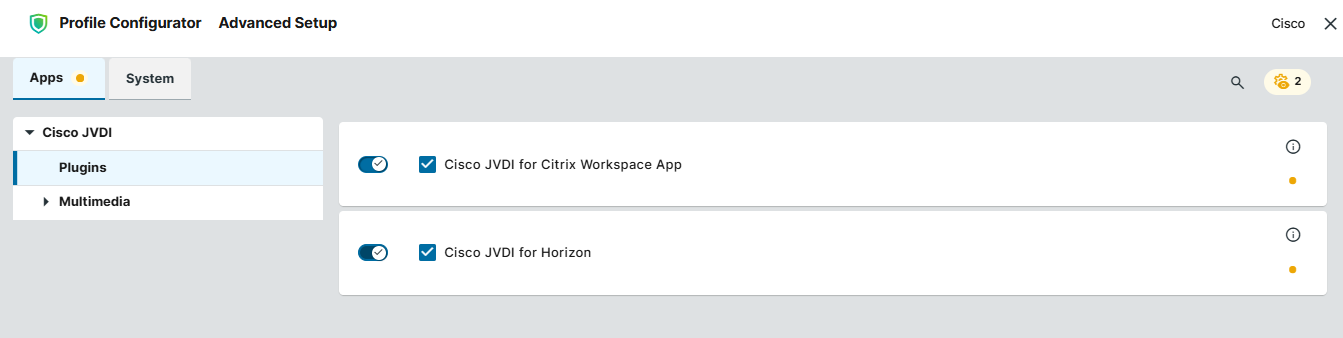
In the Profile Configurator, go to Apps > Cisco JVDI > Plugins.
-
Change the settings as required.
Cisco JVDI for Citrix Workspace App
- The Cisco JVDI plugin is enabled in Citrix sessions. (Default)
- The Cisco JVDI plugin is disabled in Citrix sessions.
Cisco JVDI for Horizon
- The Cisco JVDI plugin is enabled in Omnissa Horizon sessions. (Default)
- The Cisco JVDI plugin is disabled in Omnissa Horizon sessions.
Configuring Audio
-
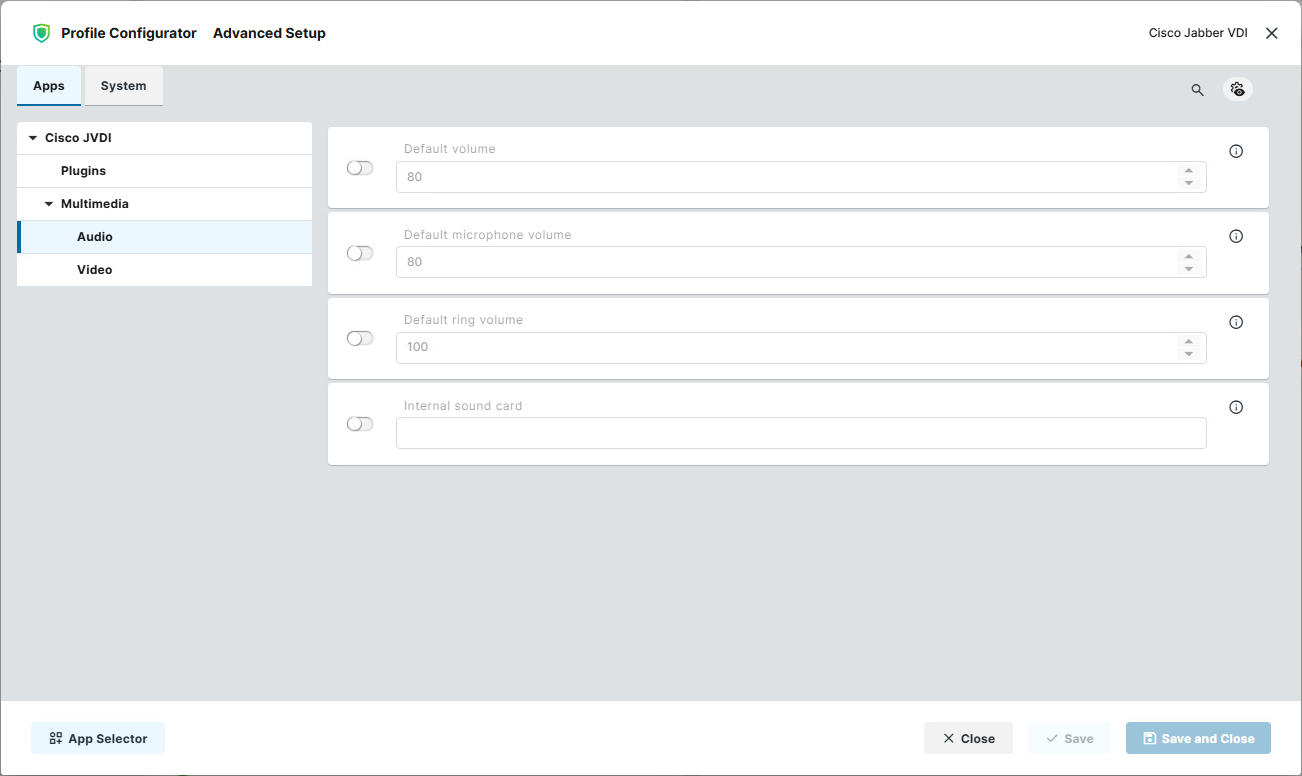
In the Profile Configurator, go to Apps > Cisco JVDI > Multimedia > Audio.
-
Change the settings as required.
Default volume
The preset volume for the headphone in percent. (Default: 80)
When a new device is plugged in, this value will be automatically assigned to all channels.
Default microphone volume
The preset volume for the microphone in percent. (Default: 80)
Default ring volume
The preset volume for the ringtone in percent. (Default: 100)
Internal sound card
Defines the sound card that is connected to the internal speaker; this will be used to play the ringtone. If you leave the field empty, the default sound card of the system is used.
Configuring Video
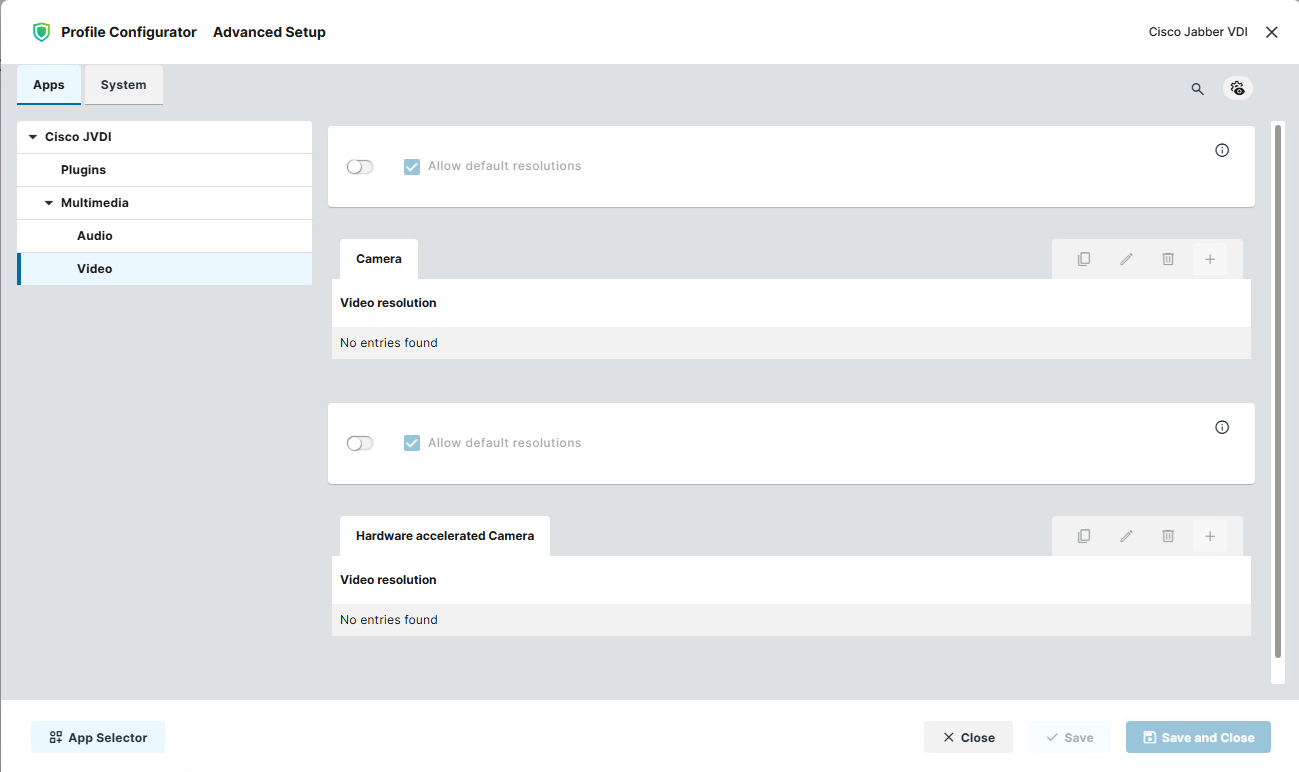
You can set the Cisco Jabber VDI Client to use the default resolutions of the camera or to use a user-defined set of resolutions. Separate configurations for cameras with and without hardware acceleration are possible.
-
In the Profile Configurator, go to Apps > Cisco JVDI > Multimedia > Video.
-
Change the settings as required.
-
Save the changes and assign the profile to the required devices / device directories.
Allow default resolutions
This setting is for cameras without hardware acceleration.
- The default resolutions of the camera are used. (Default)
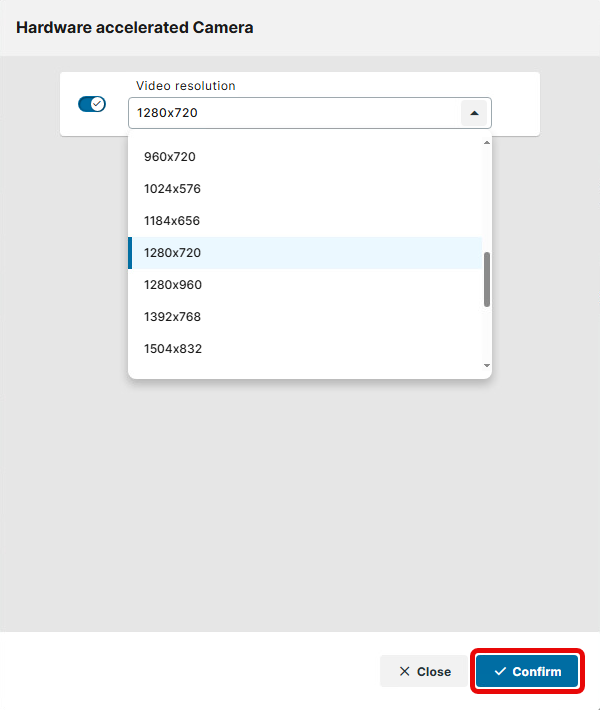
A user-defined set of resolutions is used. To add a resolution, click + in the Camera area and select the desired resolution.
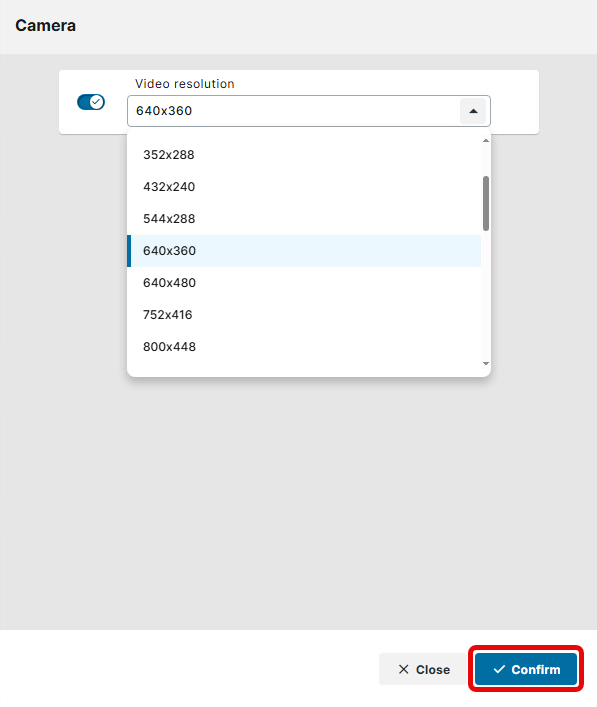
Allow default resolutions
This setting is for cameras with hardware acceleration.
- The default resolutions of the camera are used.
- A user-defined set of resolutions is used. You can add a resolution by clicking + in the Hardware Accelerated Camera area and selecting the desired resolution.