Installing the IGEL Cloud Gateway
The recommended method to install the ICG is to use the ICG remote installer. If you cannot or do not want to use the remote installer, you can install the ICG manually, see How to Install the ICG without Remote Installer.
Start the UMS Console.
Go to UMS Administration > UMS Network > IGEL Cloud Gateway.
If the ICG remote installer is not already running, go to UMS Administration > UMS Network > IGEL Cloud Gateway and click
 .
.
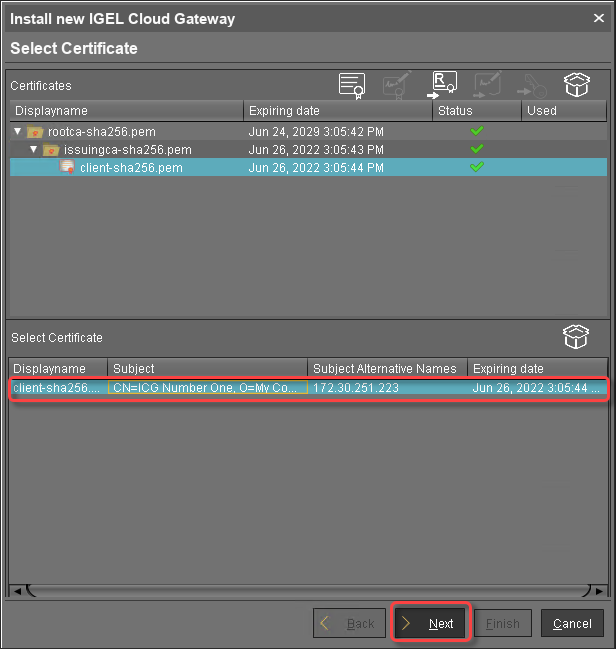
The ICG remote installer opens. In the Select Certificates area, all certificates that can be used for the ICG are listed. If you need a certificate, you can use the ICG remote installer to install one; see Providing the Certificates.Select the certificate you want to use, then click Next.
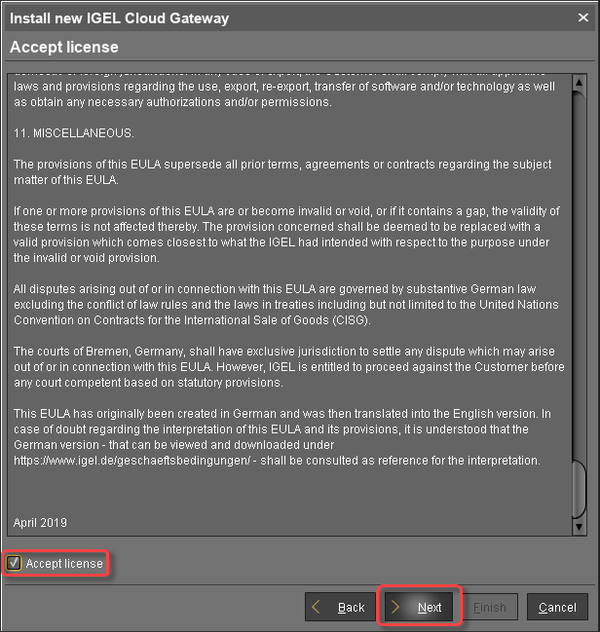
Read the EULA and check Accept license if you accept, then click Next.
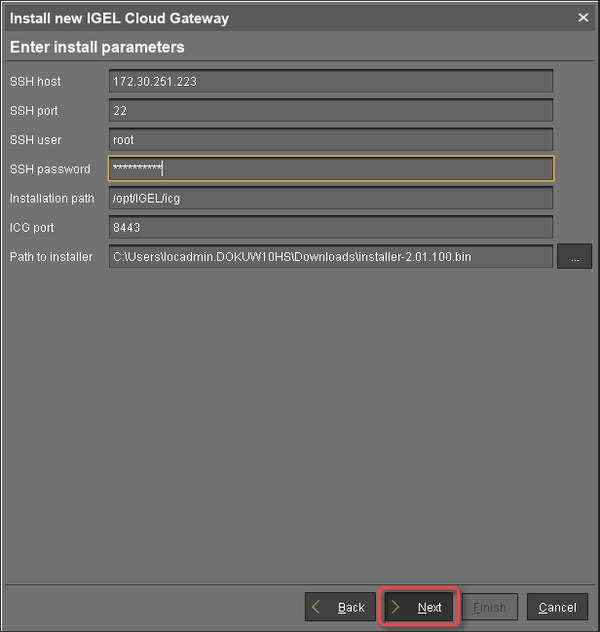
Enter the installation parameters:
SSH host: Address of the host the ICG is to be installed on. This field is prepopulated with a host that has been derived from the certificate. If more than one hosts are specified in the certificate, ensure that this is the one that is used for communication between UMS and ICG.
SSH port: SSH port (default: 22)
The SSH user needs root privileges, otherwise the remote installer will not be able to perform all required installation tasks.
UMS 5.09.110 or higher: It is sufficient for the SSH user to have sudo privileges.
Root access to the SSH server is a security risk!
If you permit root login for SSH, it is recommended to disable root login when the ICG installation has finished.
Key-based authentication is not supported by the remote installer. If you are using key-based authentication, you will have to install manually, see How to Install the ICG without Remote Installer .
SSH user: The user that the remote installer uses to authenticate against the SSH server and execute the installer
Username "icg" Is Reserved
Do not use "icg" as a username for the remote installer; this is the username under which the Tomcat server is running.
SSH password: Password for the user that is specified as SSH user
Installation path: Installation path on the server (default:
/opt/IGEL/icg)ICG port: The port the ICG will be listening on. Privileged ports can be used, too, e.g. port 443. (Default: 8443)
Path to installer: The local path to the
.binfile containing the installer
ICG installers are available from https://www.igel.com/software-downloads/ .
Click Next.
The ICG is now being installed. This may take a few moments.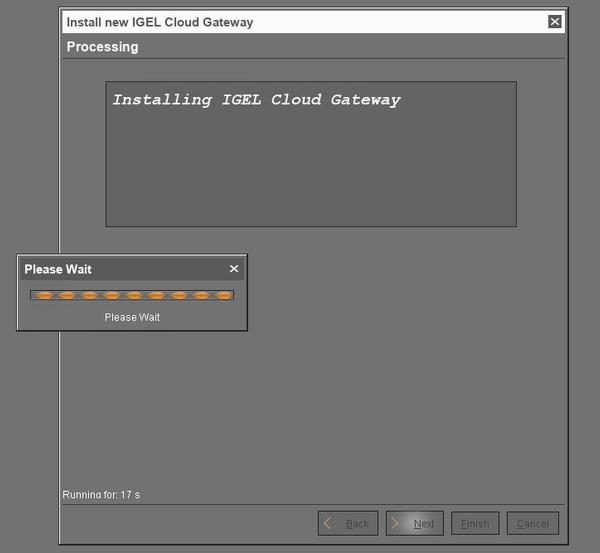
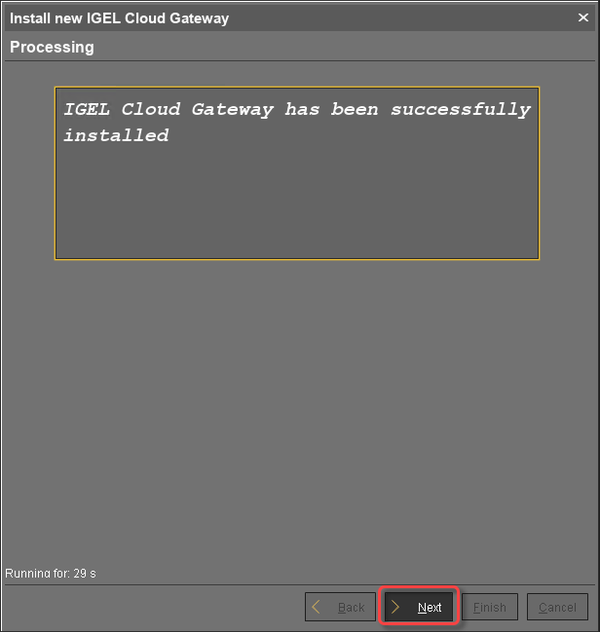
When the installation has finished, click Next.
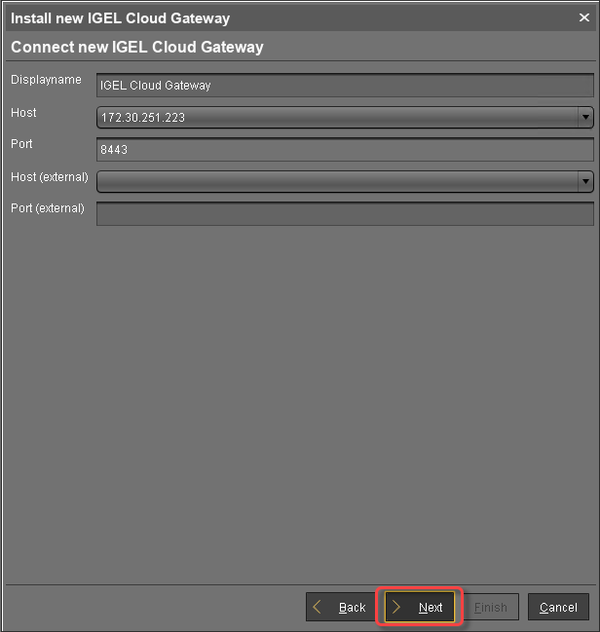
Enter a display name and the connection details for the ICG:
Displayname: The name used for listing the ICG under UMS Administration > IGEL Cloud Gateway.
Host: Internal host used by the UMS for connecting to the ICG.
Host (external): External host used by endpoint devices to connect to the ICG; only required if the devices use a separate address, not the one specified under Host.
Port: Port used by the endpoint devices if they connect to the ICG using the address provided under Host (external). If the devices use the address under Host, this field can be left empty.
Click Next.
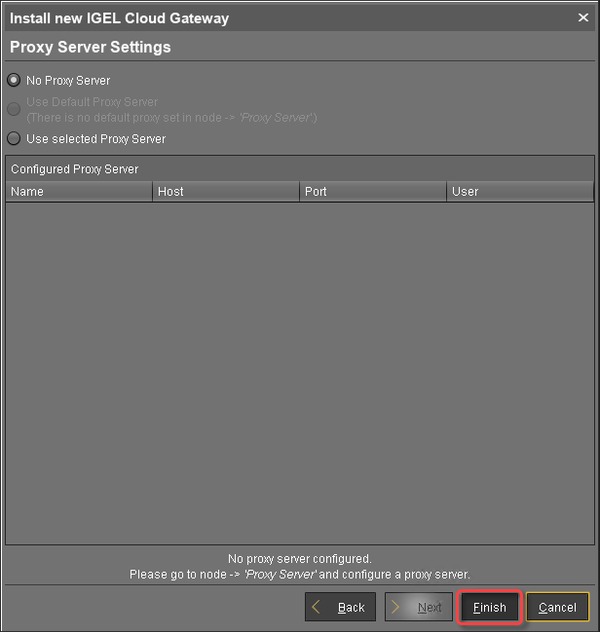
If desired, you can now define a proxy. Make your settings as required.
Click Finish.
The newly installed ICG is now listed under UMS Administration > IGEL Cloud Gateway.
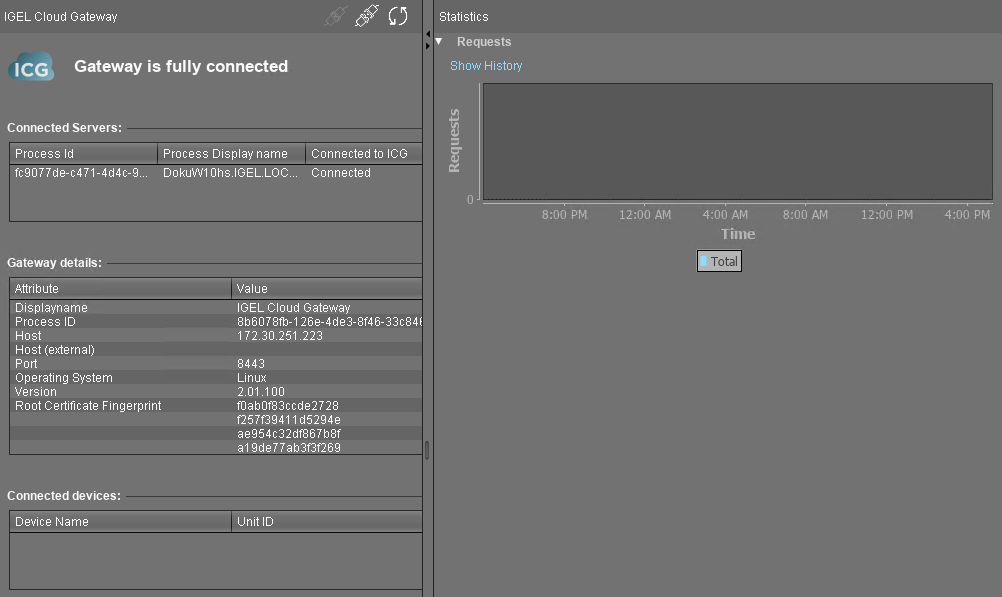
To review the status of the ICG and basic data about the installation, go to UMS Administration > IGEL Cloud Gateway > [display name of your IGEL Cloud Gateway].
