Uploading the Files to the UMS
In this step, you upload the compressed hello.tar.bz2 archive and the hello.inf metadata file to the UMS, which will serve them to other devices via HTTPS. To make the file available, you have to create a file object after transferring the physical file.
Transferring the Files to the UMS
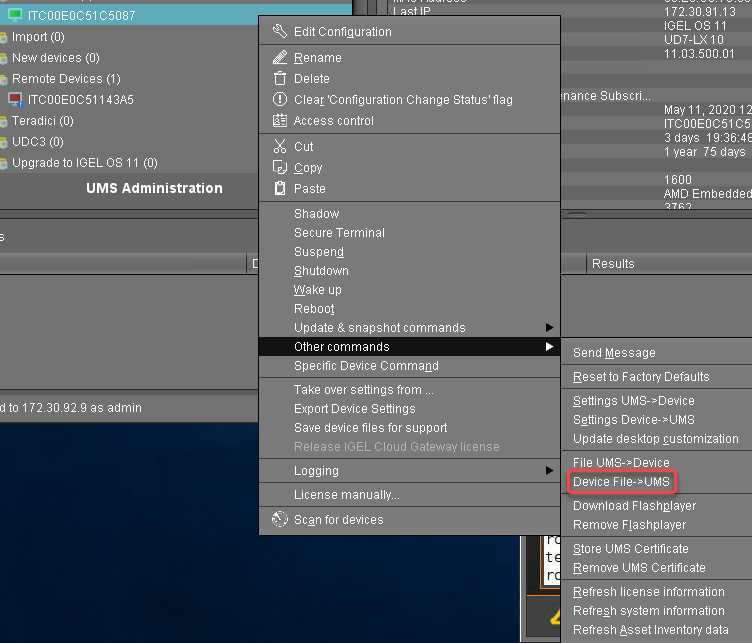
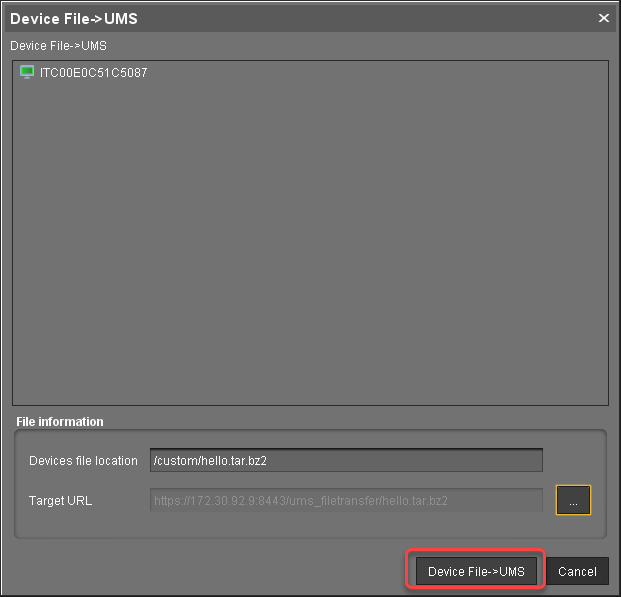
In the structure tree of the UMS Console, go to the device on which you have created the files and select Other commands > Device File->UMS.
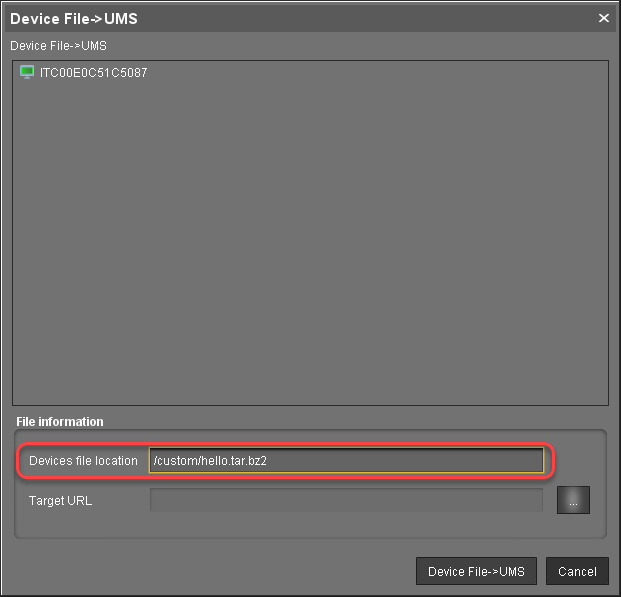
In the Device File->UMS dialog, under Device file location, enter the complete path and file name of the bz2 archive: "/custom/hello.tar.bz2"
Click
 next to the Target URL to define the file path on the UMS Server.
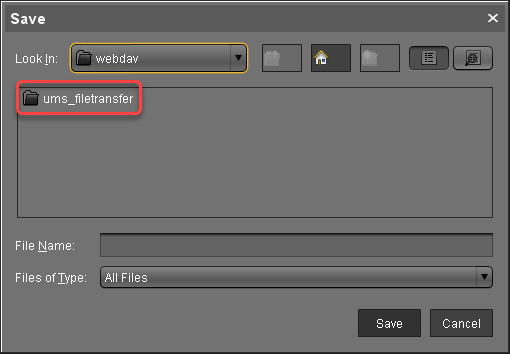
In the Save dialog, select ums_filetransfer as the directory.
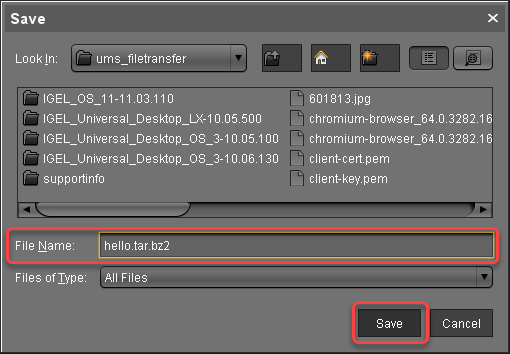
Enter "hello.tar.bz2" as the File Name and click Save.
Back in the Device File->UMS dialog, click Device File->UMS.
Repeat steps 1 to 6 for the metadata file
hello.inf.
Creating File Objects
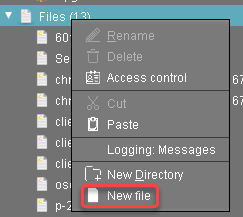
In the UMS Console, right-click the Files folder in the structure tree and select New File from the context menu.
The New file dialog opens.Activate Select from UMS server and click
 next to this option to open the file chooser.
Select ums_filetransfer.
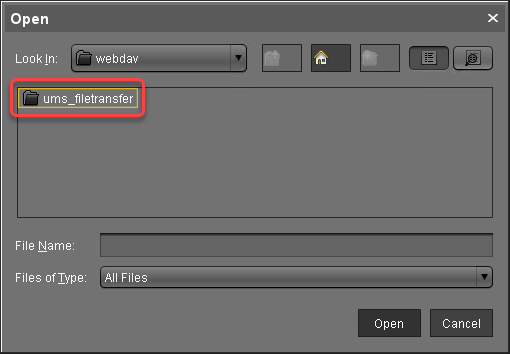
Select "hello.tar.bz2" and click Open.
Back in the New file dialog, click Ok.
Repeat steps 1 to 4 for the metadata file
hello.inf.
