To access the UMS Console / UMS Web App, you can create and manage administrator accounts in the IGEL UMS or you can import UMS administrator accounts from a linked Active Directory. You can also create user groups for easier management.
In the IGEL UMS Web App, you can do the same in the User Management area, see User Management and IdP Management in the IGEL UMS Web App .
Menu path: Menu bar > System > Administrator accounts
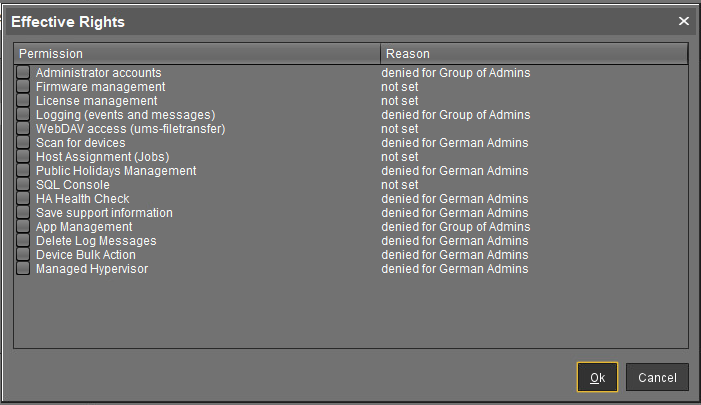
Access rights to objects, actions and features within the IGEL UMS are attached to the administrator accounts and user groups through permissions. The matrix of these permissions create the effective rights of a user, see Effective Rights in IGEL UMS .
The rights of the UMS superuser that was created during the installation (see IGEL UMS Installation under Linux or IGEL UMS Installation under Windows) cannot be restricted. The UMS superuser always has full access rights in the UMS.
UMS Web App
The UMS Web App supports the same permissions as the UMS Console. To get access to devices in a directory, read permissions on this directory are required; permissions to devices only are not sufficient.
More information on permissions in the UMS Web App can be found under Important Information for the IGEL UMS Web App.
Administrator Accounts Dialog
To manage the IGEL UMS administrator accounts go to System > Administrator accounts in the menu bar.
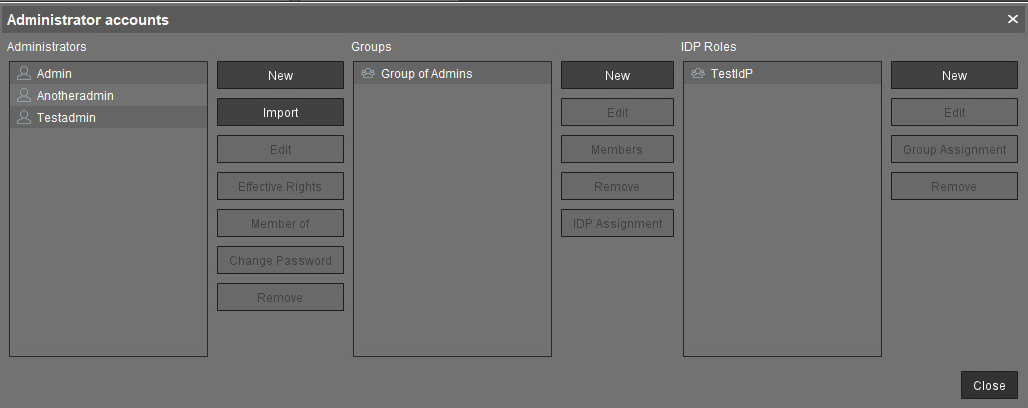
The administrator accounts dialog is organised in columns:
-
All user accounts are listed in the left-hand column under Administrators.
-
All configured groups are listed under Groups.
-
All configured IdP roles are listed under IDP Roles.
Options to Manage Administrator Accounts
To the right of each column, you will find the associated options.
-
Click New to create a new administrator a new group or a new IdP role. For more on IdP roles, see How to Map Identity Provider Roles in the IGEL UMS Web App .
The following characters are not allowed for user names of UMS administrators: "/ \ [ ] : ; | = , + * ? < >

-
Click Import to import a user from the AD/LDAP directory.
-
Domain: Domain in which the AD/LDAP service runs
-
User: Name of the user
-
Password: Password of the user
-
This procedure requires an AD/LDAP connection. For further details, see Importing Active Directory users.
-
Click Edit to edit the selected user, group, or role.
-
Click Remove to delete the selected entry.
-
Click Change Password to change the password of user accounts.
-
Click Member of to show group memberships of the selected user.
-
Click Members to see details on the members who make up a selected group.
-
Click Effective Rights to get an insight into the rights that were directly or indirectly granted to users or taken away from them. See Access Rights .
-
Click IDP Assignment to assign IdP roles to groups.
-
Click Group Assignment to assign groups to IdP roles.