Download page Generating First-Authentication Keys for Devices.
Generating First-Authentication Keys for Devices
To establish a connection with the ICG, every device must authenticate with the ICG. For this purpose, a first-authentication key must be generated. On first contact with the ICG, the device must present this key. You have the following possibilities to generate first-authentication keys:
One-time keys that can be used by any random device, but cannot be re-used by any other device. Hence, the number of keys must match the number of device.
One-time keys that can only be used by specified devices and will be invalidated after use.
Multiple-time keys that can be used by any device and will remain valid after use.
Go to UMS Administration > Global Configuration > Cloud Gateway Options.
Click .
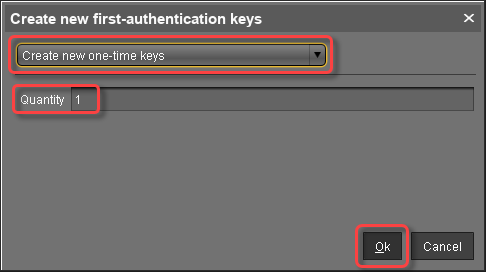
Select Create new one-time keys.
Enter the Quantity of one-time passwords you want to generate.
Click OK. One or more new entries appear in the list, depending on the value entered under Quantity.
Creating One-Time Keys for Specific Devices
Go to UMS Administration > Global Configuration > Cloud Gateway Options.
Click .
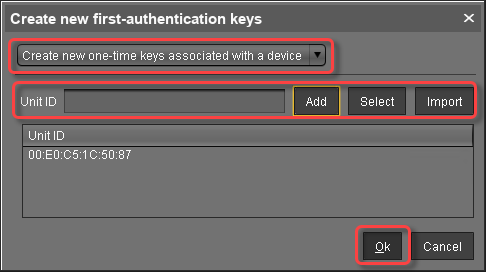
Select Create new one-time keys associated with a device.
Choose a method to add one or more thin client unit IDs:
Add: Enter a Unit ID manually and click Add.
Select: Click Select and select thin clients with
.
Import: Click Import and select a CSV file with unit IDs. For instructions on how to export a list of unit IDs, see Exporting a Unit ID List for IGEL OS.
Click OK. If everything went well, a success message is shown.
Confirm the message. One or more new entries appear in the list.
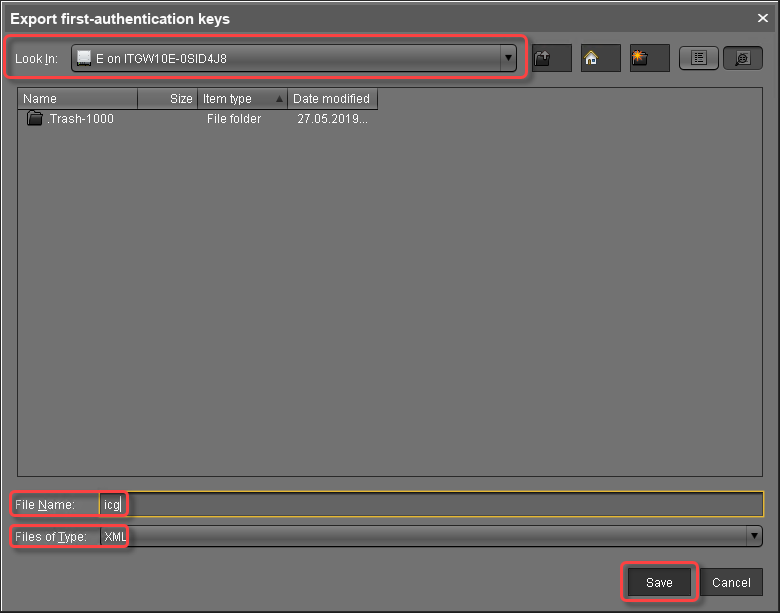
Select the new entries and click to export the keys.
Under Look in:, choose a file path on your USB stick.
Enter a File Name, e. g. icg.xml
Under Files of Type, choose either "XML" or "HTML" as the file format.
Click Save.
Creating a New Mass-Deployment Key for Arbitrary Devices
Connect a USB stick to the machine on which the UMS Console is running.
Go to UMS Administration > Global Configuration > Cloud Gateway Options.
Click .
Select Create new mass-deployment key.
Activate or deactivate Generate random mass-deployment key to choose the method of key generation:
The key is generated by the UMS.
You can enter a key of your own in the entry field.
Click OK. One or more new entries appear in the list.
Select the new entries and click to export the keys.
Under Look in:, choose a file path on your USB stick.
Enter a File Name, e. g. icg.xml
Under Files of Type, choose either "XML" or "HTML" as the file format.