Importing Your Existing Private CA Files into the UMS
In the UMS Console, go to UMS Administration > UMS Network > IGEL Cloud Gateway.
In the toolbar in the upper right, click the icon (Install new IGEL Cloud Gateway).
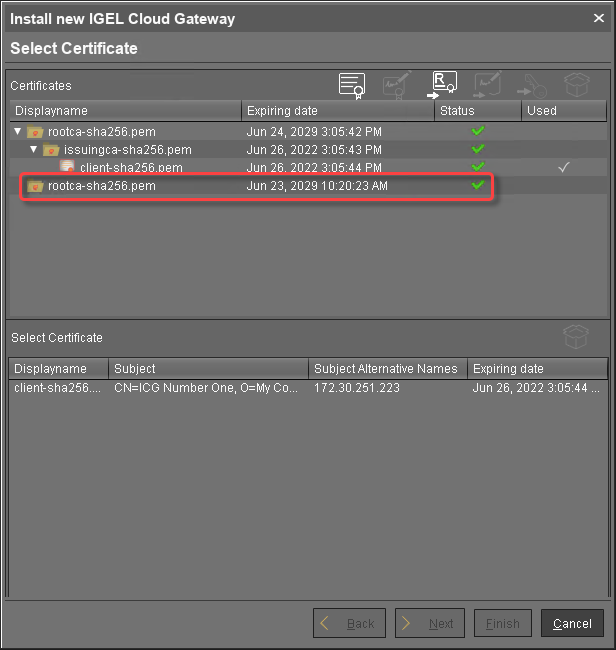
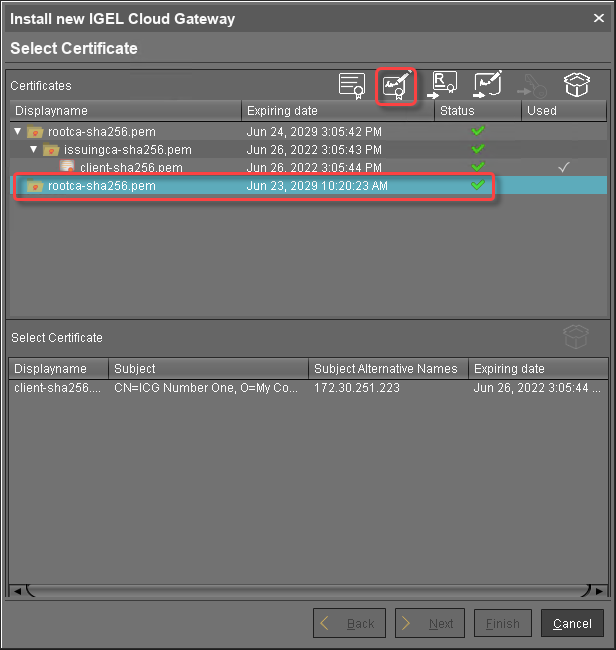
The ICG remote installer opens. Any existing ICG certificates are shown in the Certificatesarea.
Click to import the root certificate.
Choose the CA's root certificate file (PEM format) and click Open. The CA's root certificate appears on the list.
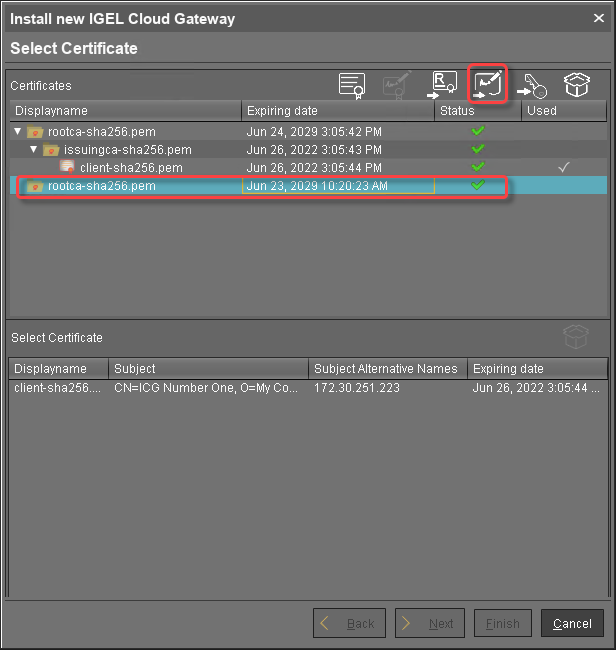
Select the CA certificate and click to import the decrypted private key for the CA certificate.
If the private key is protected with a passphrase, you need to decrypt it using the OpenSSL command line tool: openssl rsa -in encrypted.key -out decrypted.key
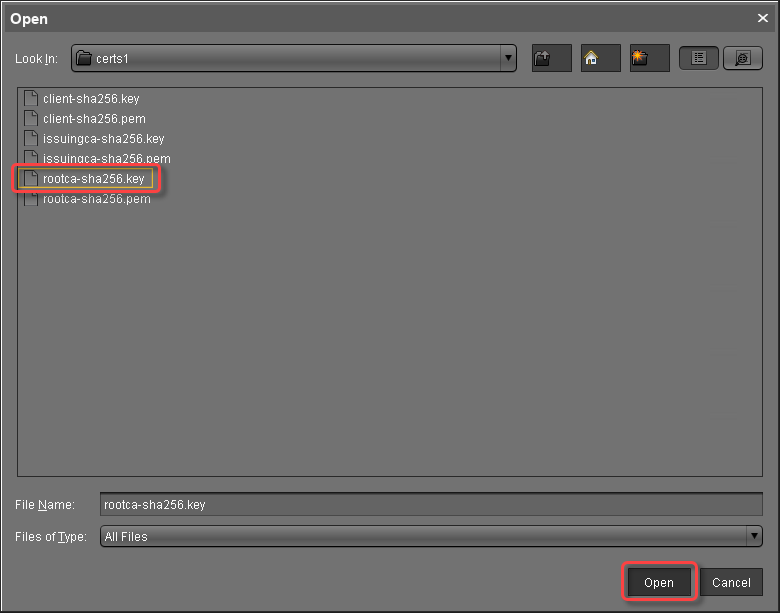
Choose the decrypted private key file for the CA certificate and click Open.
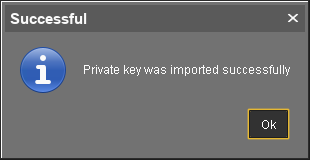
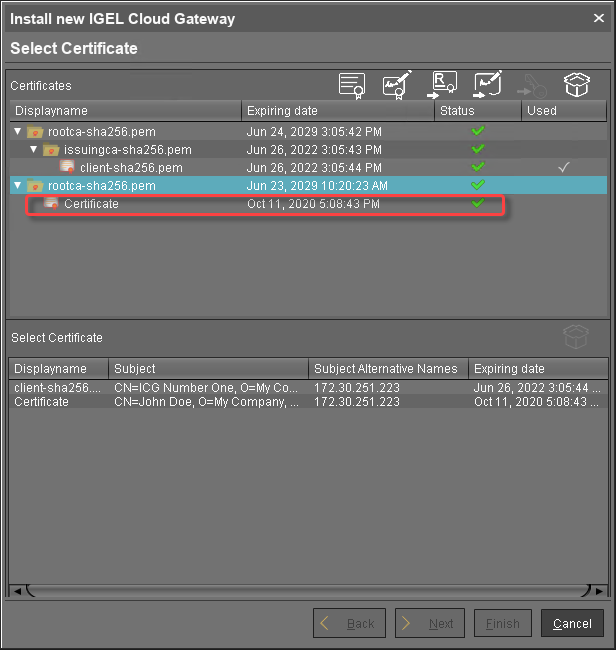
If everything went well, a success message is shown.
Continue by creating a signed certificate.
Creating a Signed Certificate
Select the CA's root certificate and click to create a signed certificate.
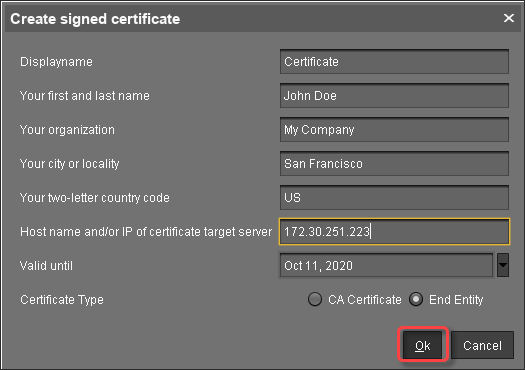
Fill in the certificate fields:
Display name: Name of the certificate
Your first and last name: Name of the certificate holder
Your organization: Organization or company name
Your city or locality: Location
Your two-letter country code: ISO 3166 country code, e.g. US, UK or ES
Hostname and/or IP address of certificate target server: Hostname(s) or IP address(es) for which the certificate is valid. Multiple entries are allowed, separated by semicolons.
All IP addresses and hostnames by which the ICG will be reachable from within the company network or from outside must be provided here.
Valid until: Local date on which this certificate expires. (Default: one year from now)
Certificate Type: Select "End Entity".
Click OK. A key pair and a certificate are generated.
Generating keys may take substantial time on virtual machines (VMs), as these do not have a powerful (pseudo) random number source. On Linux VMs, this can be improved by installing the haveged package.