Testing the Upgrade
Click
System and then Upgrade to OS 11. The OS 11 Upgrade Tool starts and indicates whether all requirements are met.
You can change the starting the starting methods for the OS 11 Upgrade Tool in the Setup under Accessories > OS11 Upgrade.
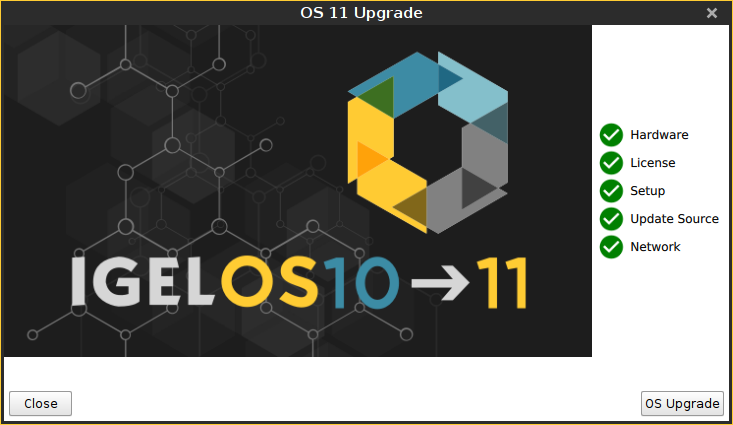
Check the output of the OS 11 Upgrade Tool and continue appropriately:
If each requirement has an
icon, click OS Upgrade to start the upgrade process.
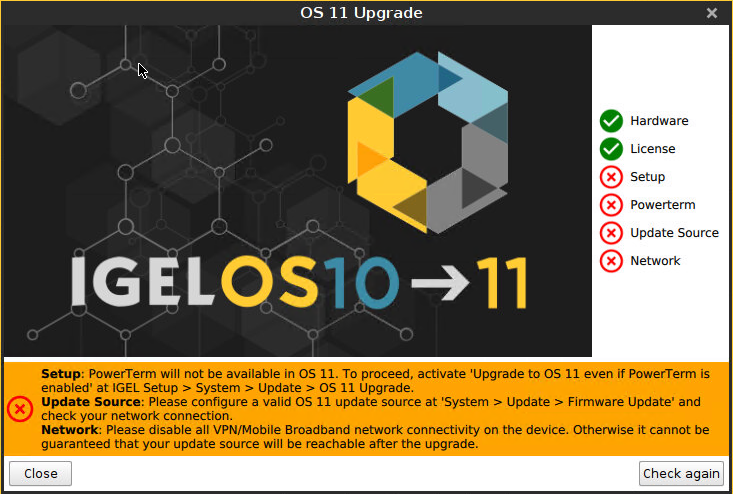
If one or more requirements have an
icon, check the messages and resolve the issues. Afterwards, click Check again. If all requirements are met, the button changes to OS Upgrade, and you can start the upgrade.
When you start the upgrade, a warning dialog is shown.
Click OK to continue.
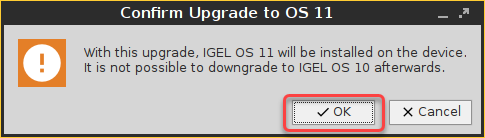
A warning dialog with a timeout is shown. If you click Cancel before the timeout expires, the upgrade is canceled. If you click OK or just wait for the timeout to expire, the upgrade is started

After the warning dialog has been confirmed or the timeout has expired, the device reboots into a special IGEL OS 10 environment, in which the system upgrade is executed. The Upgrade window shows the progress.
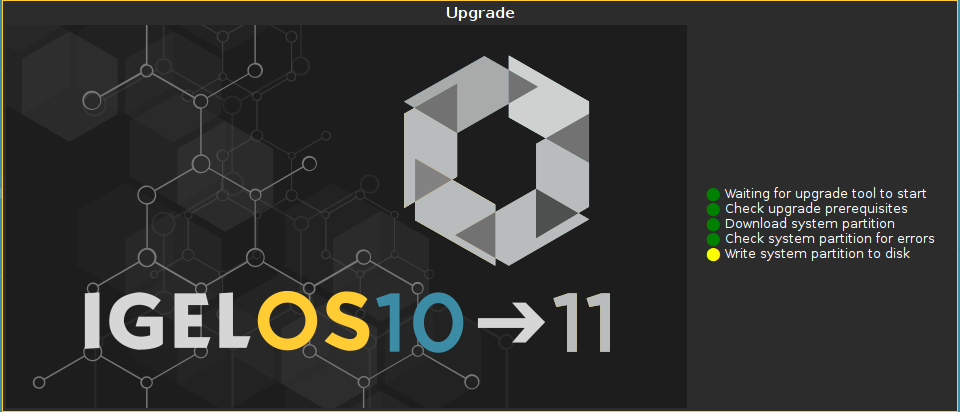
During the critical phase, the device must not be powered off. At this stage in the progress, an additional warning is shown.

When the base system is upgraded successfully, a message is shown.

The remaining components of the firmware are installed, which is indicated by update messages.

When the installation is completed, the Upgrade window looks like this:
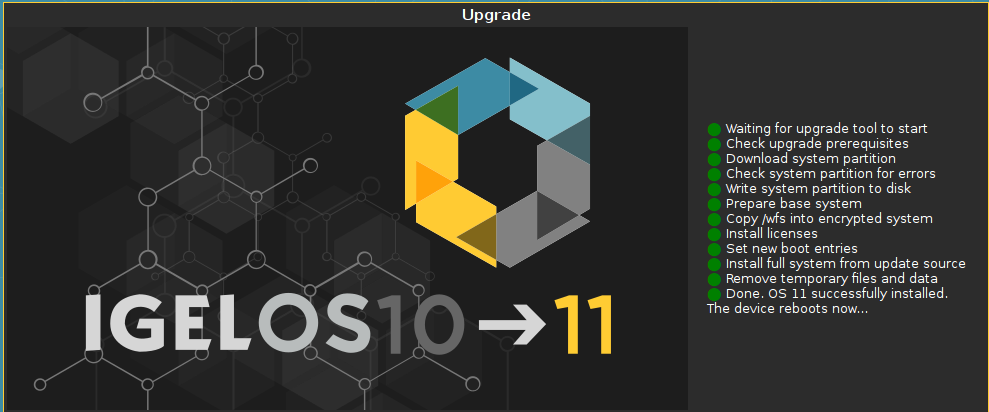
After a few seconds the device reboots into IGEL OS 11.

When the upgrade test has been successful, you are ready to set up the mass upgrade. Continue with Checking the Requirements 5.