We highly recommend testing the upgrade to version 10 with at least one device that is characteristic of your environment. This device should have every custom partition and every custom command that may possibly exist in any of your devices.

In addition, you should check thoroughly if version 10 has all features required for your purposes.


To test the upgrade:

  1. Download the firmware from the following directories in https://www.igel.com/software-downloads/igel-universal-desktop-firmware/:
    • Universal Desktop OS 2 v5.11.200 or higher
    • Universal Desktop OS 3 10.02.120
  2. Update the device to version 5.11.200 or higher. For instructions on how to update a device, see the How-To Firmware Update.
  3. When the device is updated to version 5.11.200 or higher, make sure that the device is registered at the UMS, and that the UMS receives the current settings. This is a precondition for creating the profiles, which are part of the mass upgrade methods; see Mass Upgrading Your Devices.
  4. Deploy the UDC 3 license; for details, see Setting up Automatic UDC2 License Deployment.
  5. Open the thin client's Setup and go to System > Update > Firmware Update.
  6. Configure a valid 10.02.120 firmware update source.

    If you are using a USB memory stick as an update source, you must configure a file path that works under IGEL Linux 5 and under IGEL Linux 10 alike:
    1. Make sure that no other memory stick is connected to the device.
    2. Set the Protocol to FILE.
    3. Set the Server Path to /mapping/storage0/.
    4. Select the osiv.inf file on the memory stick.
  7. Activate Allow firmware upgrade to IGEL Linux 10.
  8. Click Ok to close the Setup.
  9. Open > System > IGEL Linux 10 Upgrade Tool.
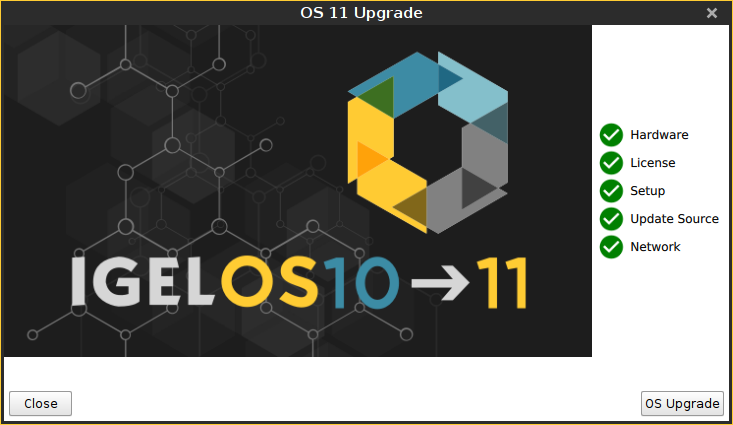
    The IGEL Linux 10 Upgrade Tool starts and checks if the device meets all requirements.
    The start screen on a UDC device looks as follows:

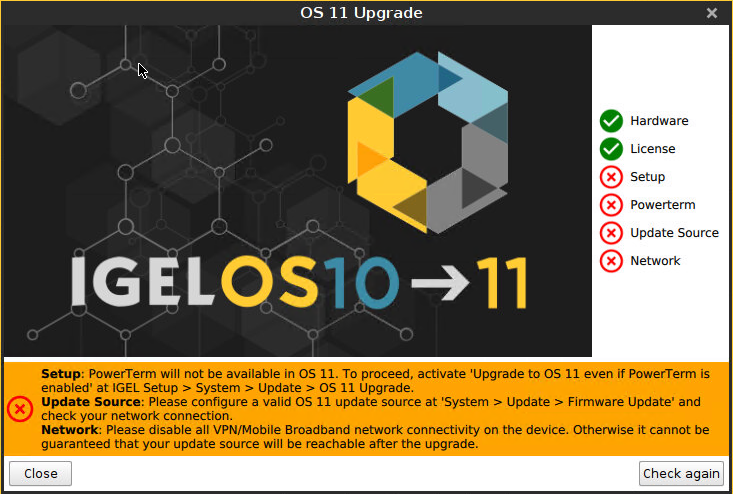
  10. Check the output of the IGEL Linux 10 Upgrade Tool and continue appropriately:
    • If each requirement has an icon, click Upgrade to start the upgrade process.
    • If some requirements have an icon and all other requirements have an icon, click Details to learn more about the possible issues. Remember to test all items in question after the upgrade has been completed. Click Upgrade to start the upgrade process.
    • If some requirements have an icon, click Details to learn more about the issues. All issues must be solved before an upgrade is possible; see Troubleshooting.

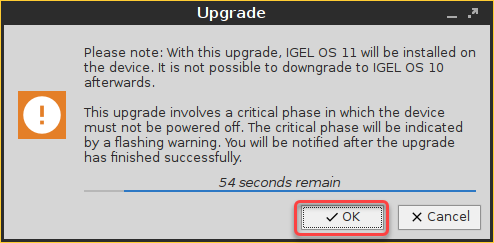
    When you start the upgrade, the following dialog is shown:

  11. Click OK to continue.
    The device reboots into a special version 5 environment. When the device has powered up, it shows a confirmation dialog with a 60 second timeout. During this timeout, you can cancel the upgrade by clicking Cancel.


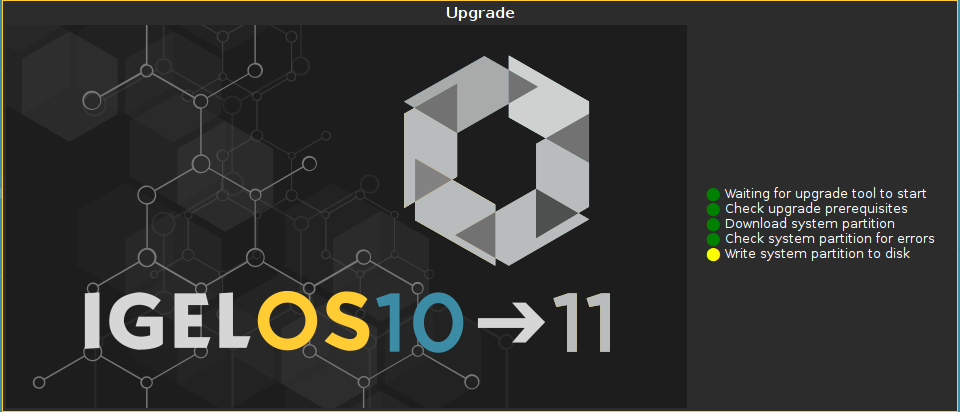
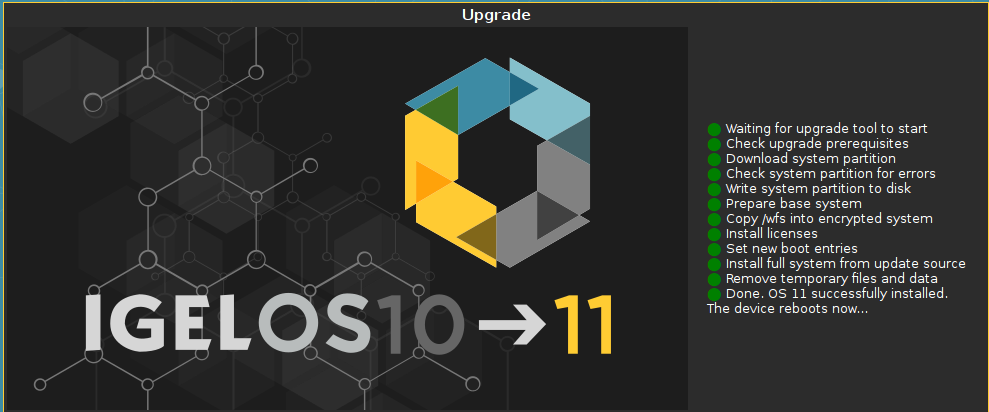
    After 60 seconds, or when Start Firmware Upgrade Now has been clicked, the device downloads a minimal version 10 system and writes it to its flash memory.

    During this critical phase, the device's power supply must not be interrupted!


    If everything went well, a message indicates that the base system has been written to the device's flash memory. The base system is now bootable; a reboot is initiated.


    The device reboots into a minimal version 10 environment. On startup, it downloads the data for the other partitions, e.g. the GUI, the RDP clients, the browser, etc.


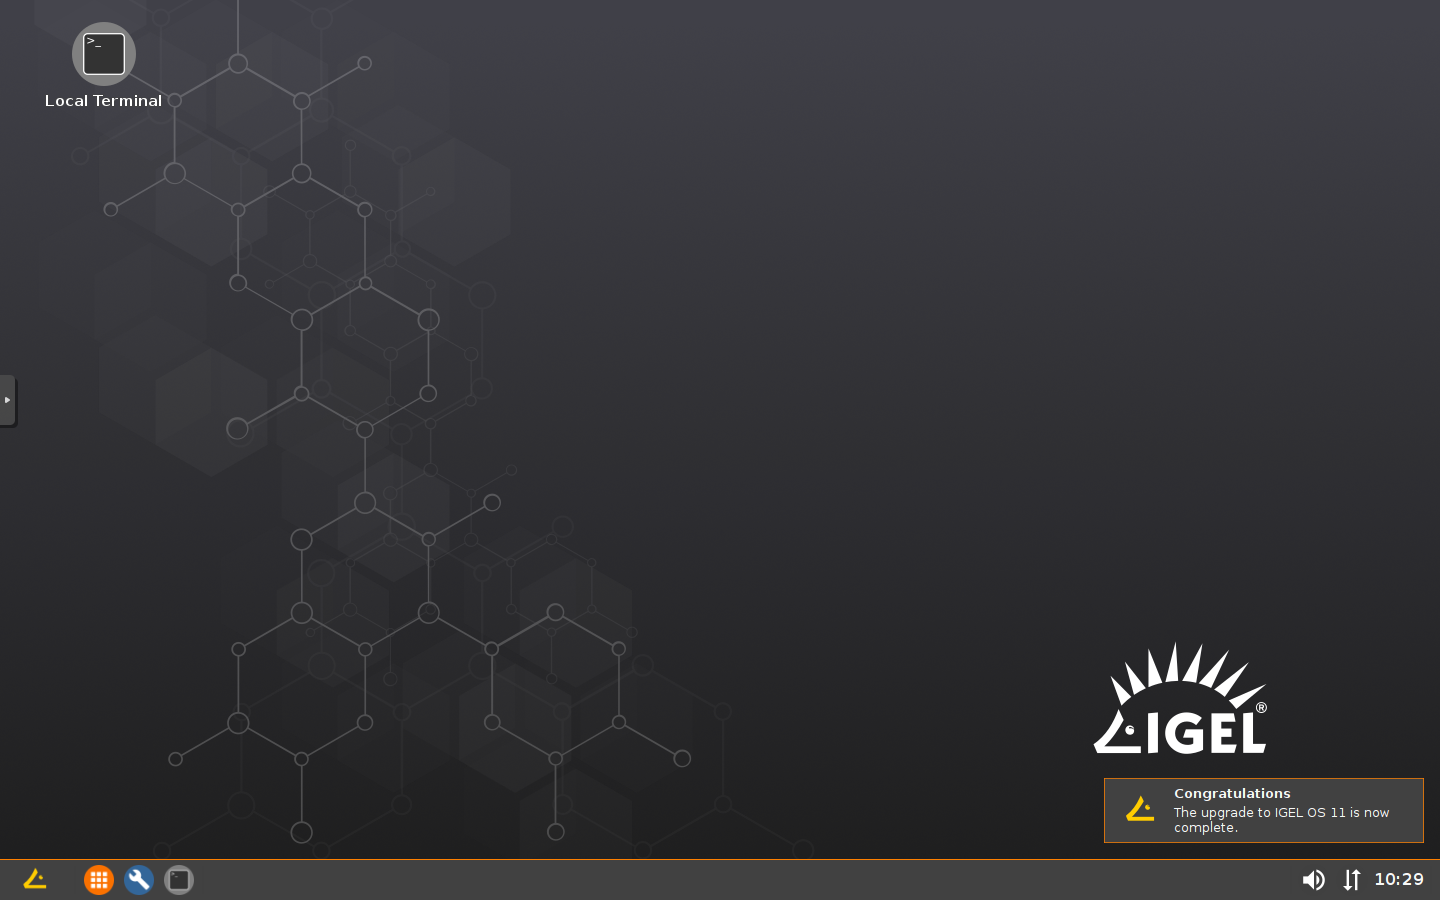
    When all partitions are complete, the device reboots into a fully functioning version 10 firmware. The upgrade to IGEL Linux 10 has been completed.