Quick Start Guide
This section describes how to set up an Azure Virtual Desktop (AVD) session (formerly Windows Virtual Desktop, WVD) with IGEL’s AVD client based on Microsoft’s RD Core SDK for Linux which can be used to connect to an AVD deployment.
Requirements
-
Device with IGEL OS 11.03.261 or higher; download the latest version at igel.com/avd
-
Azure Virtual Desktop deployment
Instructions
-
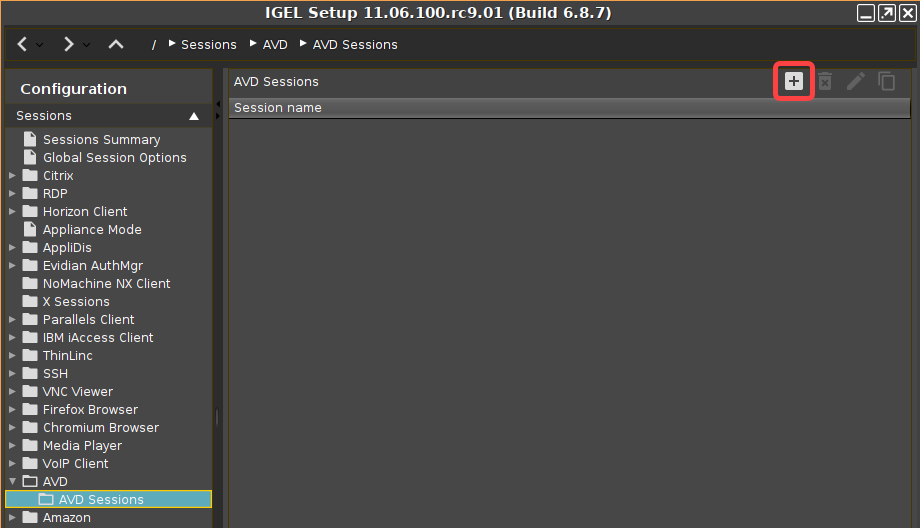
Open the Setup or the configuration dialog in the UMS and go to Sessions > AVD > AVD Sessions.
-
Click the

-
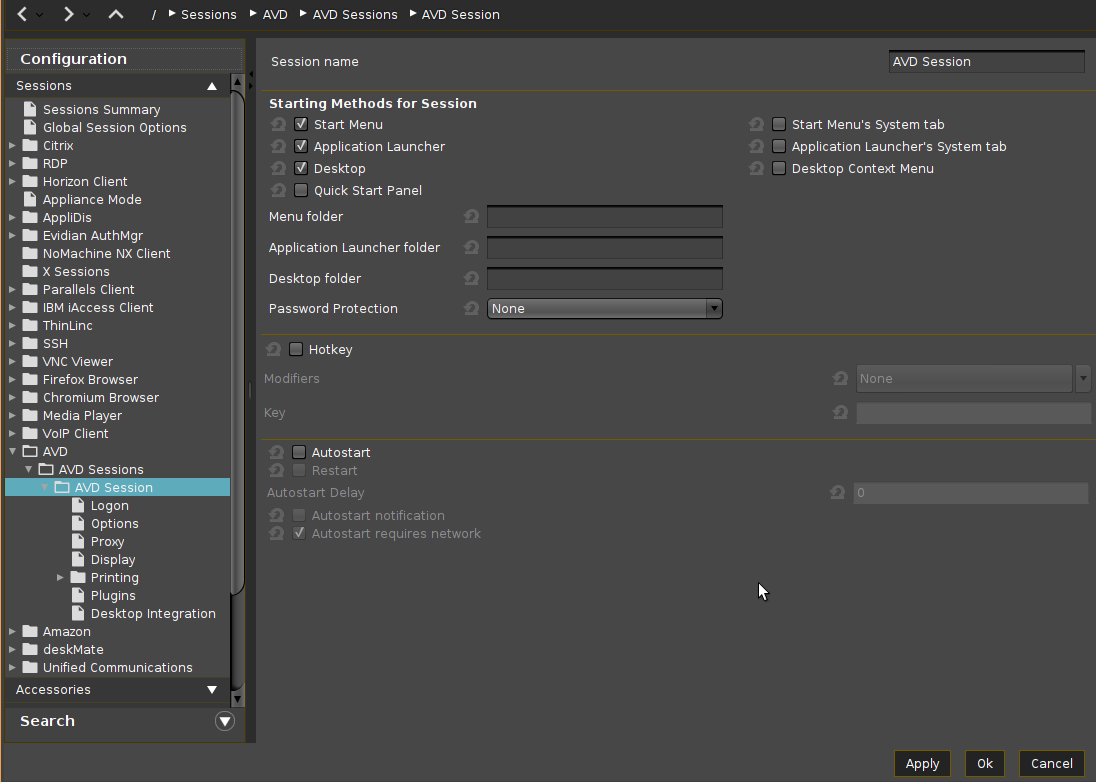
Enter a Session name and configure the starting methods according to your needs.
-
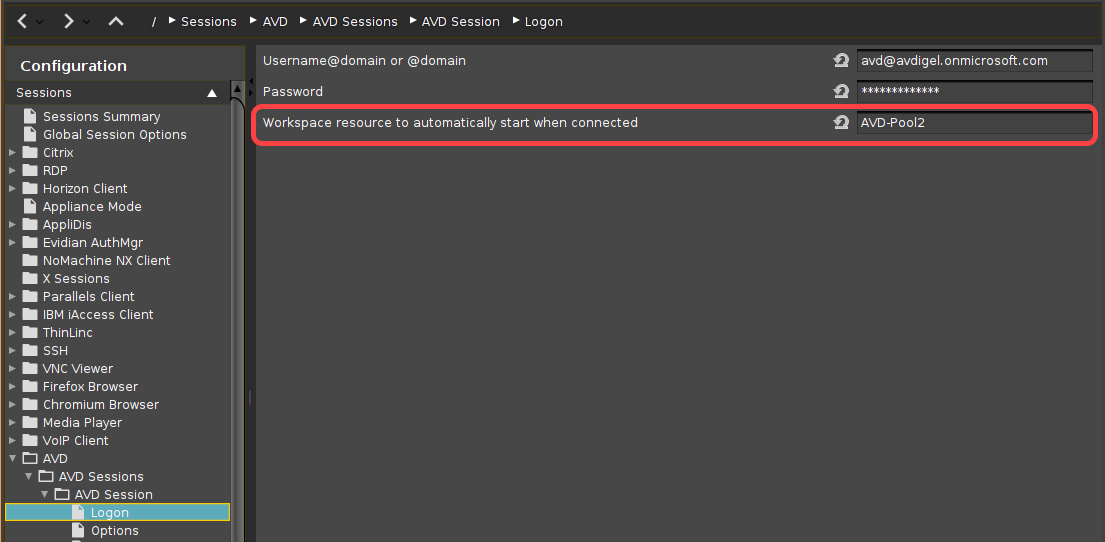
If the login is to be started automatically on session startup, go to Sessions > AVD > AVD Sessions > [Session name] > Logon and enter your credentials under Username@domain or @domain and Password. For details, see Logon 1.
-
If a specific resource is to be started automatically, enter its name under Workspace resource to automatically start when connected.
-
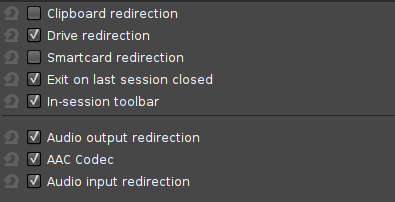
Go to Sessions > AVD > AVD Sessions > [Session name] > Options and enable or disable features and redirections according to your needs.

-
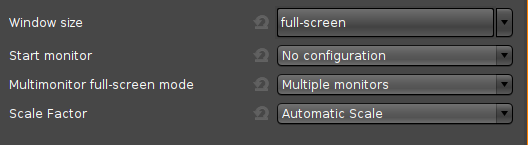
If you do not want to run the AVD client on all available screens in fullscreen, go to Sessions > AVD > AVD Sessions > [Session name] > Display and change the settings according to your needs.
-
Go to Sessions > AVD > AVD Sessions > [Session name] > Plugins and enable features according to your needs.

-
Click Apply or OK.
The AVD session is configured and can be started with the starting methods you have configured in step 3.
If you want to configure further AVD sessions, start again from step 2.
See also the reference manual chapter AVD Session.