Setup Assistant for IGEL OS
When you start an unconfigured device, you will be welcomed by the Setup Assistant for IGEL OS. This assistant takes you through the most important initial configuration steps.
The Setup Assistant starts automatically after booting IGEL OS if all the following requirements are met:
The device is not yet configured.
No IP address for the Universal Management Suite (UMS) was transferred using the DHCP option 224.
No UMS can be accessed under the DNS name
igelrmserver.
In the IGEL Setup Assistant, you will find the following buttons:
Next: Go to the next configuration step.
Back: Go back to the previous step.
Cancel: Exit the Setup Assistant without saving changes to the configuration. However, changes to the time and date will remain effective.
Skip: This button is shown if the current configuration step can be omitted. If you click on Skip, nothing will change during the configuration step. If the configuration is edited, the button will change to Next.
Instead of clicking Skip, the ESC key can also be clicked to skip this configuration step.
Language

Here you can select the language for the user interface
Keyboard Layout
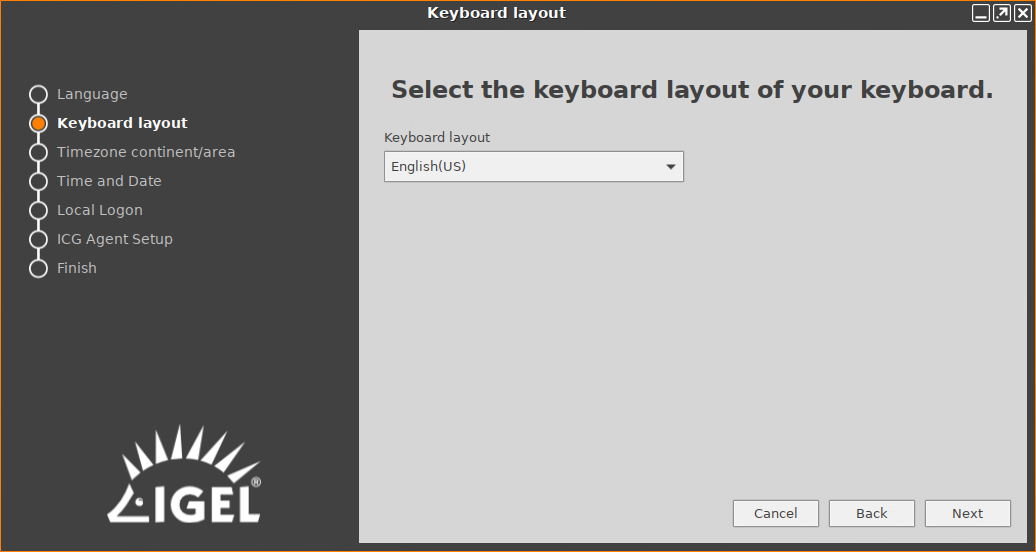
Select the keyboard layout. The selected layout applies to all parts of the system including emulations, window sessions, and X11 applications.
Timezone Continent/Area

Timezone Continent/Area
Select the continent/area for your location.
Possible values:
General: Under Location, you can select a GMT time zone. (Default)
Africa... Pacific: Under Location, you can select a city for the selected continent/area.
Location
Select your location or time zone.
Location
Summer time adjustment is taken into account here. Example: If you select "Berlin", the device will switch between summer time and normal time in accordance with the German adjustment rules. Time zone: The GMT time zones specify by how many hours the time zone for a particular location differs from the Greenwich time zone. The preceding symbol is used in accordance with the POSIX format. Examples: For New York City, select "GMT+5" which means "5 hours west of Greenwich". For Moscow, select "GMT-3” which means "3 hours east of Greenwich".
Time and Date
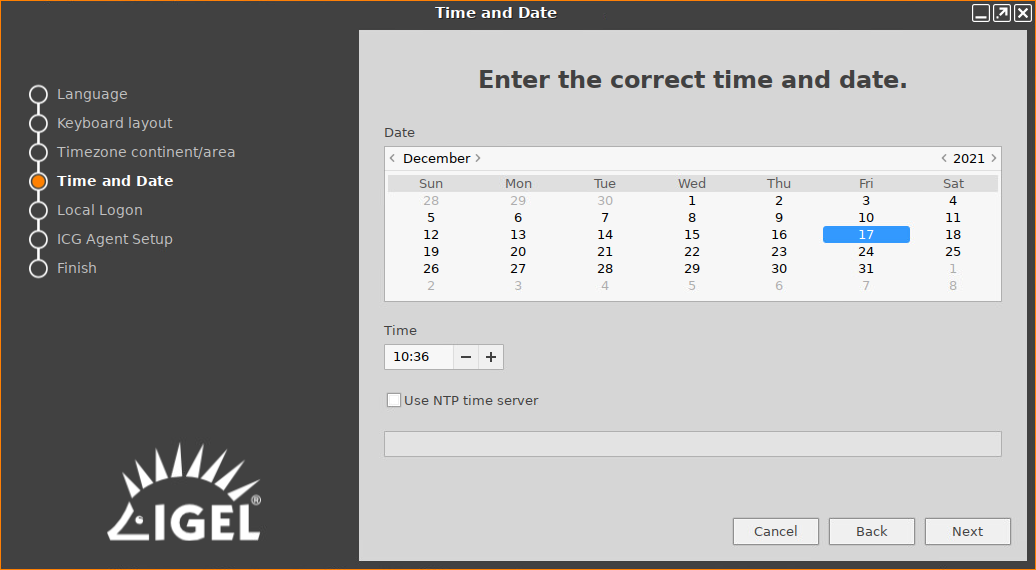
Date
Select the current date.
Time
Set the current local time.
Use NTP time server
☑
The device uses the NTP time server that is entered in the field. You can specify multiple NTP time servers separated by spaces. Example: 0.de.pool.ntp.org 1.de.pool.ntp.org
To configure an NTP server via a UMS profile, edit Use NTP time server and NTP time server under System > Time and Date. For details on profiles, see Using Profiles.
Next
Sets the system clock according to what is entered above.
Mobile Broadband
This configuration step is available if a surf stick / modem has been detected. If not detected, reboot your endpoint device.
Basic mode
In the basic mode (default), you can make the following settings:
Country or region
The country or region of your provider.
Provider
Provider (the possible options depend on what you choose for Country or region).
APN/Plan
APN/Plan (the possible options depend on what you select for Provider).
For more configuration options, click the Expert Mode button.
Expert mode
In the expert mode, you can make the following settings:
Enabled
Determines if the settings made in the expert mode are used. (Default: Enabled)
APN
APN (Access Point Name) for your network connection. If you do not know the APN, ask your mobile communications operator for it.
Network ID
Network ID for your network connection. If you do not know the network ID, ask your mobile communications operator for it.
Number
Access number for your network connection. If you do not know the access number, ask your mobile communications operator for it.
User name
User name for your network connection. If you do not know the user name, ask your mobile communications operator for it.
Password
Password for your network connection. If you do not know the password, ask your mobile communications operator for it.
PIN
PIN for the SIM card used.
Wireless
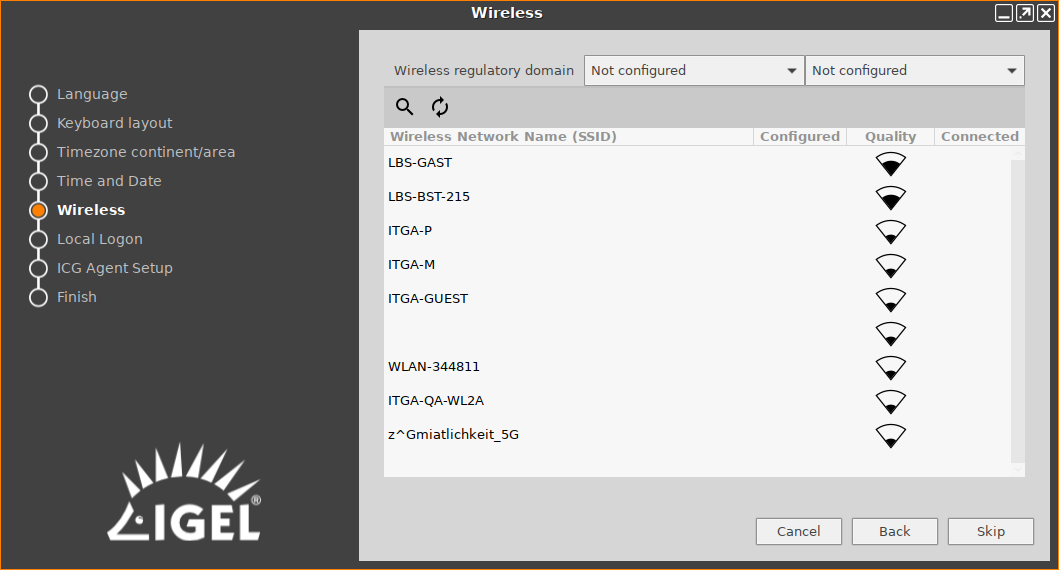
This configuration step is available if a WLAN adapter was found when starting the device. The device will search for available WLAN access points as soon as the configuration step is opened. The WLAN access points found will be listed. You can then connect to your desired WLAN access point.
If you carry out the WLAN configuration and exit the Setup Assistant by selecting Finish, the connection will be saved and WLAN will be permanently enabled. If you skip this configuration step or cancel the configuration, WLAN will not be permanently enabled.
If no Wi-Fi adapter is found, please check if:
There is a hardware switch on your device.
There is a BIOS setting that disables Wi-Fi if Ethernet is connected.
There is a BIOS update for your endpoint.
Wireless regulatory domain
In the first selection menu, select the world region (example: Europe) in which you are situated and in the second one the country (example: United Kingdom).
![]() : Searches again for WLAN access points.
: Searches again for WLAN access points.
![]() : Opens a dialog which allows you to enter the WLAN name (SSID) of a hidden WLAN access point.
: Opens a dialog which allows you to enter the WLAN name (SSID) of a hidden WLAN access point.
(Name of a WLAN access point in the list): Click on your desired WLAN access point and enter your access data in the dialog.
Once the connection is established, the
![]() symbol will be shown in the Connected column.
symbol will be shown in the Connected column.
Connectivity
This page is shown if for any reason no network connectivity is available.
Follow the instructions on the screen.
Local Logon
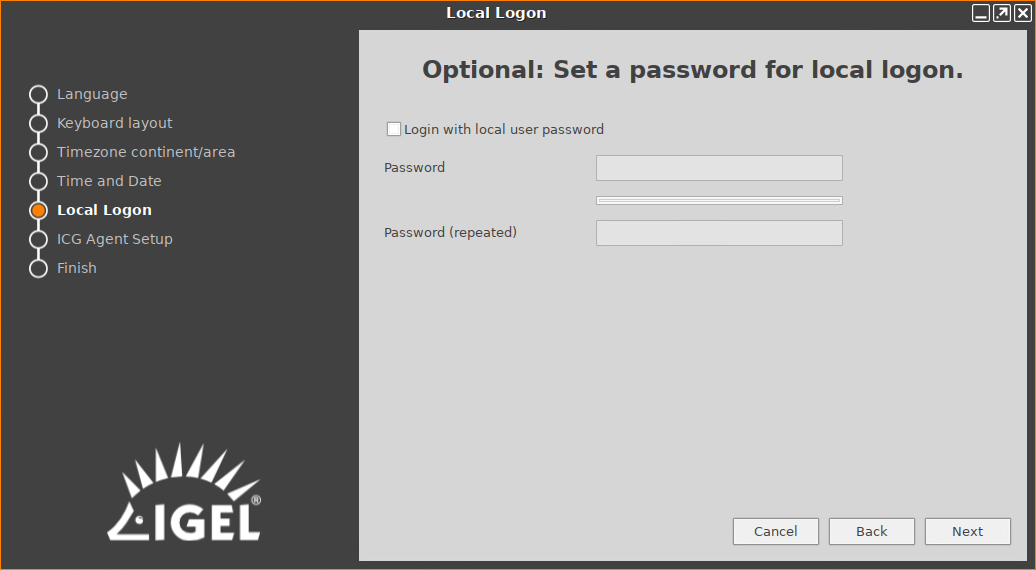
This step is optional. If you want to configure a local user password later, see Local User.
Login with local user password
☑
A login screen is shown upon the start of the device, and a local user password set under Password is used to log in.
Password
Enter the desired password. The checker shown below assesses the strength of the password.
Password (repeated)
Repeat the password.
ICG Agent Setup
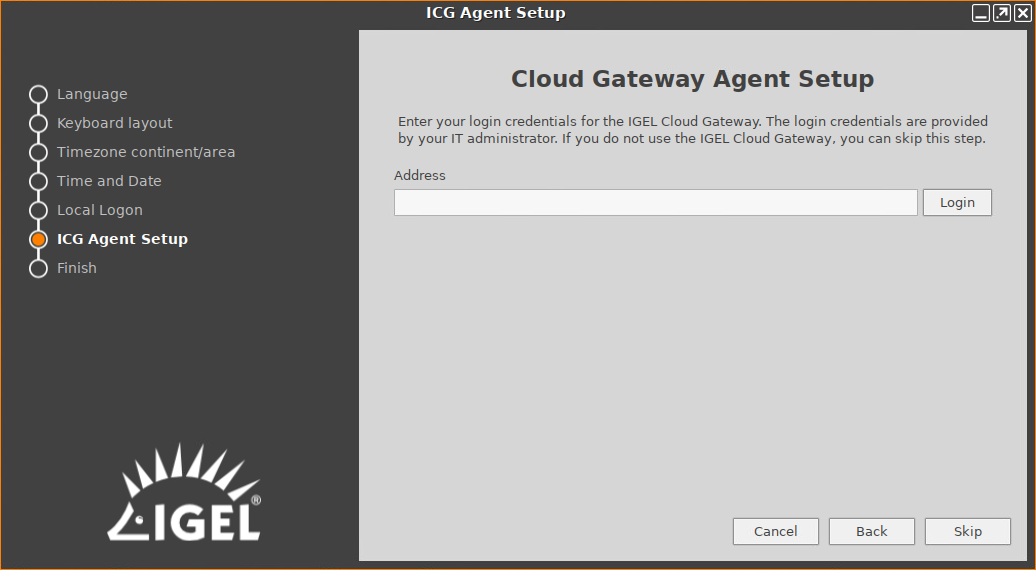
If your system administrator has given you access data for IGEL Cloud Gateway (ICG), you can connect the device to the gateway here.
You will find instructions for this under Using ICG Agent Setup.
Otherwise, do not touch this page and click on Skip.
Activate Your IGEL OS
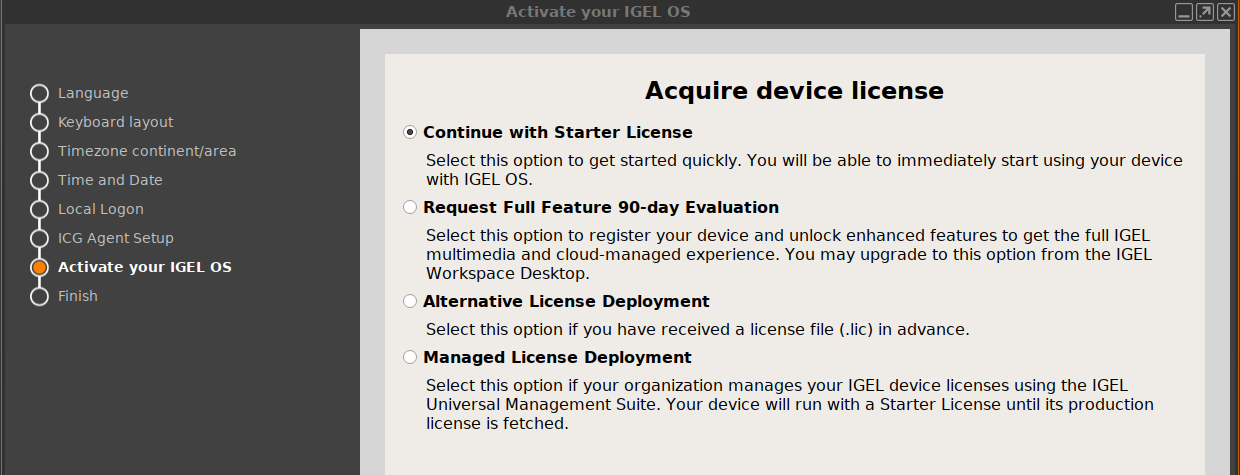
In this step, you select the method for licensing your IGEL OS endpoint device. If the device has no license yet, the following options are available:
Continue with Starter License
Request Full Feature 90-day Evaluation
Alternative License Deployment (Mostly needed if no IGEL UMS / ICG is in use)
Managed License Deployment (Preferred if you use the IGEL UMS)
The options are described in detail further below.
Continue with Starter License
With the IGEL OS Starter License, you can use the endpoint device immediately. For details on the features supported by the IGEL OS Starter License, see IGEL Software License Overview. If the device is not managed by the IGEL Universal Management Suite (UMS), an End User License Agreement (EULA) must be accepted.
IMPORTANT: Multi-Media Codec Pack (MMCP) is not included, there is no Unified Communication or general performance optimization available.
Request Full Feature 90-Day Evaluation
With this evaluation license, all features of IGEL OS 11 are available for a fixed period. This period starts when the device has received the demo license.
For a demo license, you must accept the EULA to continue with setting up and using your device.
Make your choice as required and fill in all fields.
Activate the checkbox near I agree to the terms + conditions and privacy policy.
Click ACTIVATE YOUR OS 11.
Your device fetches a demo license from IGEL.
Alternative License Deployment
You can deploy a license manually via HTTP download from a specific URL, via FTP, or from a USB memory stick.
To deploy a license from the HTTP server:
Enter the complete URL to the license file location in the text field, including the protocol.
Click Install.
To deploy a license from the FTP server:
Click FTP.
Define the access data for your FTP server:
Host/Port: URL of the FTP server on which the license file is located
User: User for accessing the FTP server
Password: Password associated with the User
Click Browse.
In the dialog, go to the license file and select it.
Click Install.
To deploy a license from a USB memory stick.
Click File.
Connect the USB flash drive that contains the license to the device.
Under Storage Device, select the USB flash drive that contains the license.
Click Browse.
In the dialog, go to the license file, select it and click Open.
Click Install.
Managed License Deployment
The device will request a license from the UMS. If the device is outside the company network, the IGEL Cloud Gateway (ICG) will be used for connecting the device to the UMS. In this case, ICG access must be set up; see the"ICG Agent Setup" section.
Please note that the device will not immediately receive a license in this step.
Troubleshooting: Proxy Configuration
If you get an error at this stage of the wizard, you may need to configure a proxy.
Click Proxy configuration in the upper right of the wizard to get to the proxy configuration dialog.
Edit the proxy settings as required:
Use proxy server: Activate this if a proxy is required.
HTTP Proxy: Address of the HTTP proxy
Port: Port of the HTTP proxy
SSL Proxy: Address of the SSL proxy
Port: Port of the SSL Proxy
SOCKS Host: Address of the SOCKS Host
Port: Port of the SOCKS host
User name: User name for authentication
Password: Password for authentication
User name and Password are the credentials for all proxy types configurable here (HTTP, SSL, and SOCKS).
Finish
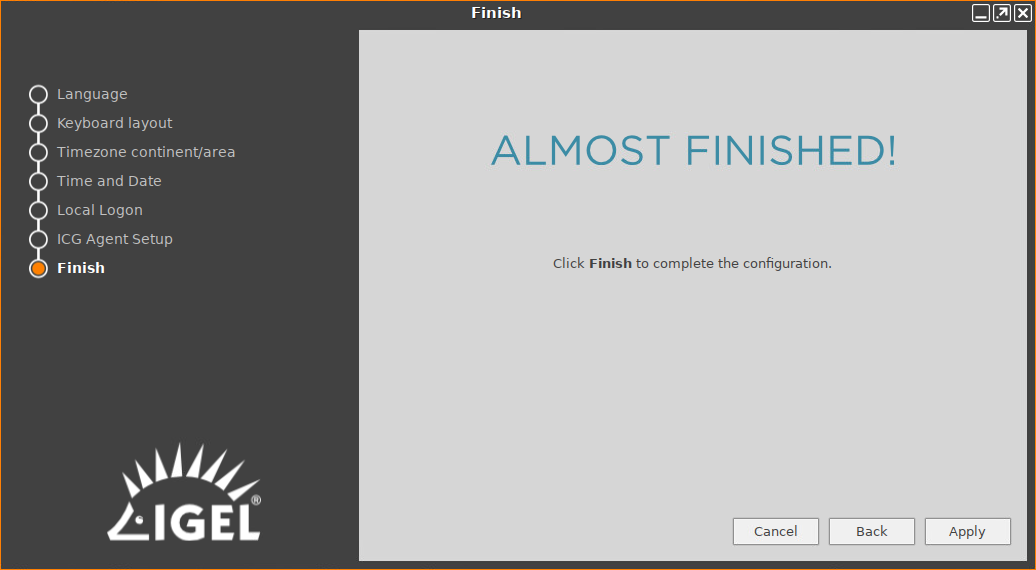
Saves all settings and closes the Setup Assistant. If you have changed the language, the GUI X11 graphics system will restart; the screen will go black for a short time. If you have a UD Pocket Demo, a restart is required to finish the activation.