Setting Up the Personalization Machine
Setting Up the Local Terminal
If a local terminal session has already been configured on the designated personalization machine, you can skip this step.
Open the device's Setup and go to Accessories >Terminals.
Select
 .
.Click Ok.
On the desktop and in the Application Starter, a starter for the terminal session is created.
Assigning the File Objects to the Personalization Machine
In the UMS structure tree, select the endpoint that will act as the personalization machine.
In the Assigned objects area, click
 .
. Under Files, select the file objects using the
 button:
SecureboardRootCA.pem
Device intermediate CA certificates; here: p-20190712.pem
user-cert.der
user-key.pem
client-cert.pem (optional)
client-key.pem (optional)
Device client CA certificate; here: clientca-cert.pem (optional)
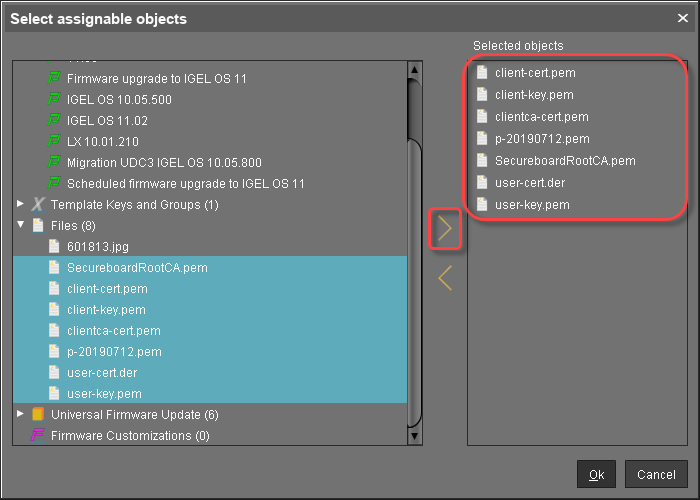
Click Ok.
In the Update time dialog, select Now and click Ok.
The certificate and key files are transferred to the personalization machine. The personalization machine is ready for operation.