Installation Procedure for Factory Images
The installation will overwrite all existing data on the target drive.
Preparing the Image
Connect the prepared USB memory stick to the target device and switch on the target device.
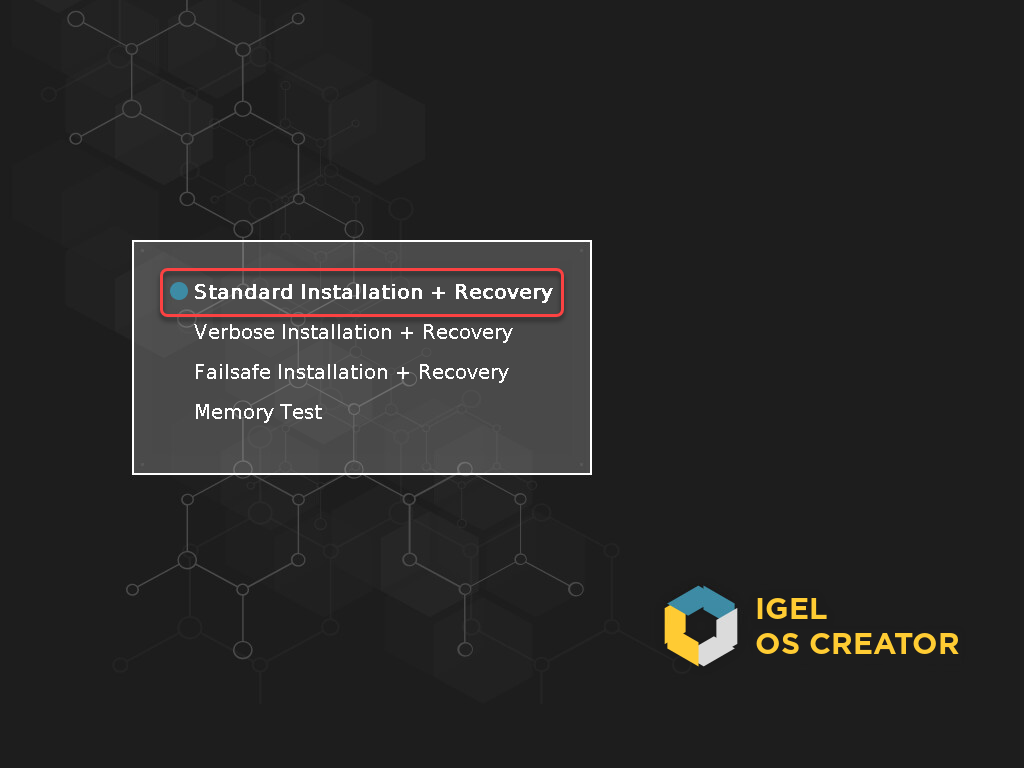
Select Standard Installation + Recovery or Verbose Installation + Recovery.
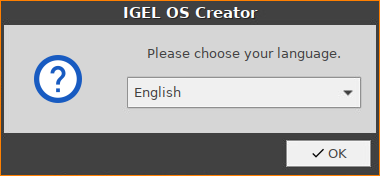
Select the language for the installation process.
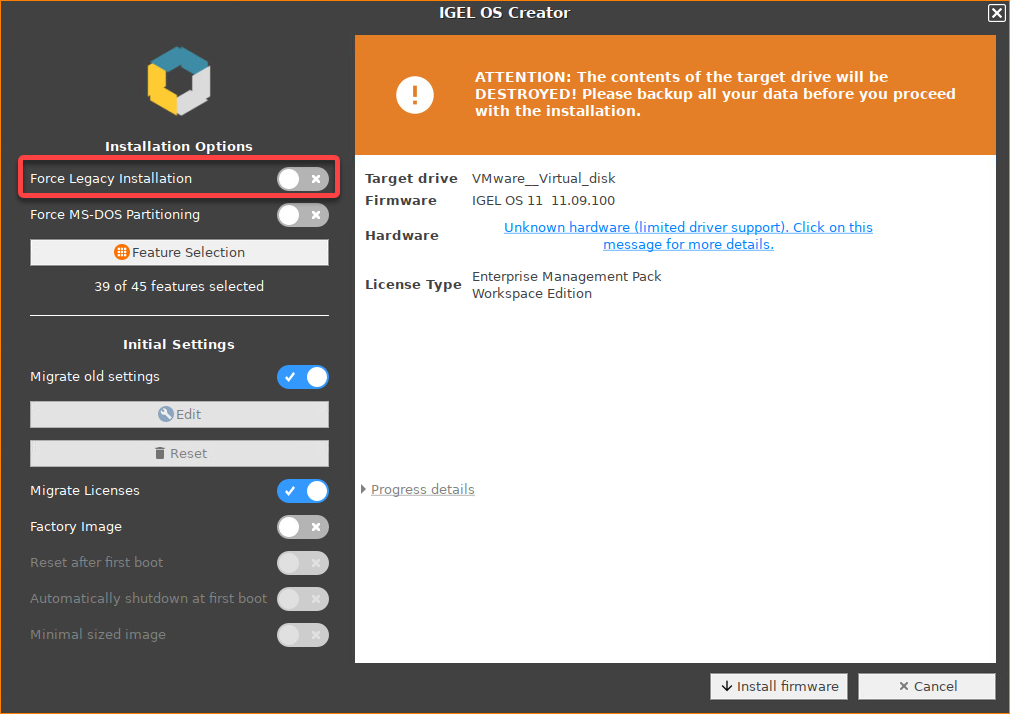
The installation program IGEL OS Creator opens. Here, you can configure settings for the installation process and start it.Optional; only available if your device has booted in UEFI mode: If you want to install the legacy/BIOS version of IGEL OS 11, activate Force Legacy Installation.
If you have activated Force Legacy Installation, remember to set the system to legacy/BIOS mode after installation.
Optional; only available if your device has booted in UEFI mode: If you want to use an MS-DOS partition table instead of a GPT partition table, activate Force MS-DOS Partitioning.

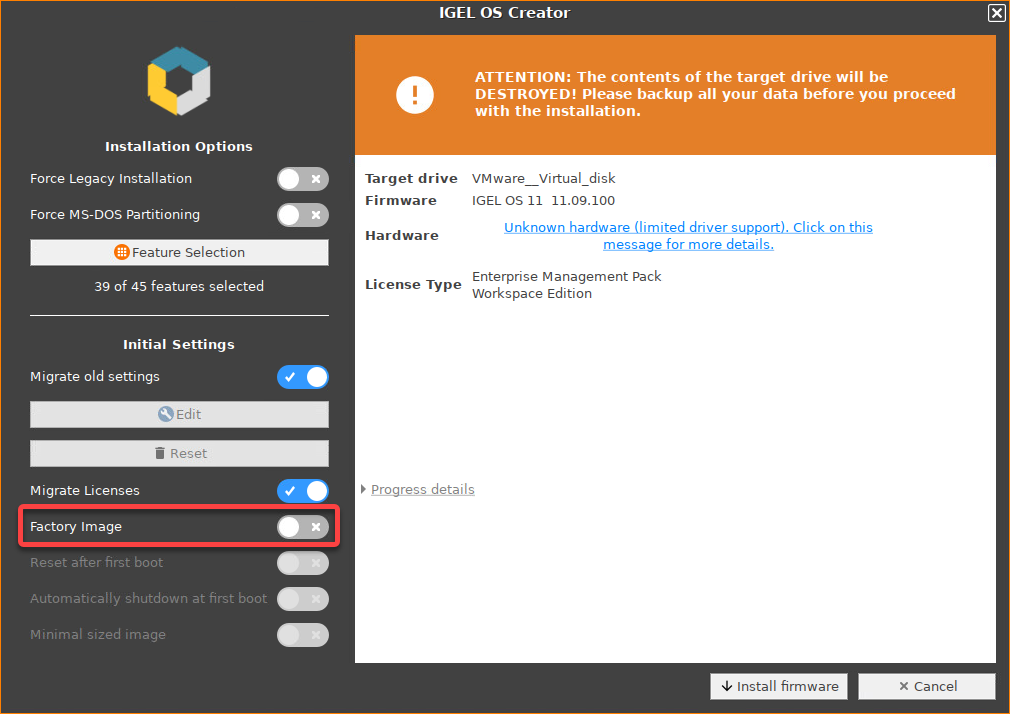
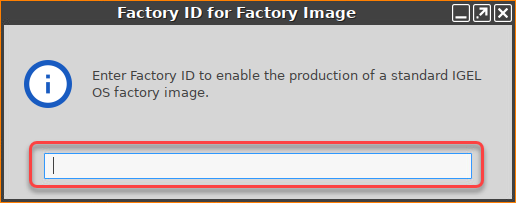
Activate Factory Image and enter your factory ID.
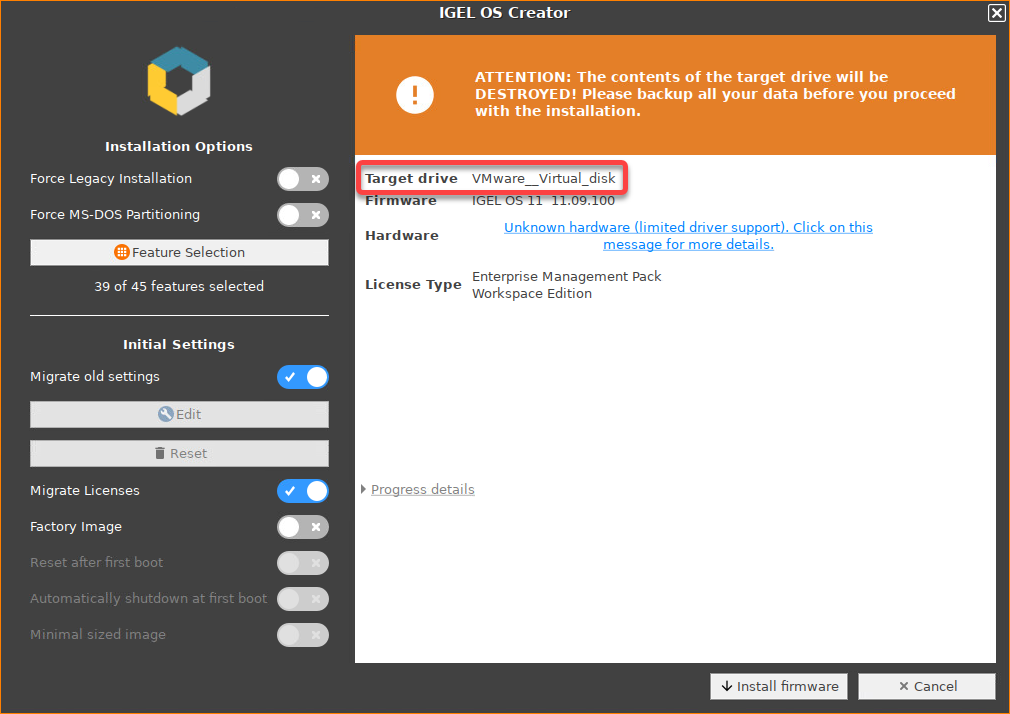
Check the Target drive to ensure that the system is installed on the desired drive.
If you want to exclude features of IGEL OS, e.g. to save storage space, click Feature Selection and edit the settings as required.


All: Select all features
None: Select no feature
Feature: Sort the list alphabetically
Size: Sort the list by the memory requirements of the features
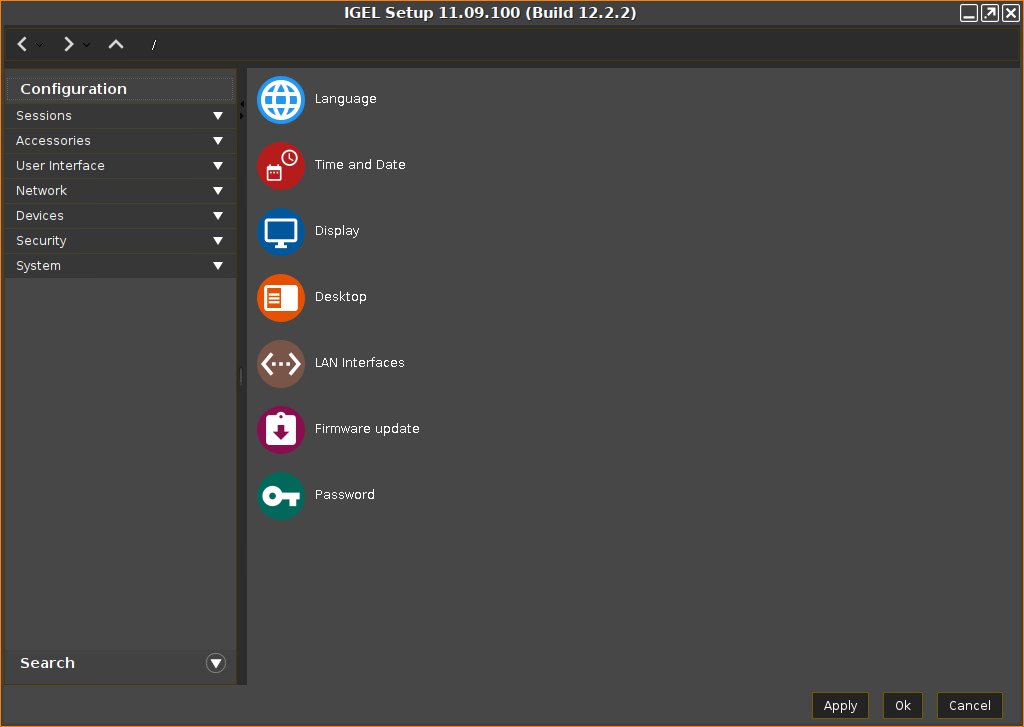
If you want to change the initial settings for the devices you are about to deploy, click Edit.

The IGEL Setup opens, enabling you to change the settings in the same way as with a regular IGEL OS installation. The changes are stored on the USB memory stick from which the IGEL OS Creator (OSC) is executed. For details about the settings, see the chapters Setup and the subsequent chapters in the IGEL OS Reference Manual.
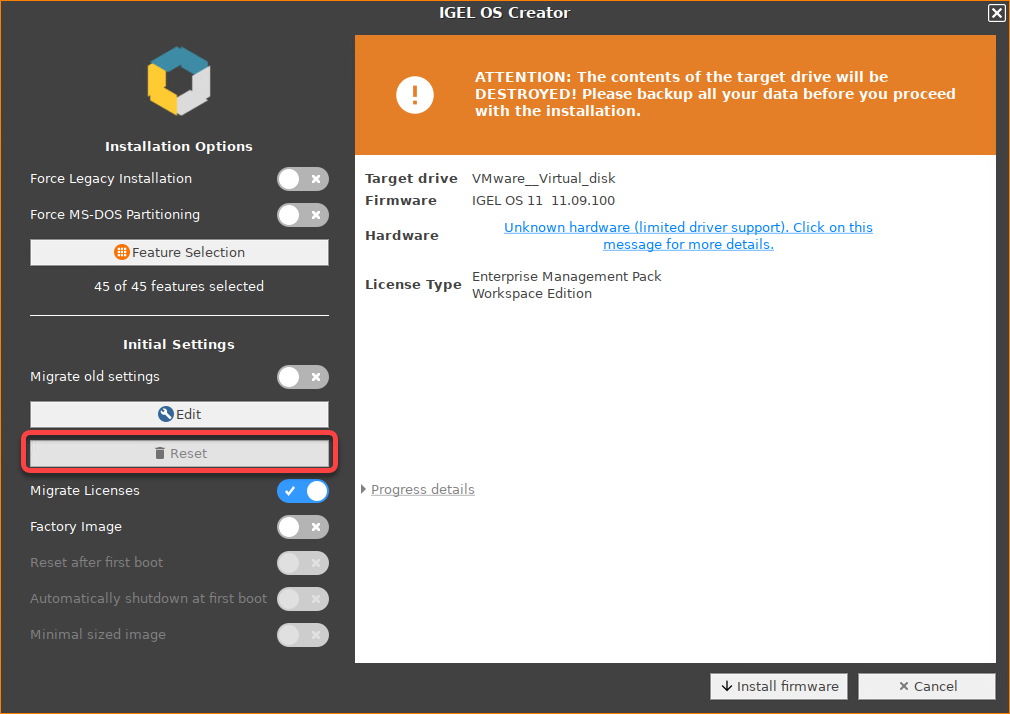
If you want to undo your changes and restore the original settings, click Reset.
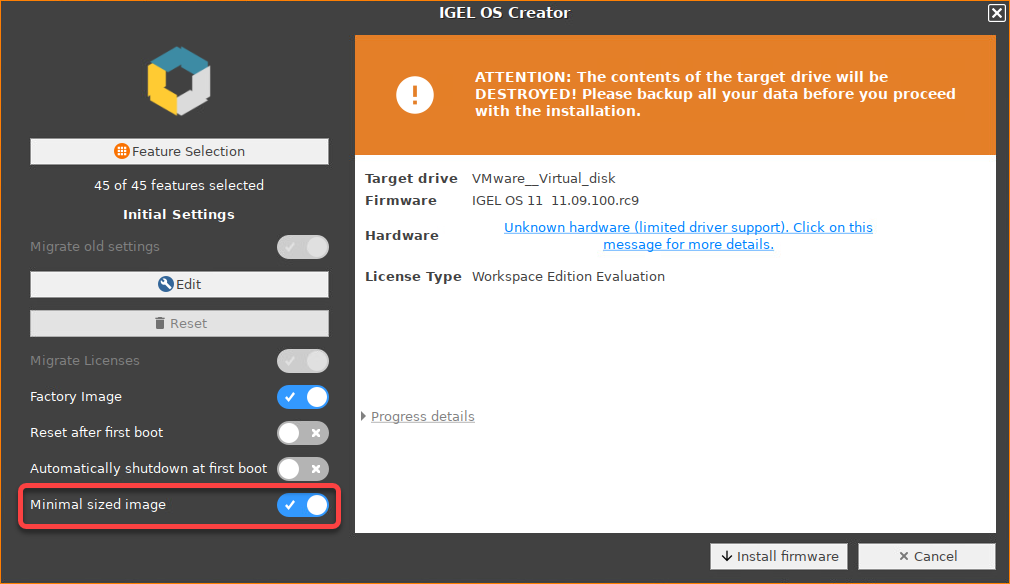
If you want to create an image that will resize itself on the first boot, following the device's storage size, enable Minimal sized image.
If you want to perform a functional test on each device, you have two possibilities:
Important Note
If Reset after first boot or Automatically shutdown at first boot is activated on your factory preload image, the first boot of your devices MUST take place BEFORE shipment to end customers!
Manual tests with visual feedback on each device: Enable Reset after first boot. The test procedure is described under Unit Testing.
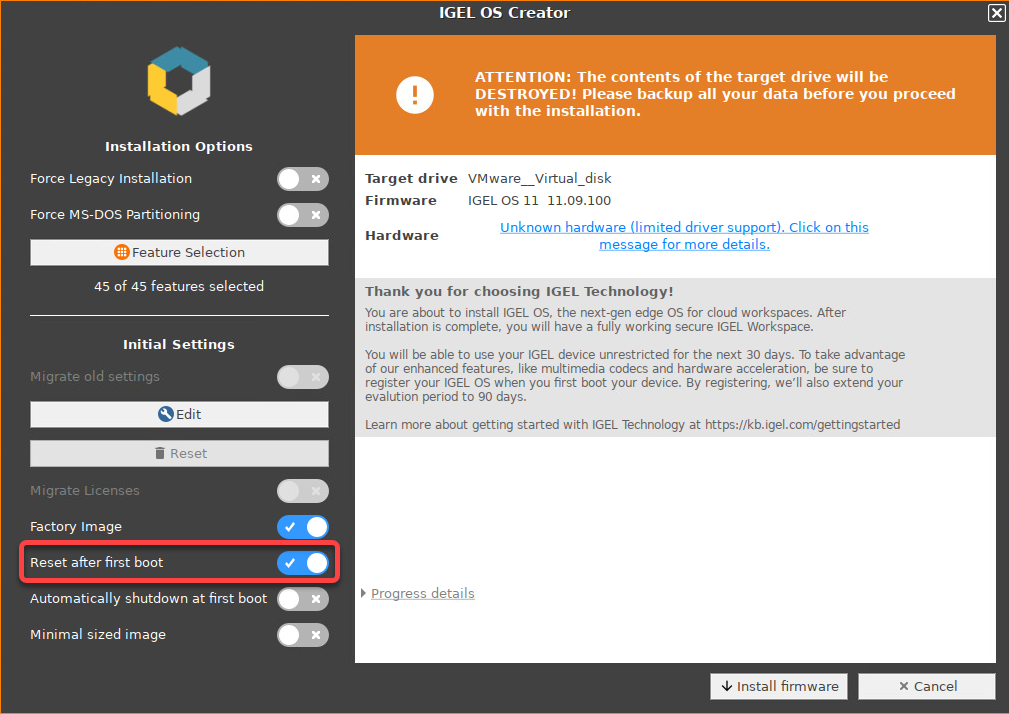
Automatic tests (unattended): Enable both Reset after first boot and Automatically shutdown at first boot. The test procedure is described under Automatic Unit Testing.
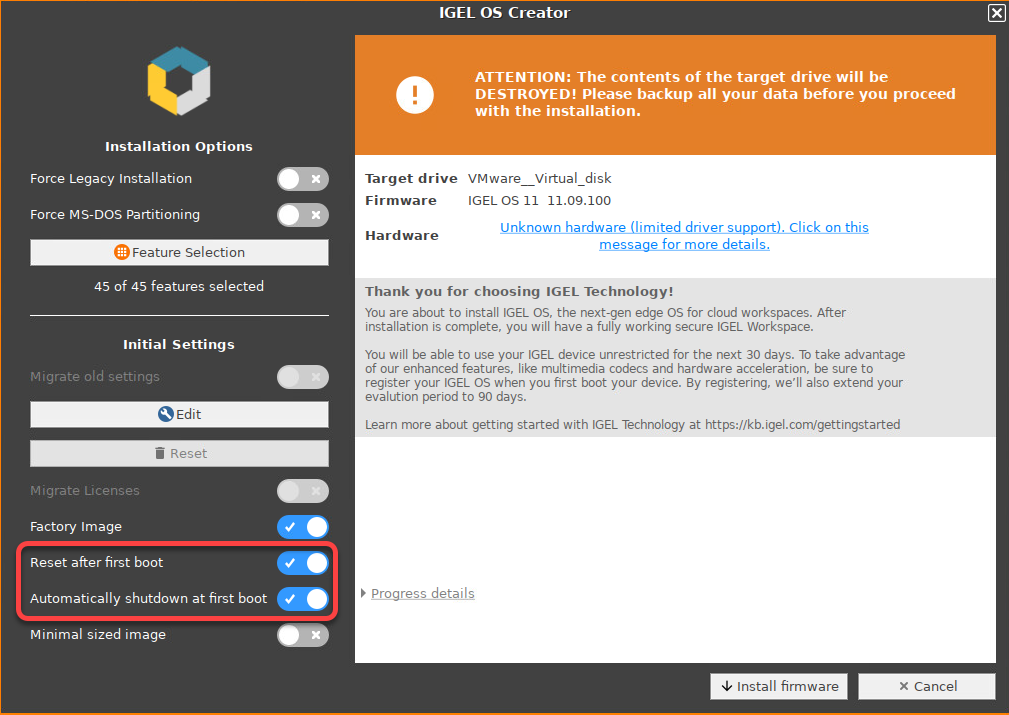
To start the installation, click Install firmware.

Confirm the warning dialog.


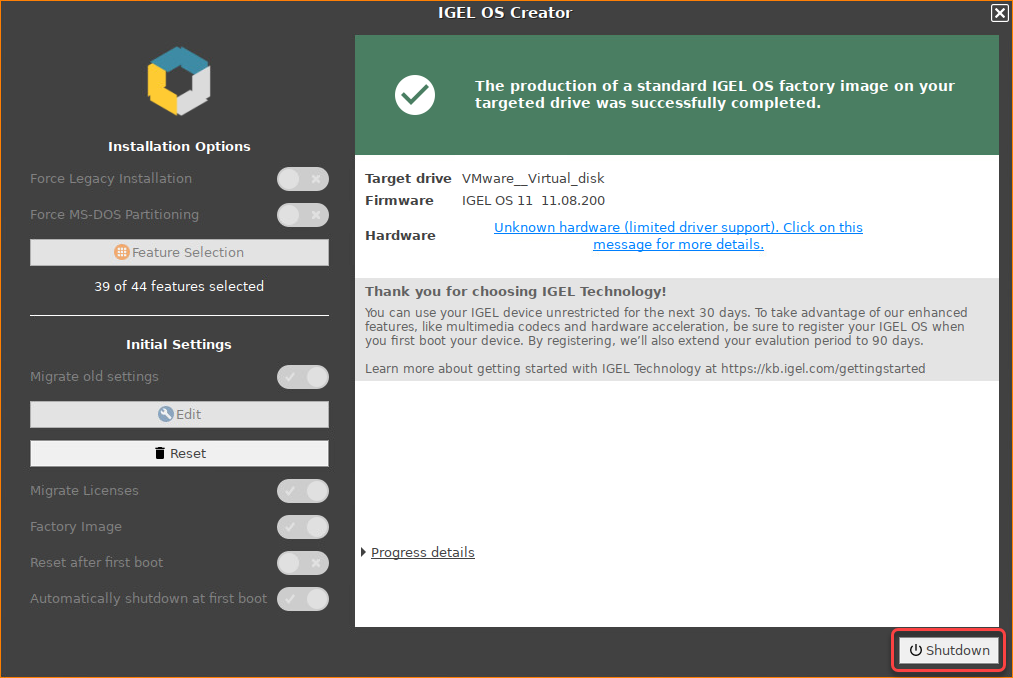
The installation program will set up IGEL OS 11 on the target drive. If you see the success message, the installation is complete.
Click on Shutdown.
Read out the image from your device to deploy it on the units.
DO NOT BOOT THE EXACT FACTORY IMAGE THAT IS INTENDED FOR DEPLOYMENT ON YOUR DEVICES! ALL DEVICES TO WHICH THIS IMAGE HAS BEEN DEPLOYED WOULD SHARE ONE AND THE SAME UNIT ID. AS A RESULT, YOUR DEVICES WOULD BE PRACTICALLY UNUSABLE.
If you want to test the factory image before its deployment, transfer it to your target medium first and then boot the image on the machine on which you created it, or any other test machine. The important thing is that the factory image that will be mass-deployed to your units has not been booted before.
16 GiB Maximum Image Size
The maximum size of the image that is created by the IGEL OS Creator (OSC) is 16 GiB. Therefore, only the first 16 GiB of your storage medium is needed. If your devices have larger storage, this will allow for faster deployment.
To ensure the integrity of the image, you should create checksums of the original image and of the images that are deployed, and then compare them. For details, see IGEL Endpoint Partners: Ensuring Image Integrity with a Checksum.
Proceed as appropriate:
If Reset after first boot is inactive, you can deploy the images on the units and roll them out straight away. The deployment should include a comparison of the checksums.
If Reset after first boot has been activated, deploy the images on the units and continue with Unit Testing.
If Automatically shutdown at first boot has been activated, deploy the images on the units and continue with Automatic Unit Testing.
Visual Unit Testing
Perform the following procedure on the original device and on every unit on which the image has been deployed.
Important Note
The first boot test MUST take place with each unit BEFORE it is rolled out. (Otherwise, the device would present the green test screen instead of the IGEL Setup Assistant.)
Start the device and review the green test screen.
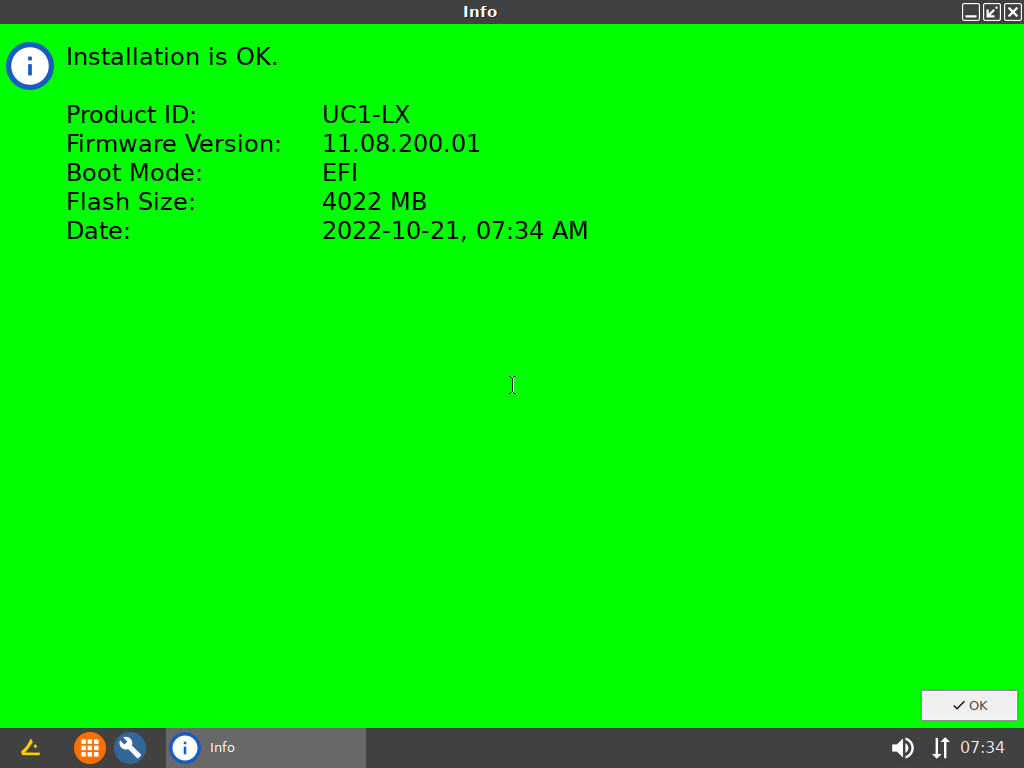
Click OK.
You can regularly access IGEL OS and perform your tests.Shut the device down.
The device is ready for roll-out.
Automatic Unit Testing
When Reset after first boot and Automatically shutdown at first boot has been enabled, the device writes a log file on its first boot and then shuts down automatically.
Your test routine must perform the following procedure:
Start the device.
The device will perform a check and write the results to a file on the first VFAT partition of the device's storage medium. The file format is JSON, and the file name ischeck.log. After a few seconds, the machine shuts down automatically. During the uptime, the green test screen is shown.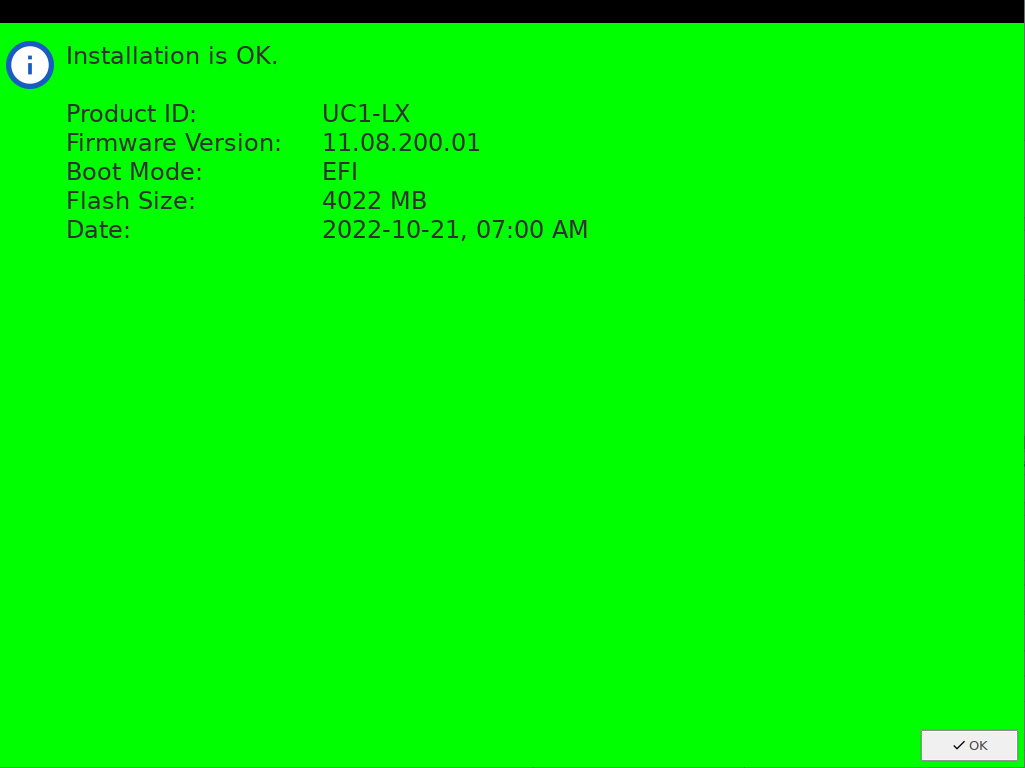
Get the file
check.logfrom the first VFAT partition of the storage medium and analyze it. The contents of the file are described below.
Example Content of check.log
{
  "product": "34CN65",
  "serial": "601NTXXD009",
  "product_id": "UC3-LX No valid license",
  "version": "11.08.200.01",
  "bootmode": "UEFI Secure Boot",
  "flashsize": "14496 MB",
  "date": "2022-10-19, 07:29 AM",
  "status": "SUCCESS",
  "log": ""
}
Explanation of the JSON Fields
Field | Explanation |
|---|---|
| Product id from DMI |
| Serial number from DMI |
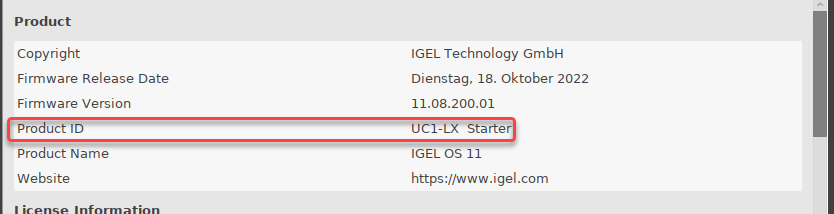
| The IGEL product ID which also shown in the About window: |
| The version of the IGEL firmware |
| The boot mode: |
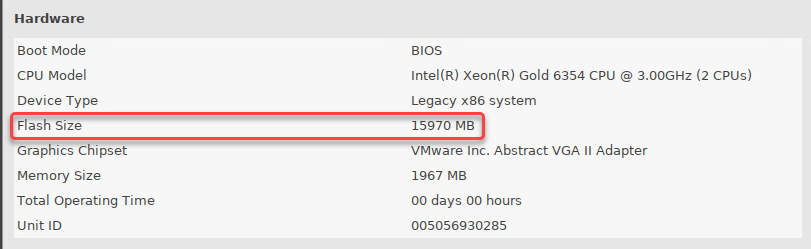
| The size of the IGEL partition (not the complete available disk space). This value is also shown in the About window: |
| Time and date of the check |
|
|
| Empty if no error has occurred; otherwise, an error description is provided |