Download page How to Map a Local Printer to a Citrix or RDP Session on IGEL OS.
How to Map a Local Printer to a Citrix or RDP Session on IGEL OS
This article explains how to map a standard USB laser or ink-jet printer into a Citrix or Remote Desktop (RDP) session on IGEL OS.
This method may not work with specialty printers (i.e. label printers, or heat printers). If this does not work for your printer, you may need to use USB redirection.
Prerequisites
Citrix: Install the HP Color LaserJet 2800 Series PS driver on the server side to redirect the local printer to Citrix sessions; see https://support.citrix.com/article/CTX140208.
Configuring a Printer for Raw Redirection
Go to Devices > Printer > CUPS > Printers.
Create a new printer and define a Printer Name.
Select the Printer Port your printer is connected to.
Set Manufacturer to Generic.
Set Printer names to Raw Queue.
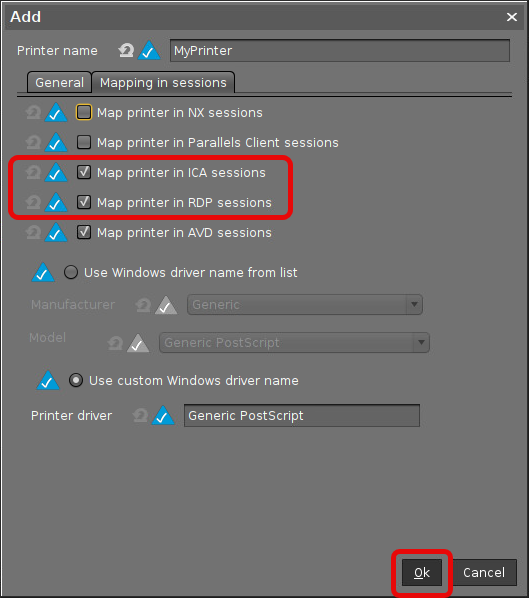
Switch to the tab Mapping in sessions.
Enable Map Printer in ICA Sessions (for Citrix sessions)or Map Printer in RDP Sessions.
Enable Use Custom Windows Driver Name.
Enter one of the following into the Printer driver field:
If you want to use the Citrix universal print driver, enter "Citrix Universal Printer".
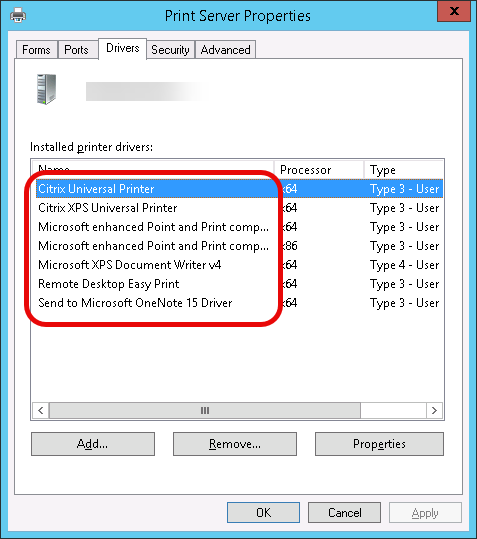
If you want to use a different printer driver, open your remote Windows system and get the exact name of the driver from the Print Server Properties dialog:
Review the settings in the tabs General and Mapping in sessions and then click Ok.
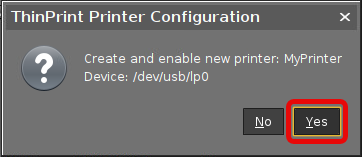
Confirm the creation of the new printer.
Configuring the Session at the Client
Citrix
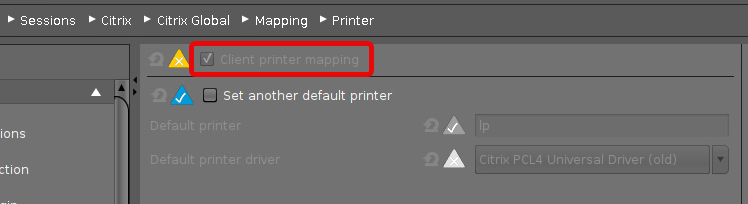
Go to Sessions > Citrix > Citrix Global > Mapping > Printer and ensure that Client printer mapping is enabled.
RDP
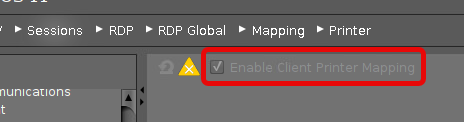
Go to Sessions > RDP > RDP Global > Mapping > Printer and ensure that Enable Client Printer Mapping is enabled.
Installing the Printer Driver on the Server Side (If Not Already Present)
The following step is only required if the printer driver is not already on the server.
Start the ICA or RDP session as administrator and install the printer driver with the redirected port named "TS00x/ClientPort".