Download PDF
Download page Virtual Background for Unified Communication Apps in IGEL OS.
Virtual Background for Unified Communication Apps in IGEL OS
Most modern Unified Communication solutions are able to hide the background behind the person that sits in front of the webcam. Typically, the background is blurred out, or replaced with an image or a video.
For those Unified Communication apps that do not support this feature, at least not in a VDI context, IGEL OS provides a universal virtual background that can be used by any Unified Communication solution. This is achieved by creating a virtual webcam; within this virtual webcam, the virtual background is mixed with the video input from the real webcam. The video stream from the virtual webcam is then fed to the Unified Communication client.
Feature with Limited Support
This feature has limited support; for more information, please refer to What is the Meaning of "Features with Limited Support"?
Minimum Hardware Requirements
- 4 GB RAM
- Quad Core CPU with 1.5 GHz or higher
Enabling the Virtual Background Feature
- In the UMS configuration dialog or the local Setup, go to System > Firmware Customization > Features.
- Activate Virtual Background for Webcam (Limited support - functionality "as is", see product documentation for details), confirm the warning, and click Ok.
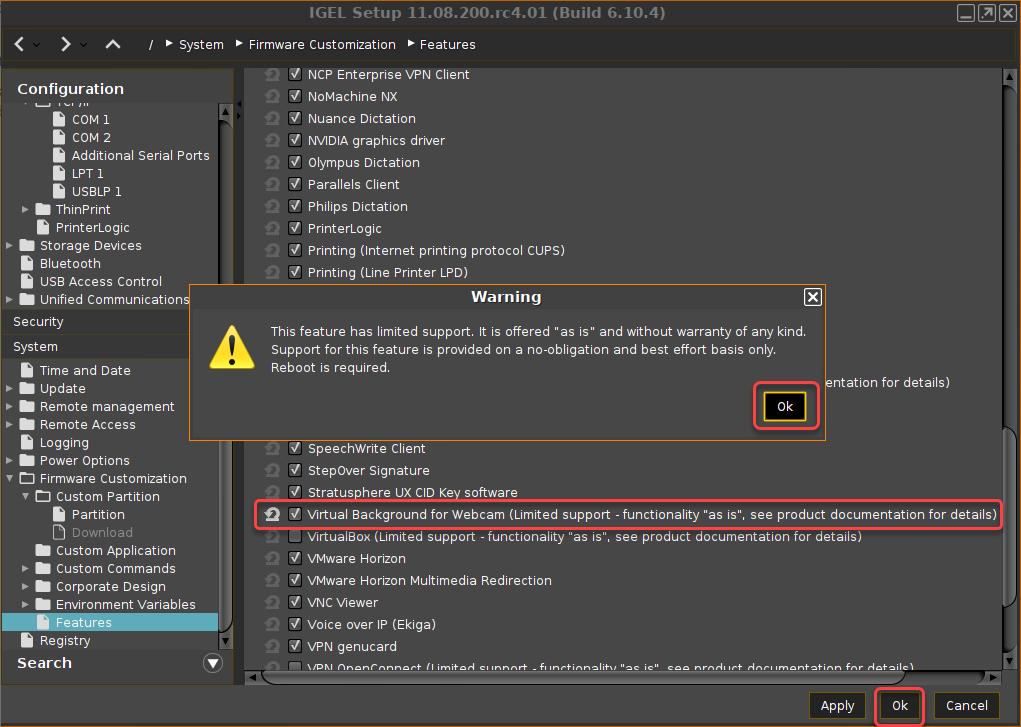
- Reboot the endpoint device.
- Go to System > Registry > multimedia > webcam > virtual_background > enabled and activate Enable virtual background for webcam and click Ok or, if you want to change further settings, Apply.
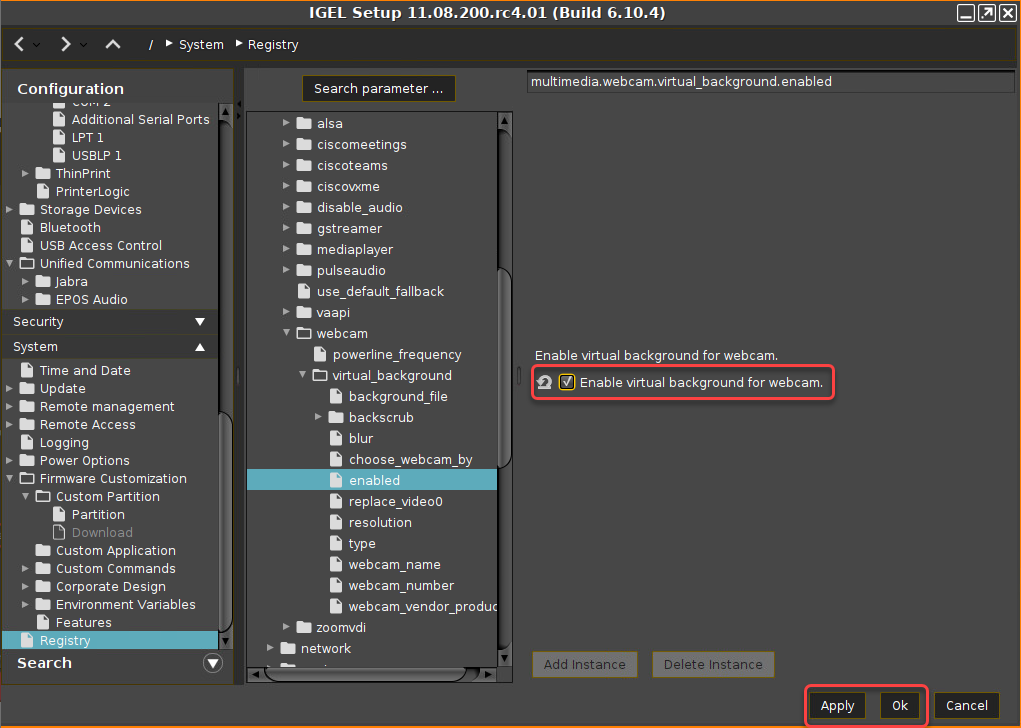
The virtual background provided by the virtual webcam can be used with the default settings.
Selecting the Webcam to Provide Input to the Virtual Webcam
You can define how the webcam that is to provide the input for the virtual webcam will be selected.
Use the First Webcam
![]() Make sure that System > Registry > webcam > virtual_background > choose_webcam_by is set to Use first webcam.
Make sure that System > Registry > webcam > virtual_background > choose_webcam_by is set to Use first webcam.
Select the Webcam by Name
- Set System > Registry > multimedia > webcam > virtual_background > choose_webcam_by to Choose by name.
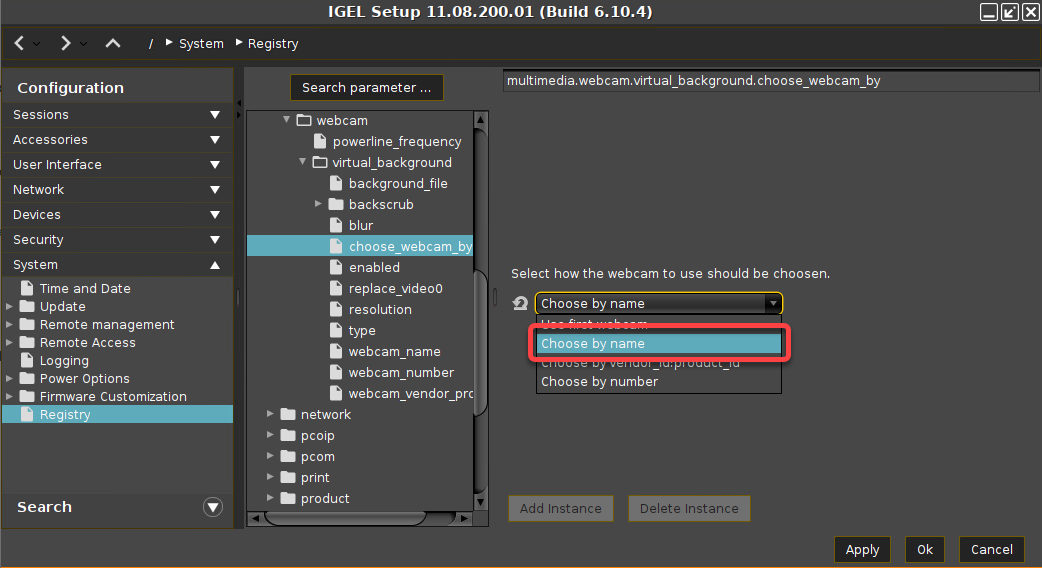
- Set System > Registry > multimedia > webcam > virtual_background > webcam_name to the name of the desired webcam. To get the webcam name, you can use the command
v4l2-ctl --list-devices. The webcam selection should work also when you provide only a part of the output.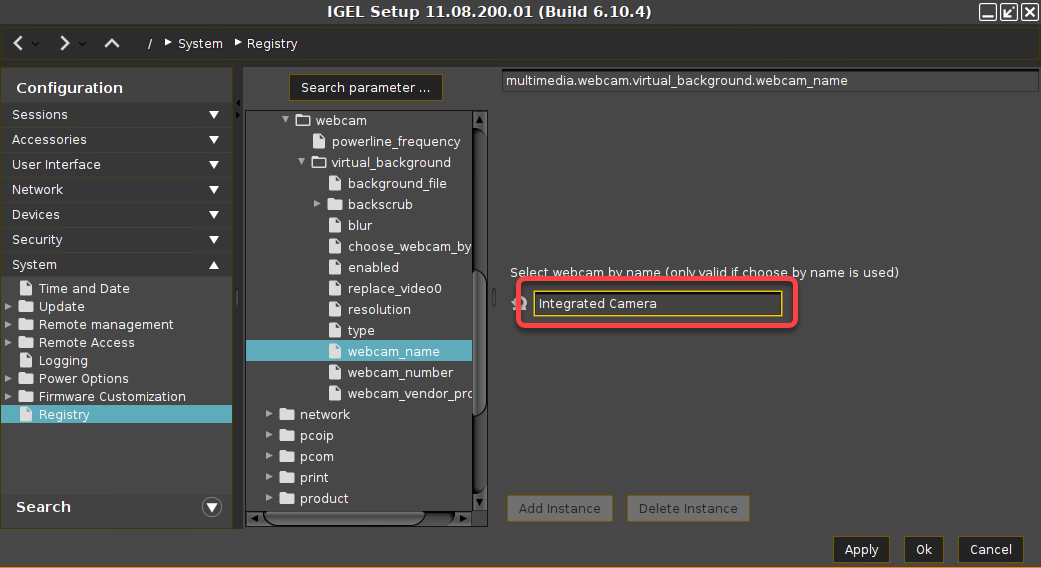
Select the Webcam by Vendor ID / Product ID
- Set System > Registry > multimedia > webcam > virtual_background > choose_webcam_by to Choose by vendor_id:product_id.
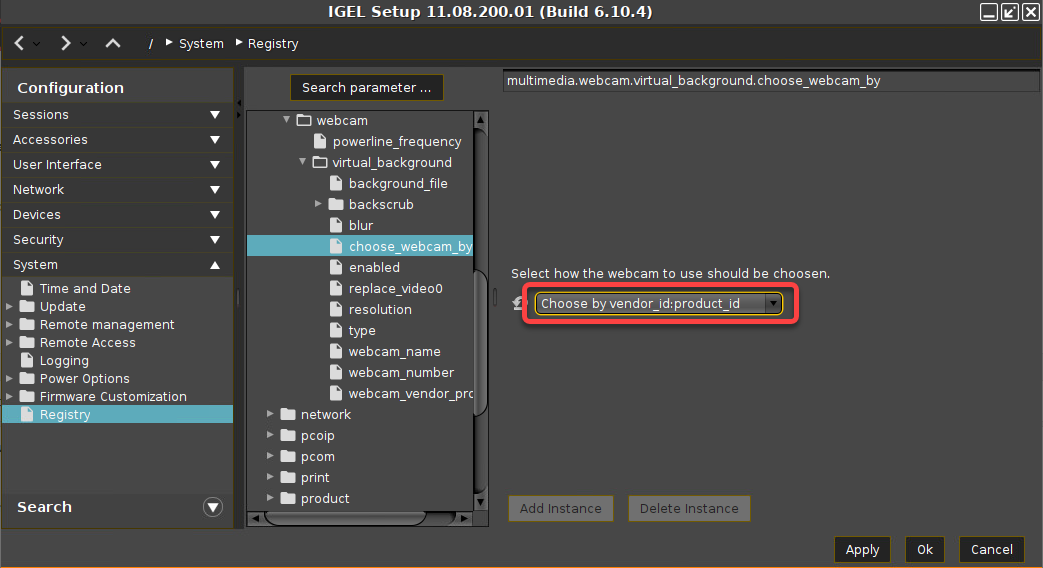
- Set System > Registry > multimedia > webcam > virtual_background >webcam_vendor_product to the vendor ID and product ID of the desired webcam.
To get the relevant data, you can use the commandlsusb.
Example:
The output oflsusbis:Bus 001 Device 006: ID 045e:0810 Microsoft Corp. LifeCam HD-3000
The desired data is the string afterID, in this case:045e:0810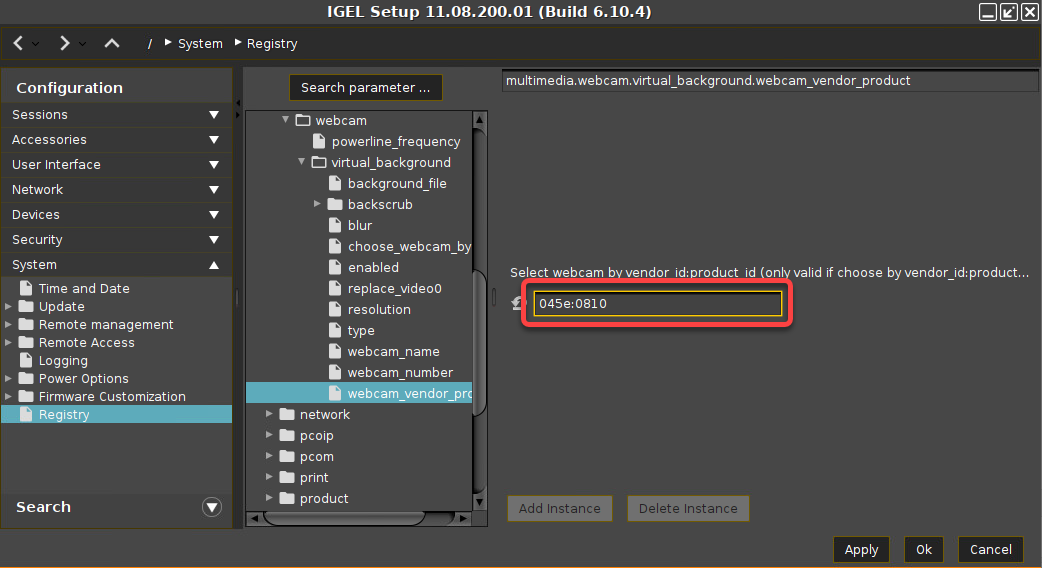
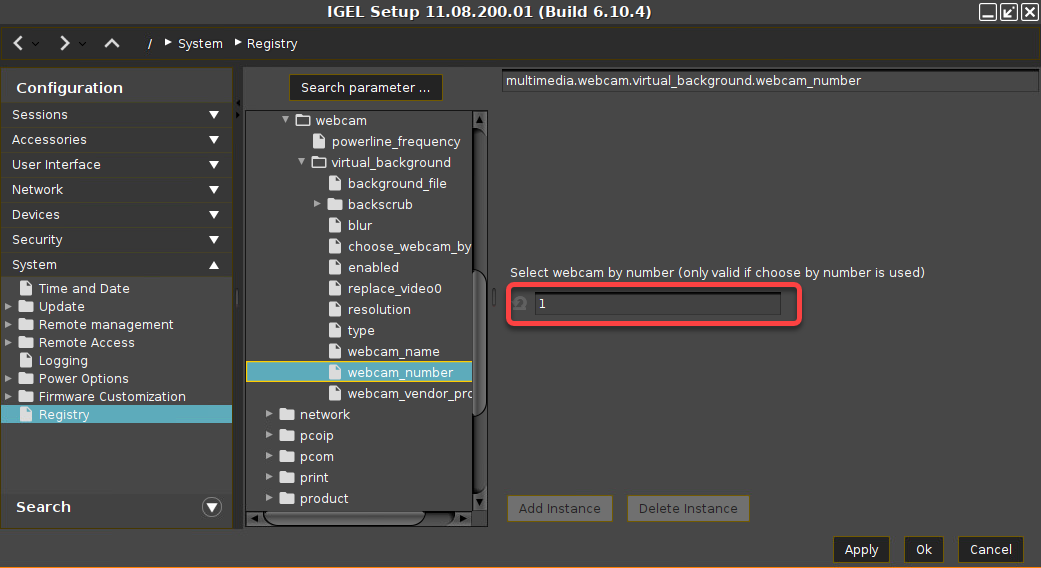
Select the Webcam by Number
The webcams are numbered in the order in which they were connected. For most cases, a selection based on the webcam name might be more feasible.
- Set System > Registry > multimedia > webcam > virtual_background > choose_webcam_by to Choose by number.
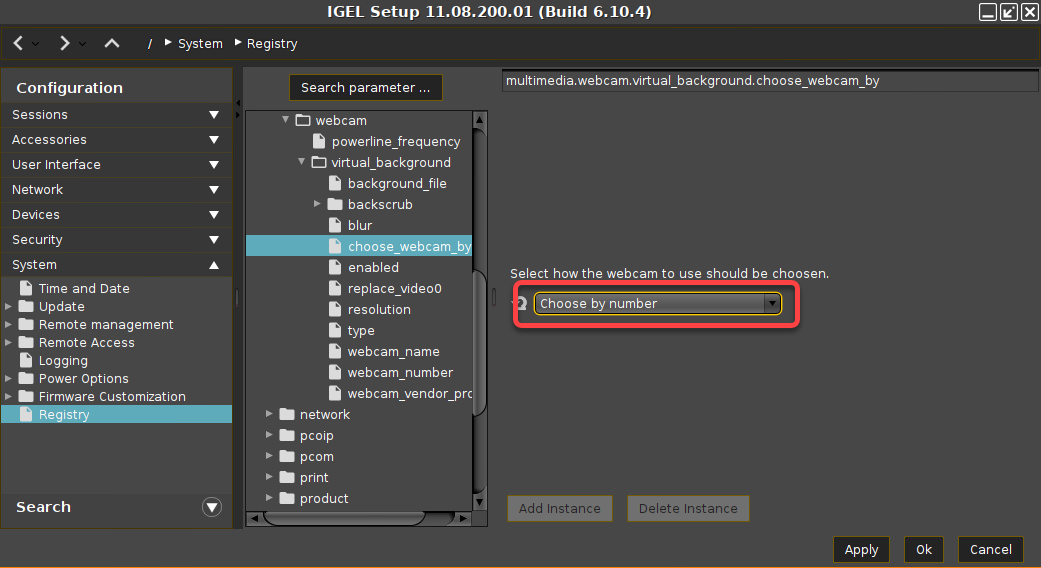
- Set System > Registry > multimedia > webcam > virtual_background > webcam_number to the number of the desired webcam.
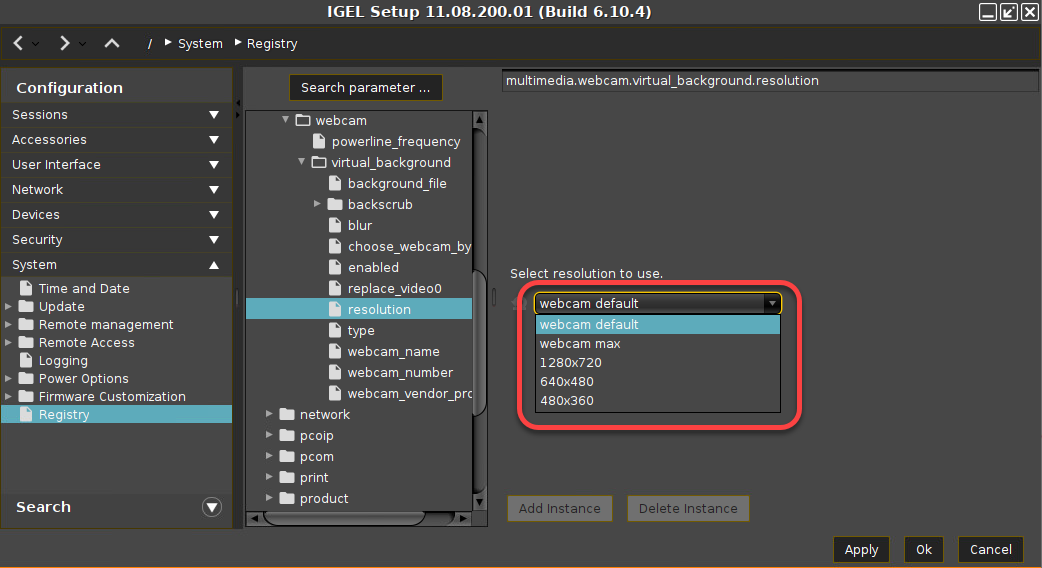
Selecting the Resolution of the Webcam
![]() Go to System > Registry > multimedia > webcam > virtual_background > resolution and choose from the possible options:
Go to System > Registry > multimedia > webcam > virtual_background > resolution and choose from the possible options:
- webcam default: The default resolution of the webcam.
- webcam max: The maximum resolution of the webcam.
- 1280x720
- 640x480
- 480x360
Setting the Virtual Webcam as Default Webcam
![]() Go to System > Registry > multimedia > webcam > virtual_background > replace_video0 and make sure that Replace default webcam with virtual one is activated.
Go to System > Registry > multimedia > webcam > virtual_background > replace_video0 and make sure that Replace default webcam with virtual one is activated.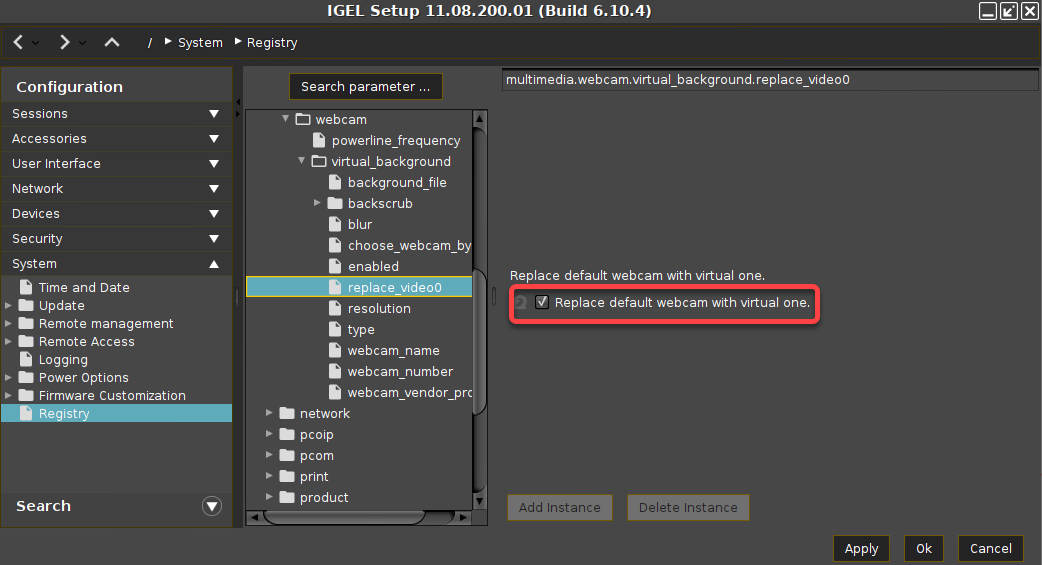
Setting the Strength of Background Blurring
![]() Go to System > Registry > multimedia > webcam > virtual_background > blur and set the value of Strength of background blurring according to your needs.
Go to System > Registry > multimedia > webcam > virtual_background > blur and set the value of Strength of background blurring according to your needs.
Range: 1 (minimal blurring) ... 100 (maximal blurring)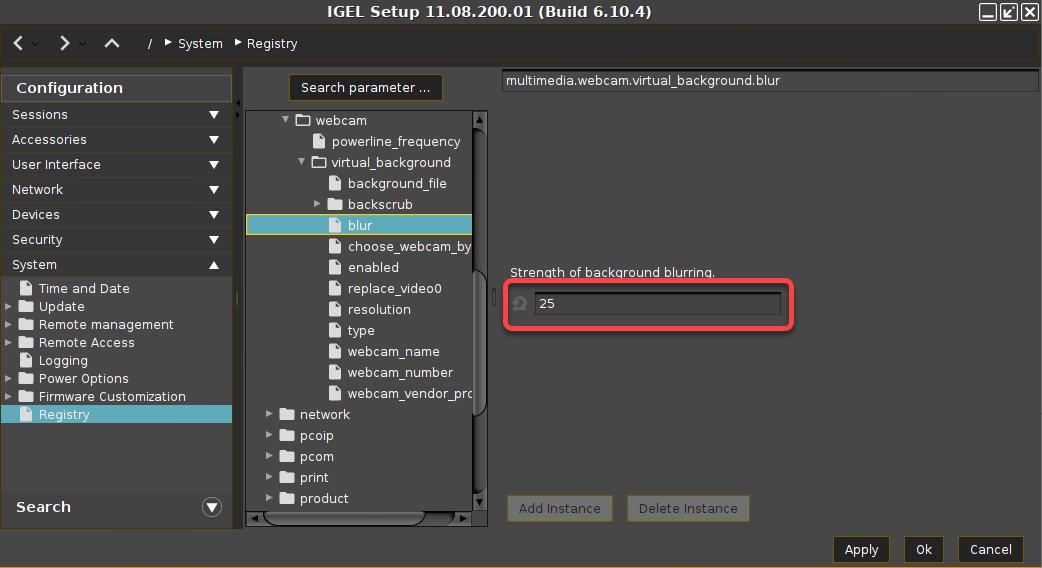
Using an Image as Virtual Background Instead of Blurring the Background
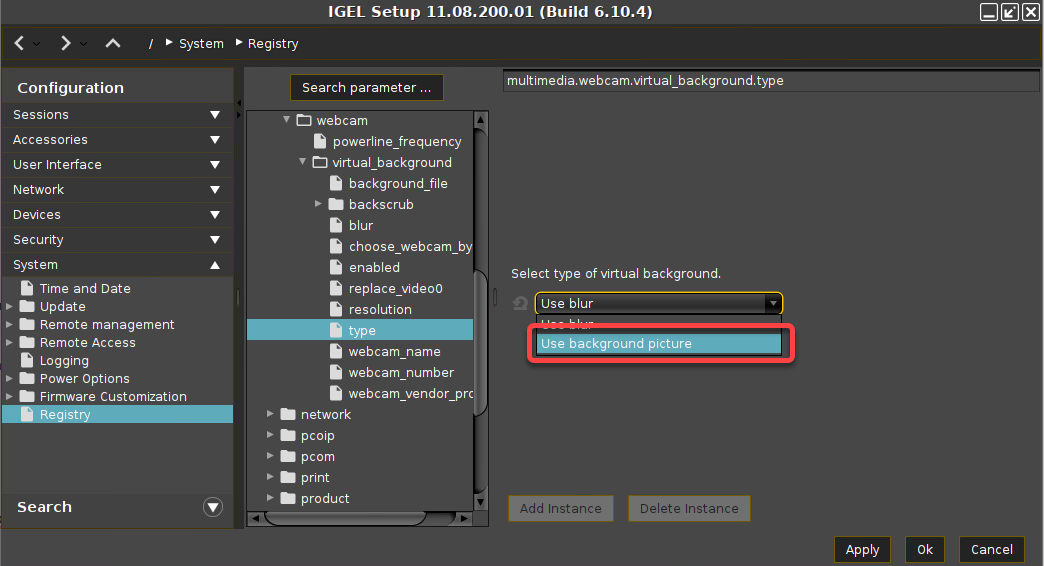
- Go to System > Registry > multimedia > webcam > virtual_background > type and set Select type of virtual background to Use background picture.
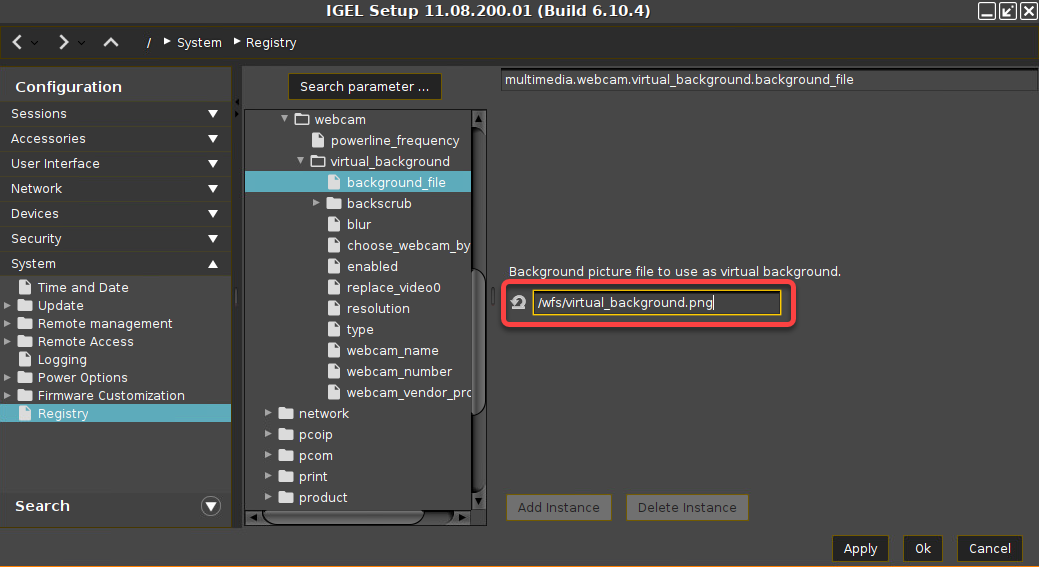
- Go to System > Registry > multimedia > webcam > virtual_background > background_file and enter the path to the background image file under Background picture file to use as virtual background. For instructions on how to transfer the file to your endpoint device, see Files - Registering Files on the IGEL UMS Server and Transferring Them to Devices.
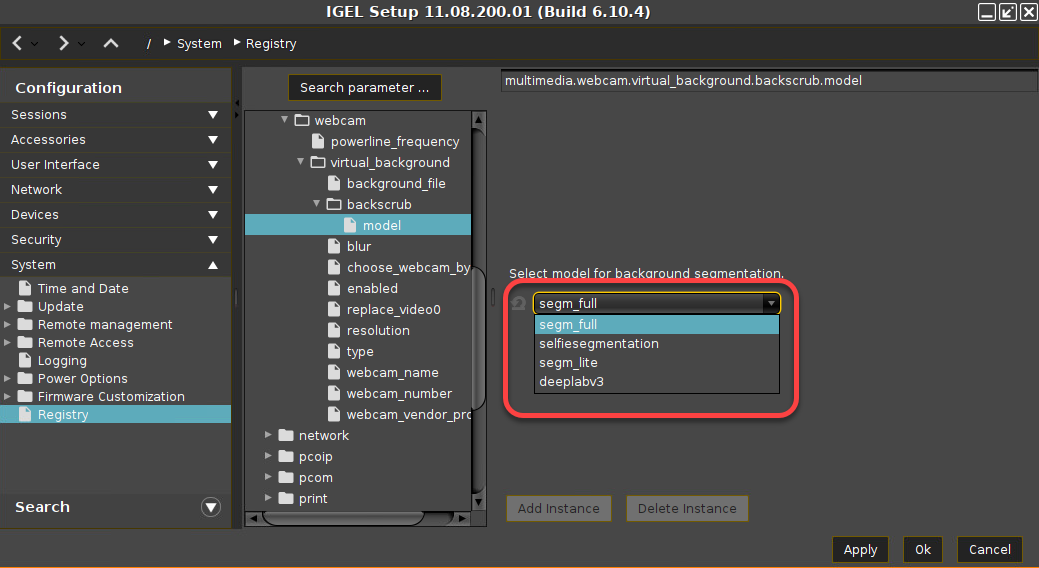
Selecting the Model for Background Segmentation
You can select the method of discerning the foreground, i.e. the person, from the background.
![]() Go to System > Registry > multimedia > webcam > virtual_background > backscrub > model and choose from the possible options:
Go to System > Registry > multimedia > webcam > virtual_background > backscrub > model and choose from the possible options:
- segm_fill
- selfiesegmentation
- segm_lite
- seeplabv3