How to Deploy IGEL OS 12 with IGEL OS 12 SCCM Add-on
IGEL OS 12 SCCM Add-on facilitates deploying IGEL OS via Microsoft SCCM. The package contains IGEL OS Base System as a dd image that will be booted using a Windows PE boot file customized for this purpose.
Optionally, you can use a different version of IGEL OS Base System, add certificates and license files, and compress the image file; for details, see Alternative Deployment. Moreover, you can choose whether you want to deploy the IGEL OS dd image together with the Windows PE boot image as one single file or separately via a network share.
With the installation of IGEL OS SCCM Add-on, a customized Windows PE image and a task sequence for deploying IGEL OS are created, and the IGEL OS Image Manager is installed.
This article is based on version 2.2.0 of IGEL OS 12 SCCM Add-on; the supplied version of IGEL OS Base System is 12.3.1. For details on this version, see the Readme_2.2.0.txt.
Prerequisites
Microsoft Endpoint Configuration Manager (see https://docs.microsoft.com/en-us/mem/configmgr/)
The solution presented here has been developed and tested with the current version of Microsoft Endpoint Configuration Manager (status 01/2024). For details on the versioning of Microsoft Endpoint Configuration Manager, see https://docs.microsoft.com/en-us/mem/configmgr/core/plan-design/changes/whats-new-incremental-versions .
Configured PXE environment for OS deployment; all target devices must be in a network where they are available either from the main site server or a distribution point. (For further information, see https://docs.microsoft.com/en-us/mem/configmgr/osd/plan-design/infrastructure-requirements-for-operating-system-deployment)
All target devices have a minimum of 4 GB RAM.
On the host on which Microsoft Endpoint Configuration Manager is running, Microsoft Power Shell Script execution must be allowed, at least for signed scripts (the Powershell scripts that come with IGEL OS SCCM Add-on are signed by IGEL).
Installing IGEL OS SCCM Add-On
Go to https://www.igel.com/software-downloads/cosmos/ > OS 12 Base System Deployment Tool for SCCM and download the executable file to the host on which Microsoft Endpoint Configuration Manager is running.
Start the executable file.
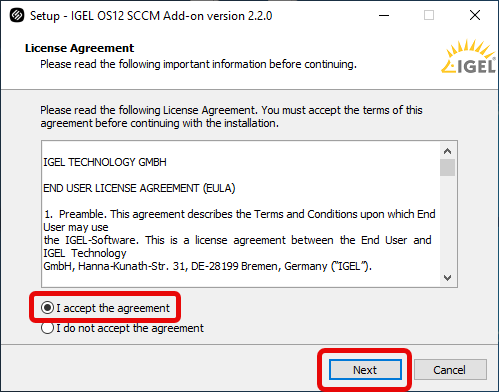
Accept the EULA and click Next.
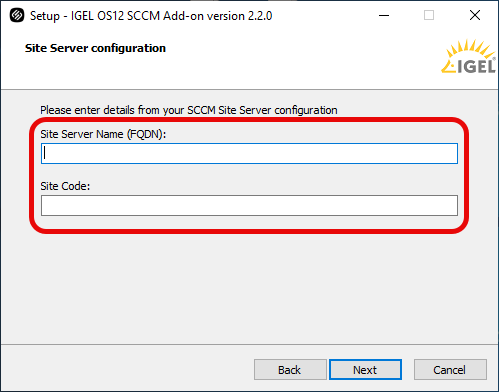
On the Site Server configuration page, review the field Site Server Name (FQDN), which should be prefilled, and enter the Site Code of this Endpoint Configuration Manager site. Then, click Next.
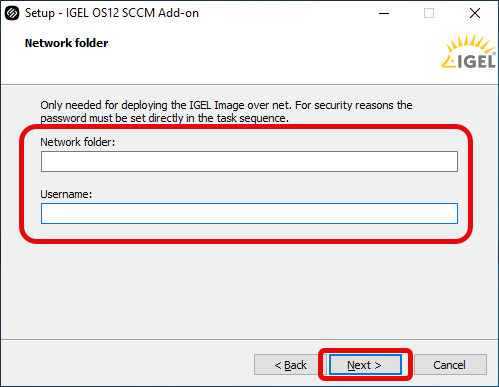
If you plan to deploy the IGEL OS image separately via a network share, i.e., not embedded in the boot file, enter the shared Network folder containing the IGEL OS image and the corresponding Username. Then, click Next.
The installation of IGEL OS SCCM Add-on starts.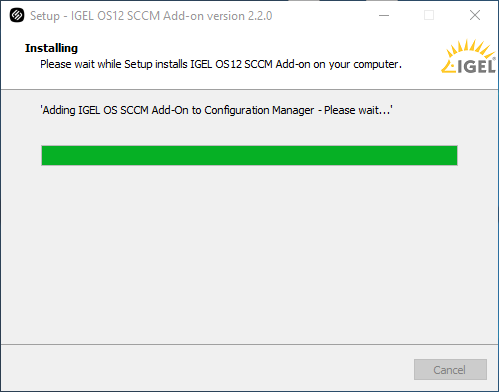
Verifying the Installation
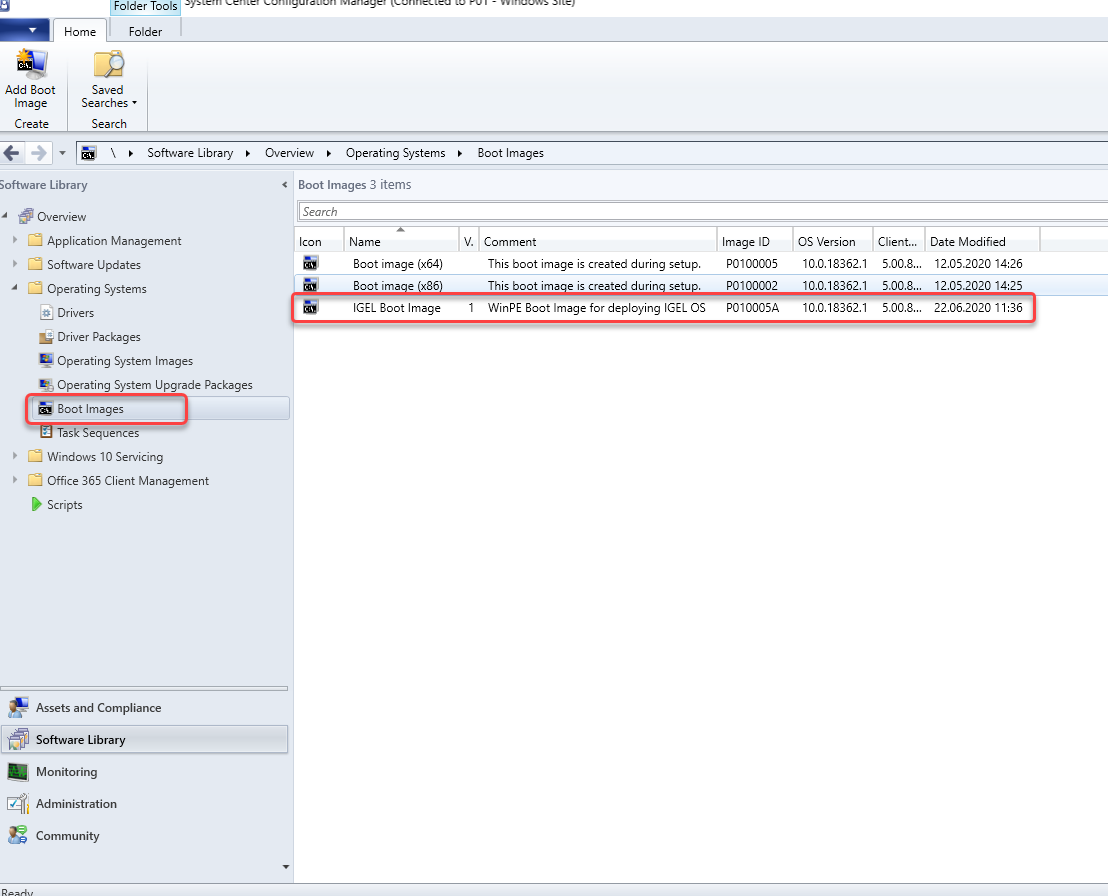
Under Software Library, select Operating Systems > Boot Images and check if the IGEL Boot Image (WIM) is available.
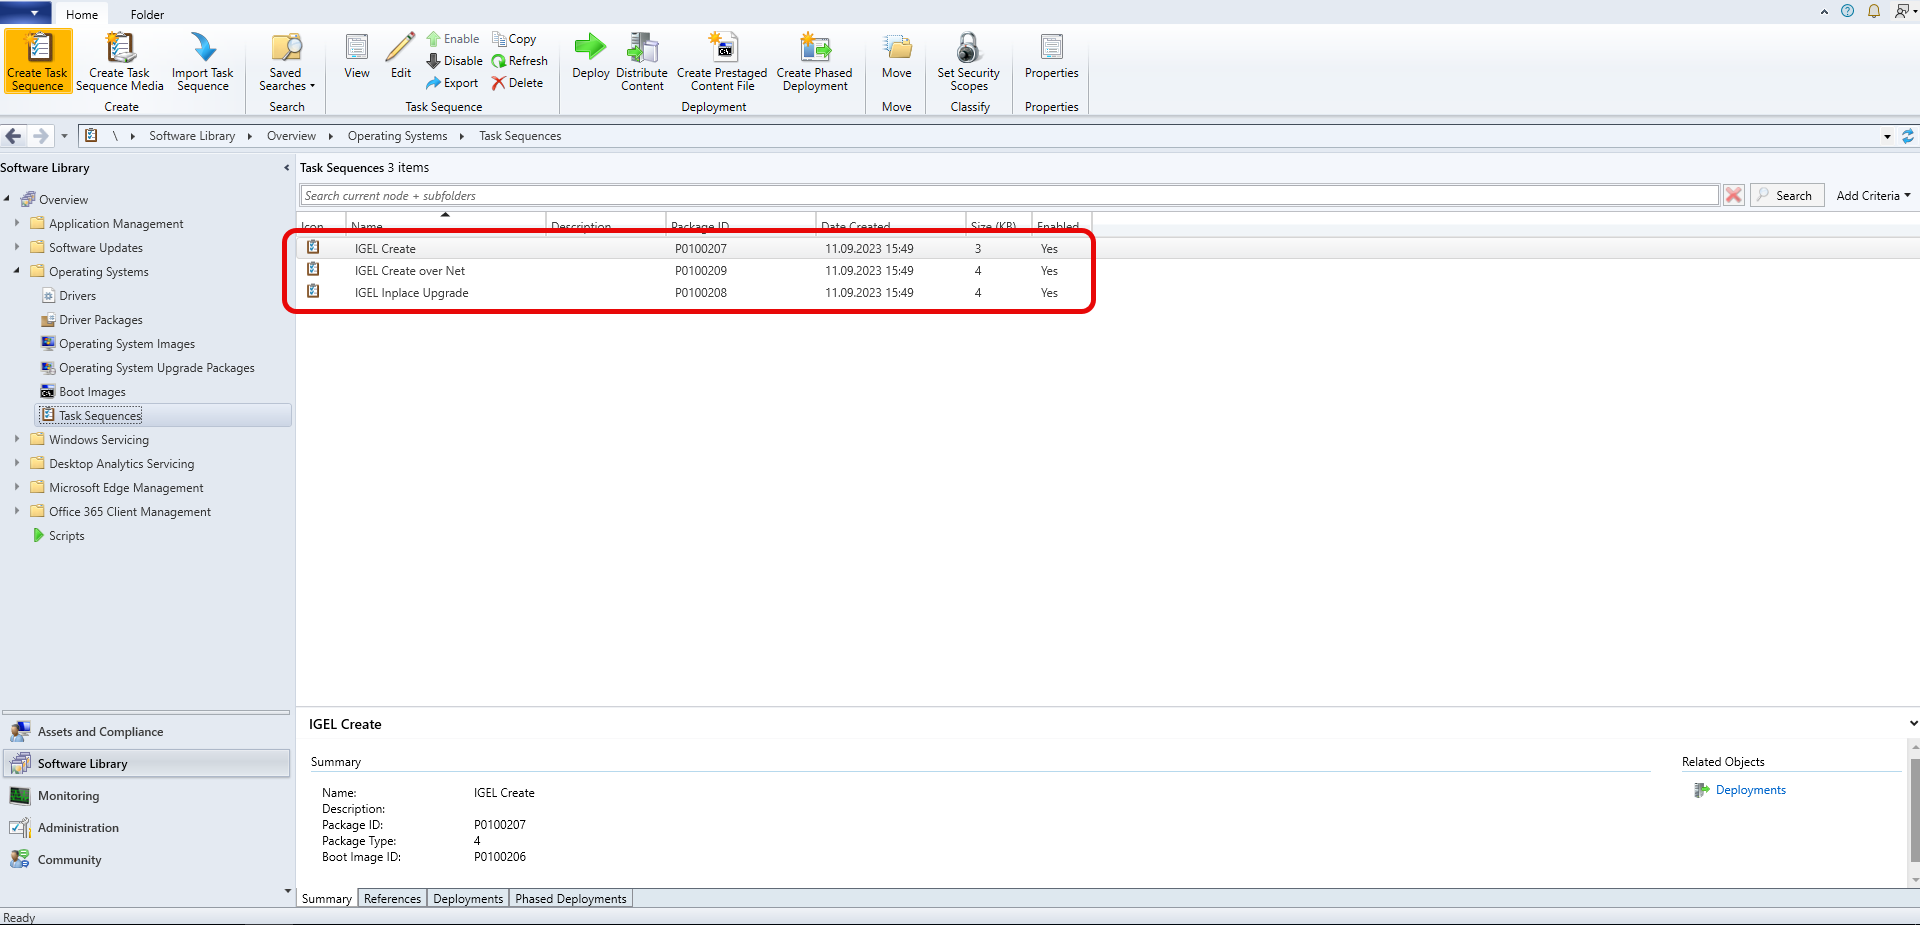
Go to Task Sequences and check if IGEL Create , IGEL Create over Net, and IGEL Inplace Upgrade are available. These task sequences will drive and control the deployment process.
Provisioning IGEL OS via a PXE Boot Environment
The task sequences provided by IGEL OS SCCM Add-on will deploy IGEL OS to a device collection via a PXE boot environment. The task sequence will be executed after the device has booted into the IGEL Boot Image (igel.wim).
You can choose between the following task sequences:
IGEL Create: The IGEL OS image (
minimal.bin) is built into the IGEL Boot Image (igel.wim)IGEL Create over Net: IGEL OS image (
minimal.bin) is provided separately via a network share
To deploy the PXE boot environment:
Check if you need to define your own custom device collection to allocate your target devices or if you can use one of the preconfigured collections.
Under Software Library, select Operating Systems > Boot Images. Open the context menu for IGEL Boot Image and select Distribute content.
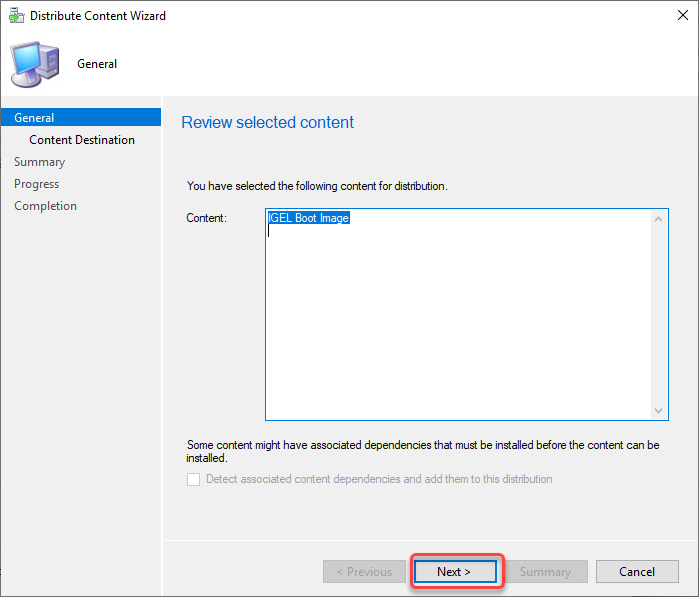
Open the Distribute Content Wizard and check if IGEL Boot Image is shown in the Content area. Afterward, continue with the wizard.
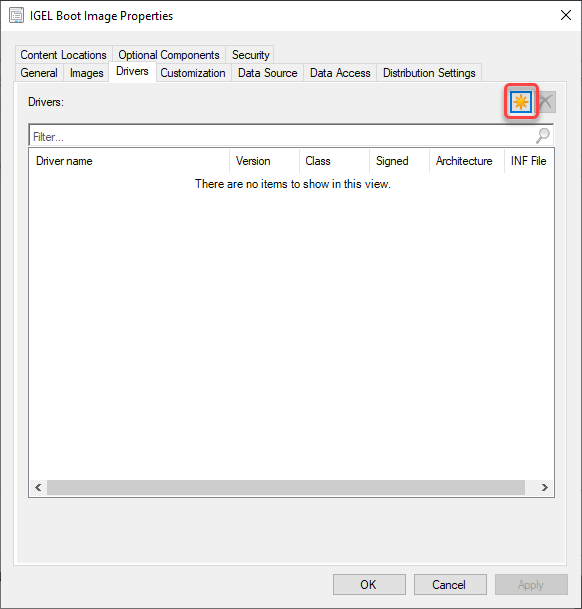
If your device requires a specific network driver: Select Operating Systems > Boot Images, Open the context menu for IGEL Boot Image, and select Properties. Then, select the Drivers tab and add the driver.
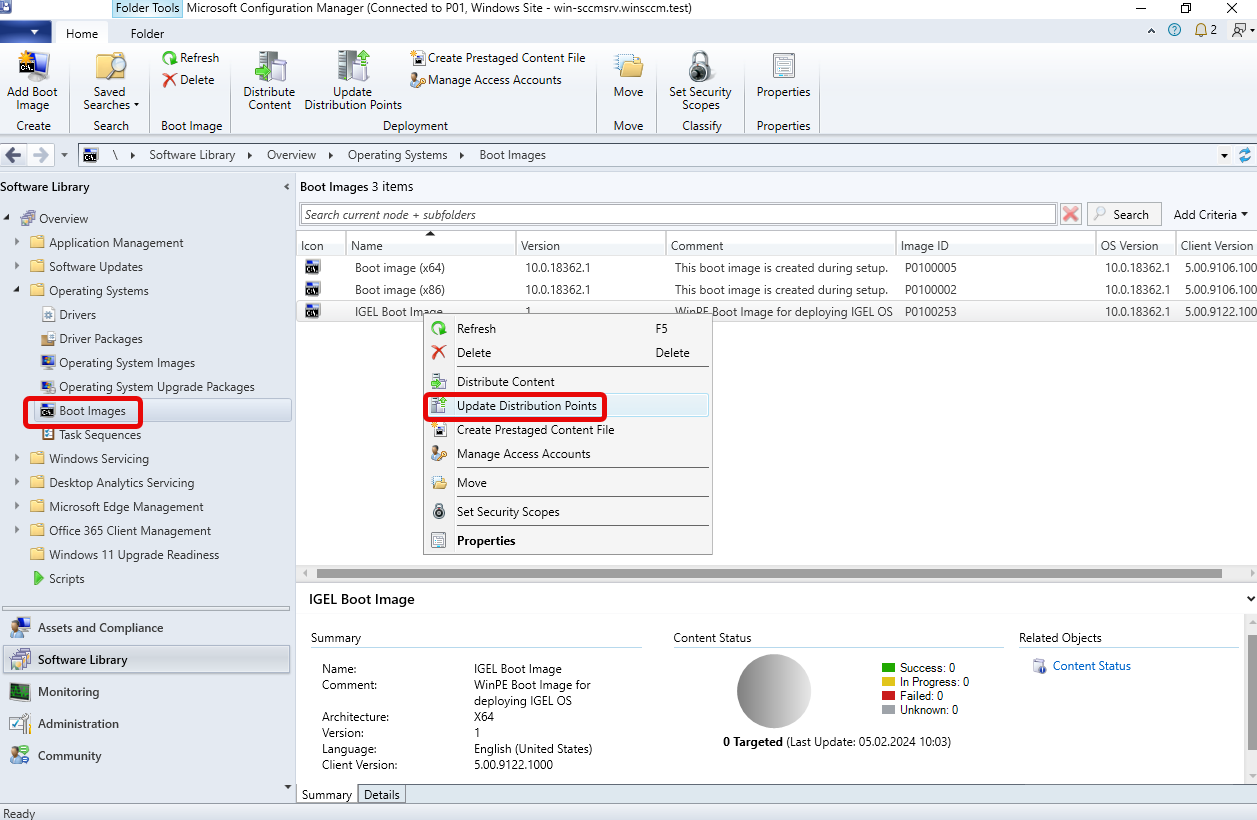
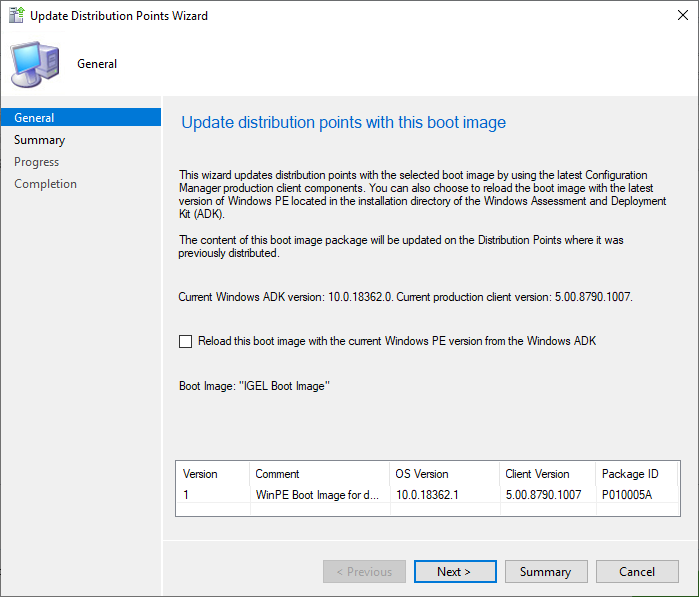
Select Operating Systems > Boot Images, Open the context menu for IGEL Boot Image and select Update distribution points.
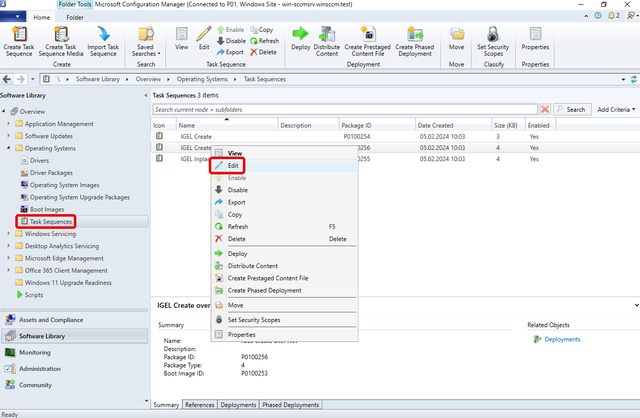
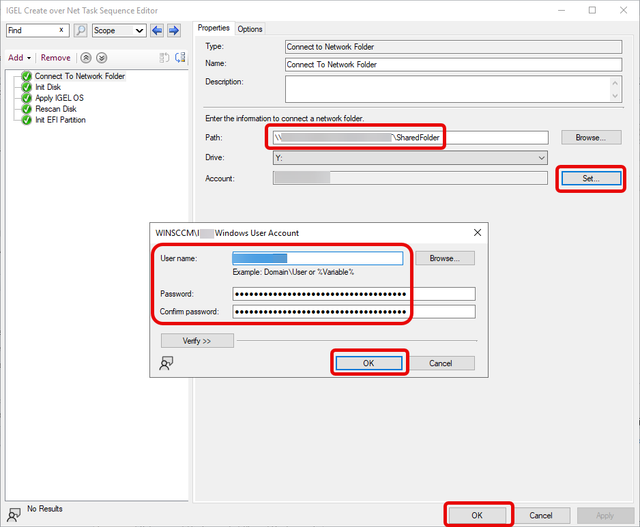
If you want to deploy the IGEL OS image separately via a network share: Select Operating Systems > Task Sequences, open the context menu for IGEL Create over Net, and then select Edit. Otherwise, continue with step 8.
If you want to deploy the IGEL OS image separately via a network share (continued): Edit the settings for the task Connect to Network Folder as follows:
Path: Enter the path to the network share you want to use for distributing the IGEL OS image.
Account: Click Set to open the account data dialog and enter the required data:
User name: The username for accessing the network share, in the format DOMAIN\user
Password / Confirm password: The password for accessing the network share
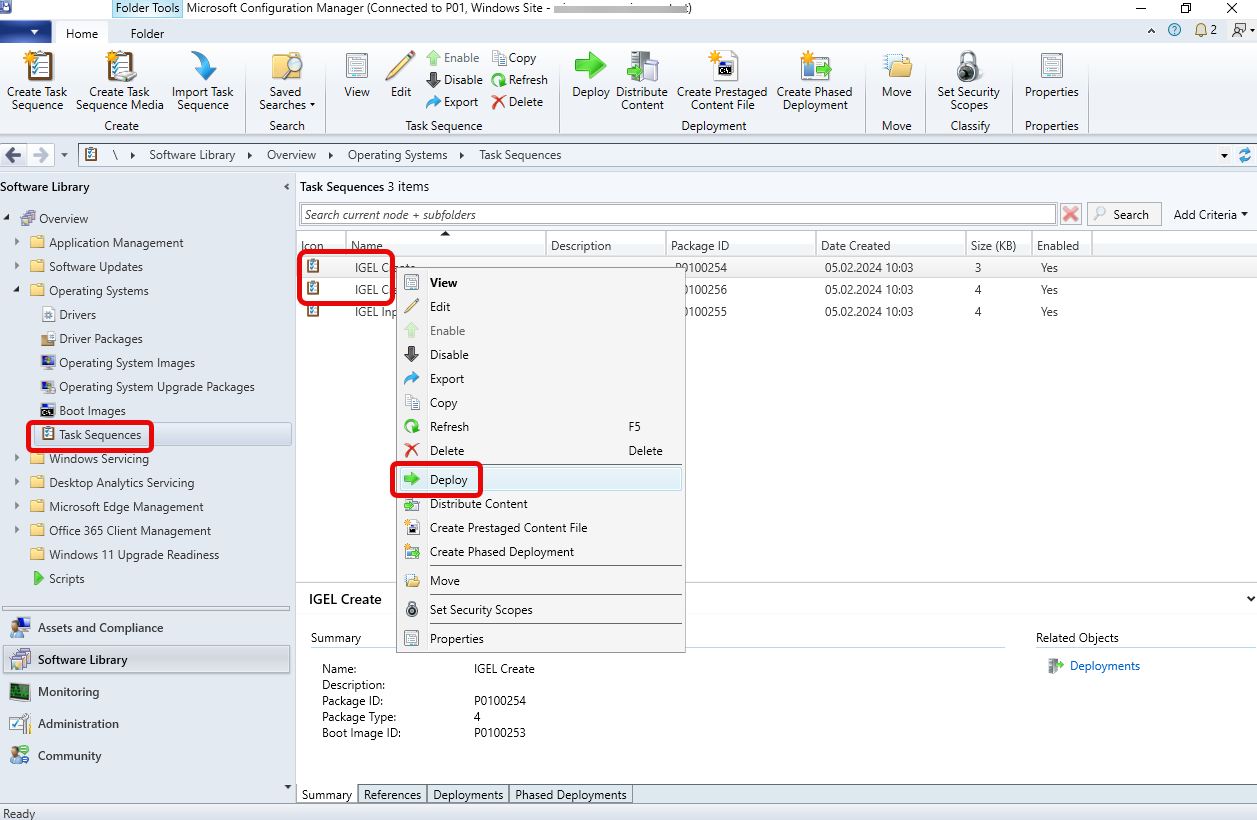
Select Operating Systems > Task Sequences, open the context menu for IGEL Create or IGEL Create over Net, and then select Deploy.
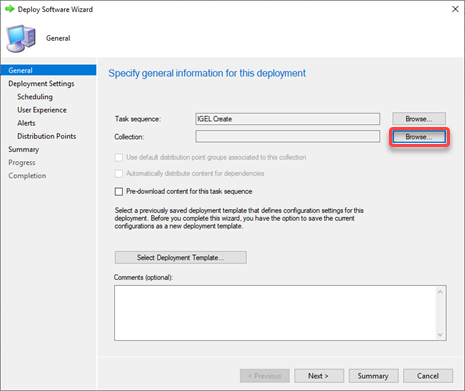
The Deploy Software Wizard opens.Click the Browse button next to Collection:.
The Select Collection dialog opens.From the list of collections, select the collection that contains your target devices and click OK.
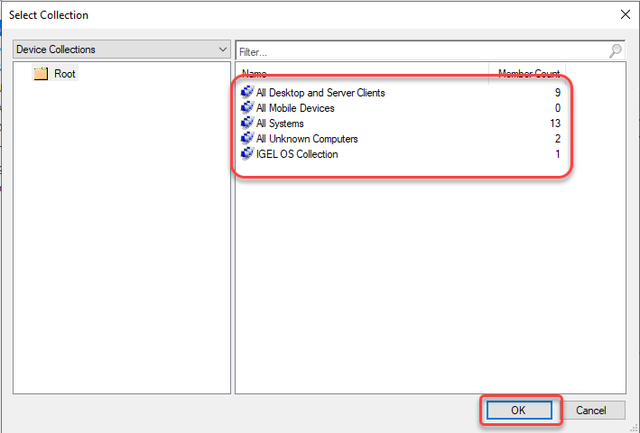
In our example, a user-created collection named IGEL OS Collection is selected.Click Next to continue with the wizard.
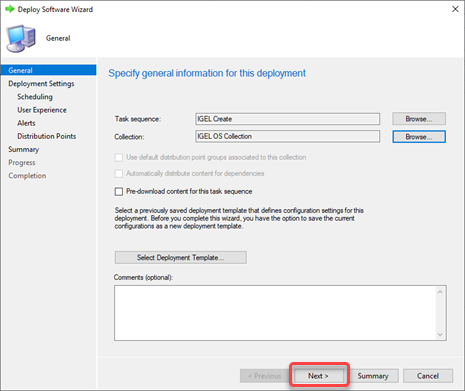
All target devices receive the PXE boot request that triggers them to boot the IGEL Boot Image.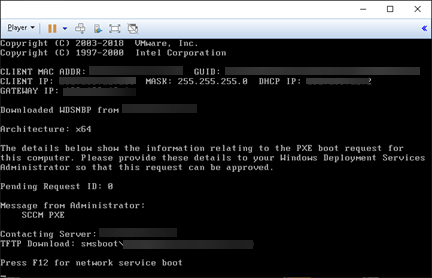
The target devices load the IGEL Boot Image (WIM).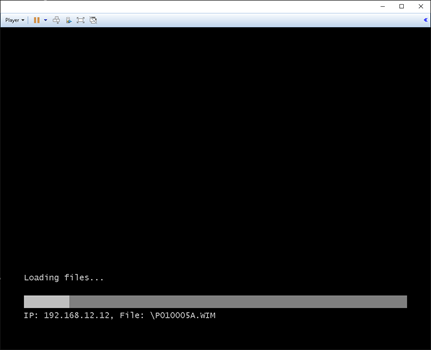
Alternative Deployment
You can deploy a different IGEL OS image as an alternative to the image that comes with IGEL OS SCCM Add-on. The current main version is available from igel.com. Optionally, you can add pre-configured settings, certificates, and license files to the image. In addition, you can compress the image to reduce the network load during distribution; please note that this increases the processing effort on the endpoint's side because the image needs to be decompressed.
Open a web browser, go to https://www.igel.com/software-downloads/cosmos/ > OS 12 Base System Deployment Tool for SCCM, download the current IGEL OS file, and unzip it.
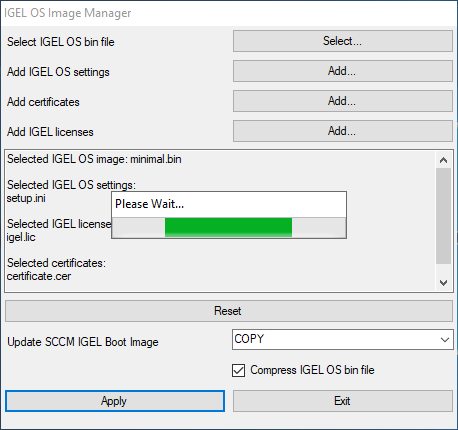
The IGEL OS image is ready for deployment.Start the IGEL OS Image Manager by clicking on the desktop icon.
Click Select next to Select IGEL OS bin file and choose your image file.
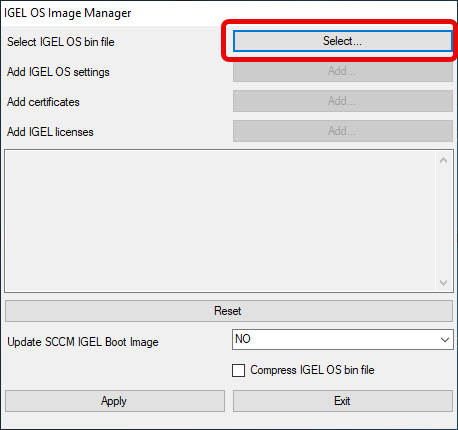
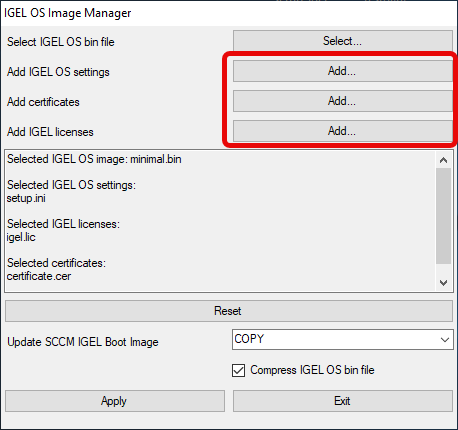
If you want to add settings, certificates, or license files, click Add next to the relevant item and choose the relevant files.
Add IGEL OS settings: The settings for IGEL OS. These settings can also be configured via the local Setup, the UMS device configurator, or a UMS profile.
Add certificate: Certificate files
Add IGEL licenses: License files
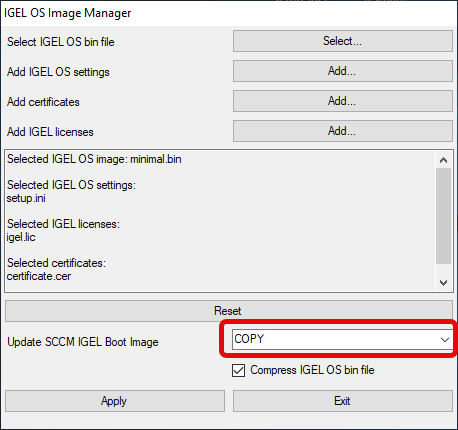
Set Update SCCM IGEL Boot Image according to your deployment method:
NO: Select this option if you want to modify only the IGEL OS image, but not the IGEL OS boot image (Windows PE).
COPY: Select this option if you want to deploy the IGEL OS image together with the basic Windows PE boot image. The Windows PE boot image and the IGEL OS image will be baked into one file which is distributed by the Microsoft Endpoint Configuration Manager.
DELETE: Select this option if you want to deploy the IGEL OS image separately via a network share. Only the basic Windows PE boot image will be distributed by the Microsoft Endpoint Configuration Manager; at a later stage, the devices will fetch the IGEL OS image from the network share.
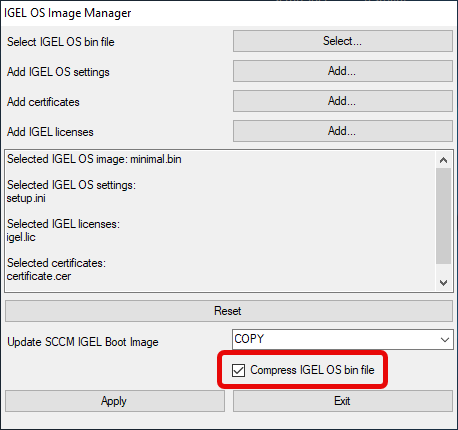
If you want to compress the IGEL OS image, enable Compress IGEL OS bin file.
When you have chosen your files, click Apply.
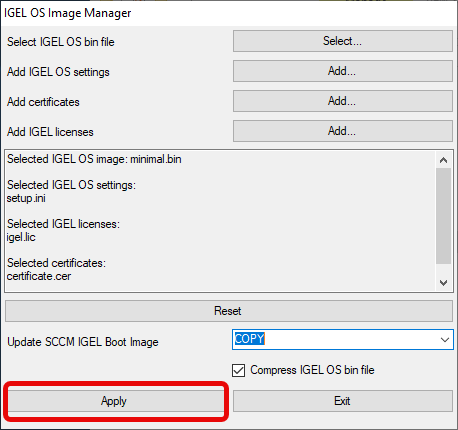
The files are added to the image.