With the CA Proxy feature, you can use the IGEL Universal Management Suite (UMS) to enroll endpoint devices known to the UMS into an external PKI via EST or SCEP (IGEL OS Base System 12.9.0 or higher).
UMS as a Certificate Authority (CA) Proxy has been tested with the following PKI’s:
-
EST and SCEP: EJBCA Enterprise (with the EST alias set to “RA mode”)
-
SCEP: Microsoft CA
Questions & Answers
Q: Is there any known risk of enabling the UMS to act as a CA proxy while the device is not configured to use this feature?
A: No, if the UMS is configured to act as a CA proxy and the devices are not configured to use the feature, nothing will happen. The UMS will not contact the CA unless a device is configured to send a CSR using the UMS as a CA proxy.
Q: Is there any traffic immediately sent to all devices when this is enabled?
A: As soon as the profile is assigned to devices, the UMS sends the settings to the relevant devices. Please note that these devices will immediately send a CSR using the UMS as a CA proxy.
Q: Is there a requirement to restart services for the UMS setting to take effect?
A: No, as soon as the UMS is configured to act as a CA proxy, the devices can request certificates.
Supported Encryption Algorithms for the Device Certificates
For the device certificates, the following encryption algorithms are supported:
-
RSA 2048
-
RSA 3072
-
RSA 4096
-
RSA 8192
-
ECDSA ed25519
-
EC brainpoolP256r1
-
EC brainpoolP384r1
-
EC brainpoolP512r1
-
EC prime256v1
-
EC secp256k1
-
EC secp384r1
-
EC secp521r1
Requirements
IGEL OS Endpoint Devices
-
For use with EST: Endpoint devices with IGEL OS 12.7.2 or higher
-
For use with EST and SCEP: Endpoint devices with IGEL OS 12.9.0 or higher
IGEL Universal Management Suite (UMS)
-
For use with EST: IGEL UMS 12.09.110 or higher
-
For use with EST and SCEP: IGEL UMS 12.12.100 or higher
-
IGEL UMS Enterprise License
PKI Server (EST)
-
Your EST configuration supports the default endpoint for EST as defined in RFC 7030
-
Without an optional CA label:
/.well-known/est/<operation> -
If an optional CA label is defined:
/.well-known/est/<CA label>/<operation>
-
-
For the mTLS connection between the UMS and the PKI, the following encryption algorithms are supported:
-
RSA
-
ECDSA-p-256/384/512
-
ED-25519/448
-
Configuring the UMS to Act as a CA Proxy Using EST
The certificate profile on the PKI and the endpoint device must match.
-
In the UMS Web App, go to the Devices area and click

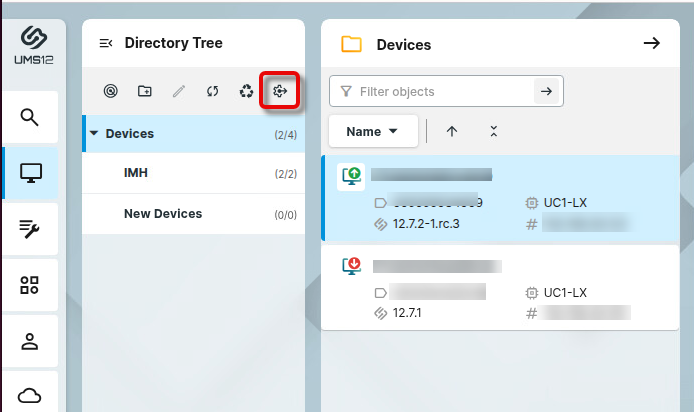
-
Select the CA Proxy tab and then select EST.
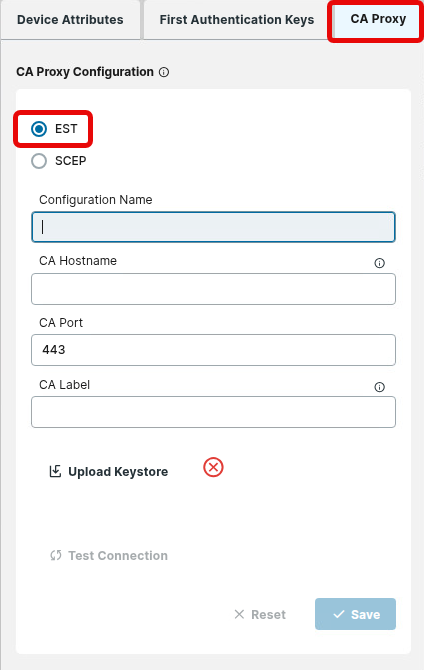
If there is an already existing configuration for SCEP, a dialog informs you that the previos configuration will be deleted.

-
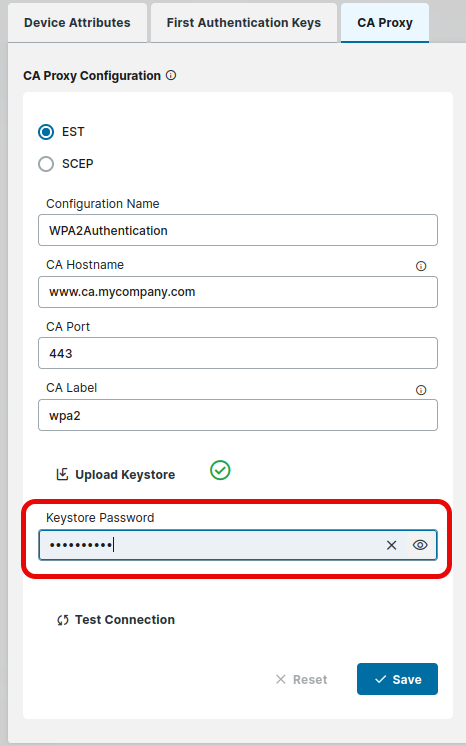
Enter the following data:
-
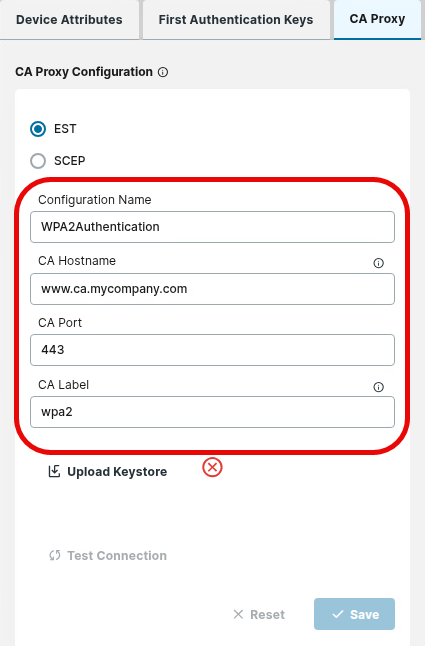
Configuration Name: Display name for your EST configuration
-
CA Hostname: The URL of your EST server
-
CA Port: The port required to connect to the EST server. Default: 443
-
CA Label: The optional EST CA label as outlined in RFC 7030 Section 3.2.2. Allowed characters: Letters, numbers, underscores (“_“), minus signs (“-”).
-
The EST CA label may be required to match the case of the CA label in your PKI. In the case of EJBCA, this setting is referred to as the alias, which is case-sensitive.
Example: If you have an alias called “VPN” in EJBCA Enterprise, then you must set the CA label to “VPN”; “vpn” or “Vpn” will not work.
-
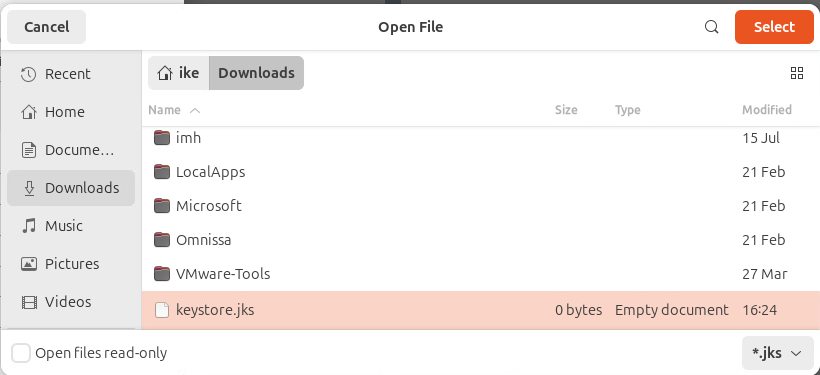
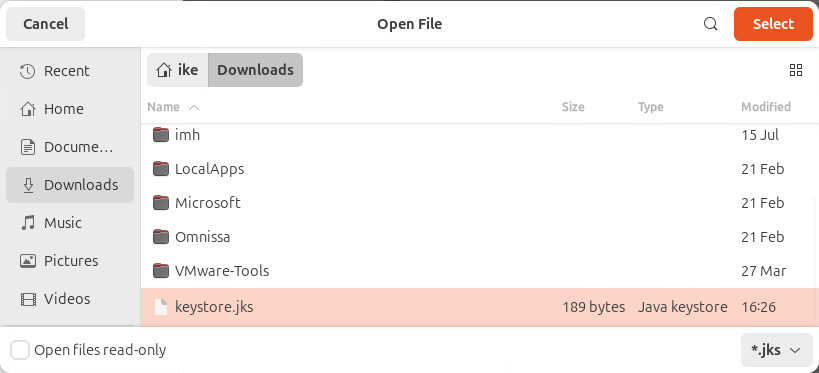
To upload the keystore you have obtained from your PKI, click Upload Keystore and select the keystore file. Please note that the keystore must contain the following:
-
The web certificate for the EST server
-
The key pair for the client certificate
-
The private key that the UMS will use to communicate with the PKI (mTLS)
-
-
Enter the Keystore Password. Note that the keystore and its keys must use the same password.
-
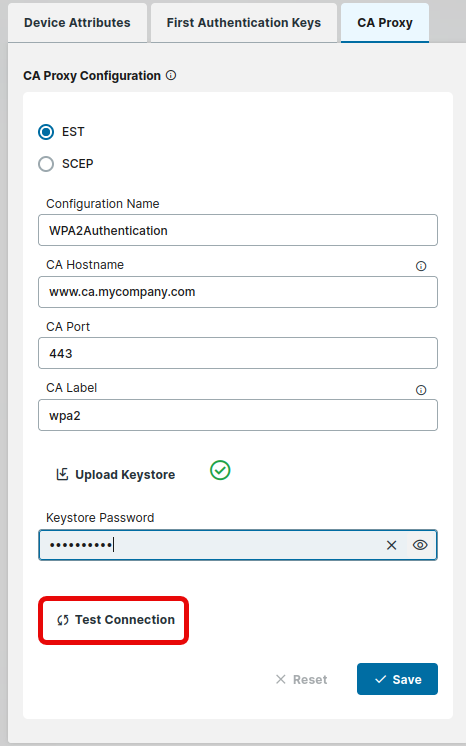
To test your connection, click Test Connection.
-
Review your configuration and click Save.

Configuring the UMS to Act as a CA Proxy Using SCEP
The certificate profile on the PKI and the endpoint device must match.
-
In the UMS Web App, go to the Devices area and click
-
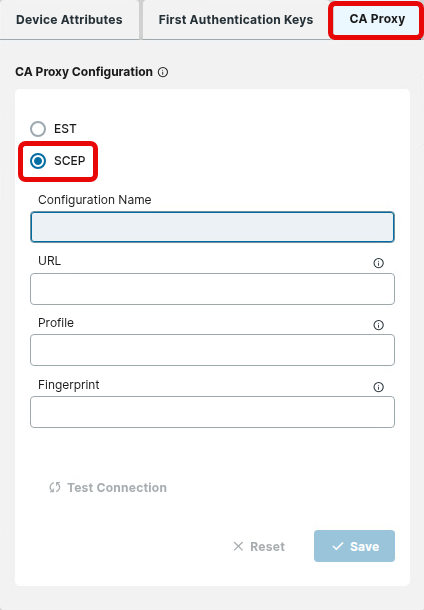
Select the CA Proxy tab and then select SCEP.
If there is an already existing configuration for EST, a dialog informs you that the previous configuration will be deleted.
-
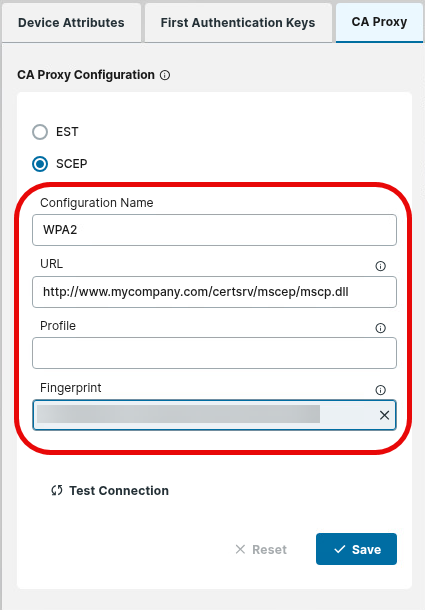
Select the CA Proxy tab and enter the following data:
-
Configuration Name: Display name for your SCEP configuration
-
URL: The URL of your SCEP server. Please note that if HTTPS is used, you must upload the appropriate certificate for this HTTPS connection. This is done via the Upload Certificate button that appears when the URL contains “https”.
-
Profile: (Optional) Profile name for the SCEP enrollment request
-
Fingerprint: Fingerprint of the root CA certificate. The following cryptographic hash algorithms are allowed:
-
MD5
-
SHA1
-
SHA256
-
-
-
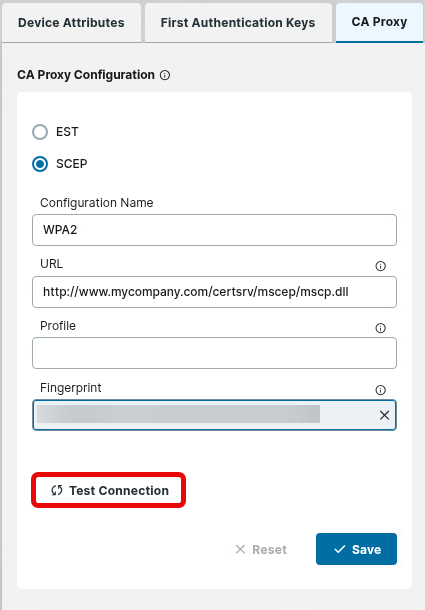
To test your connection, click Test Connection.
-
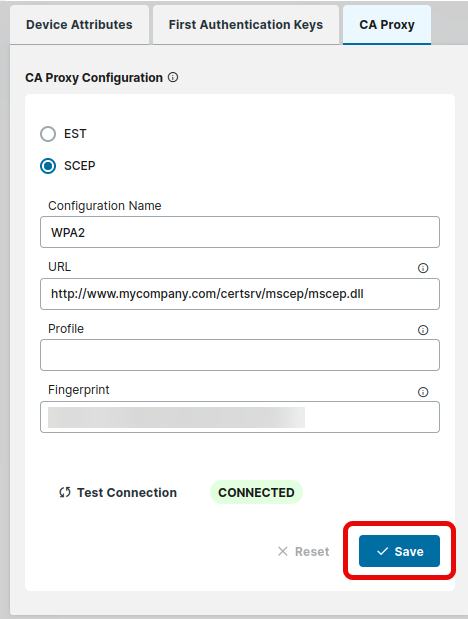
Review your configuration and click Save.
Configuring the Endpoint Device to Use the UMS as CA Proxy
Creating a UMS Profile
-
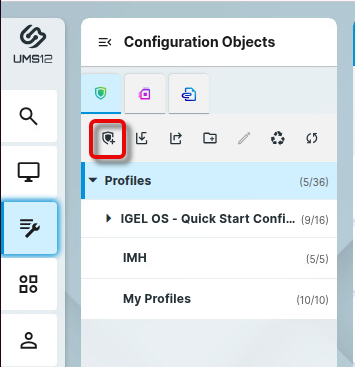
In the UMS Web App, go to the Configuration section and click

-
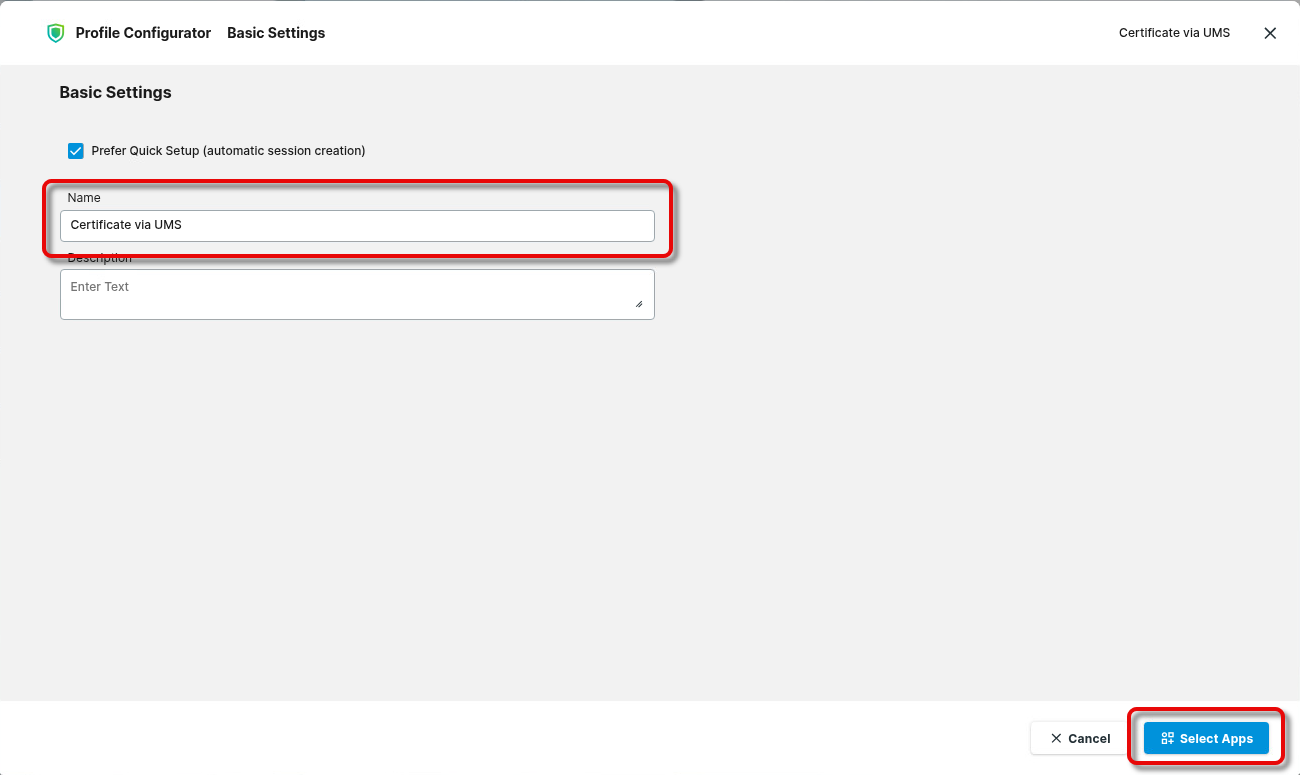
Enter an appropriate name for the profile and click Select Apps.
-
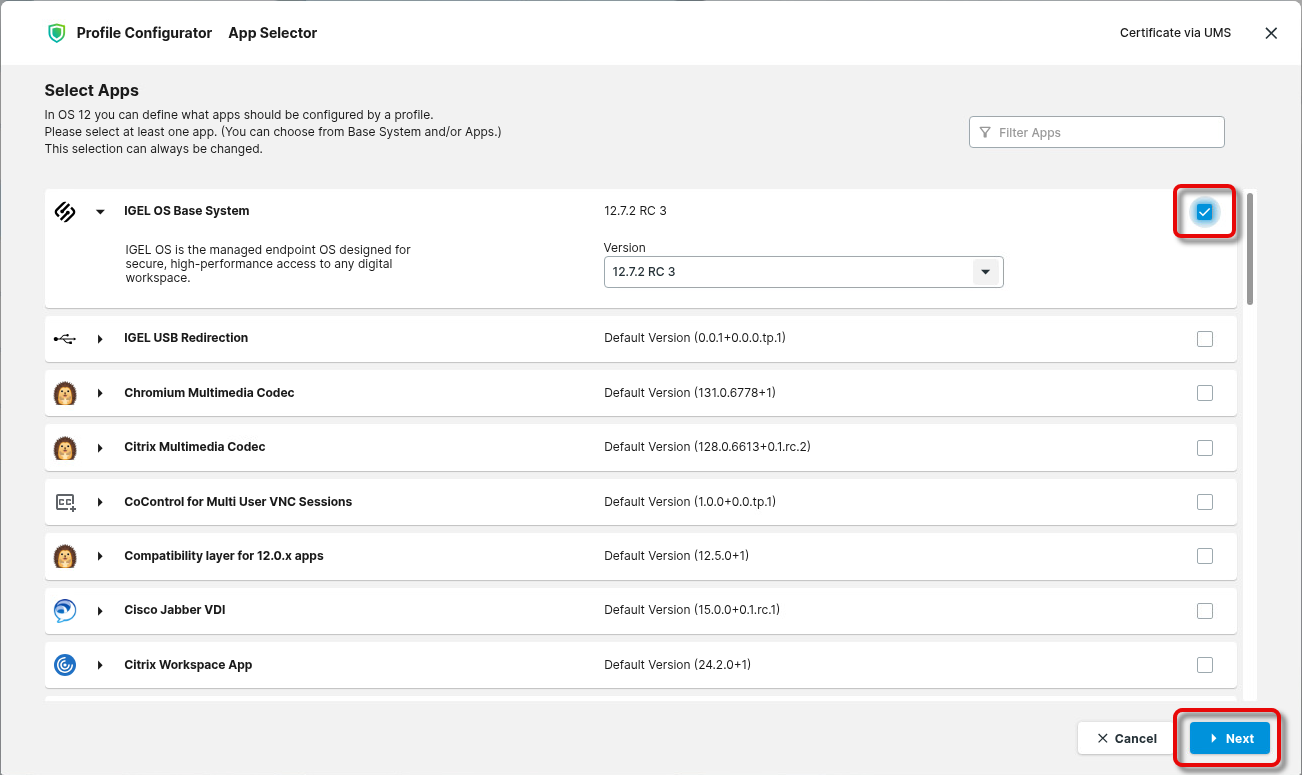
Select IGEL OS Base System and click Next.
-
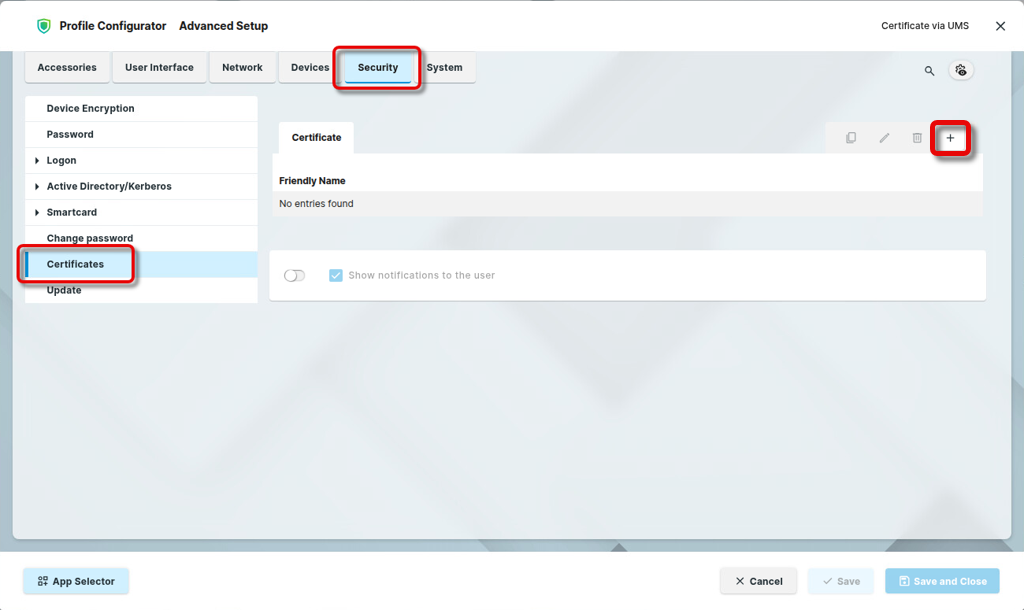
Go to Security > Certificates and click

-
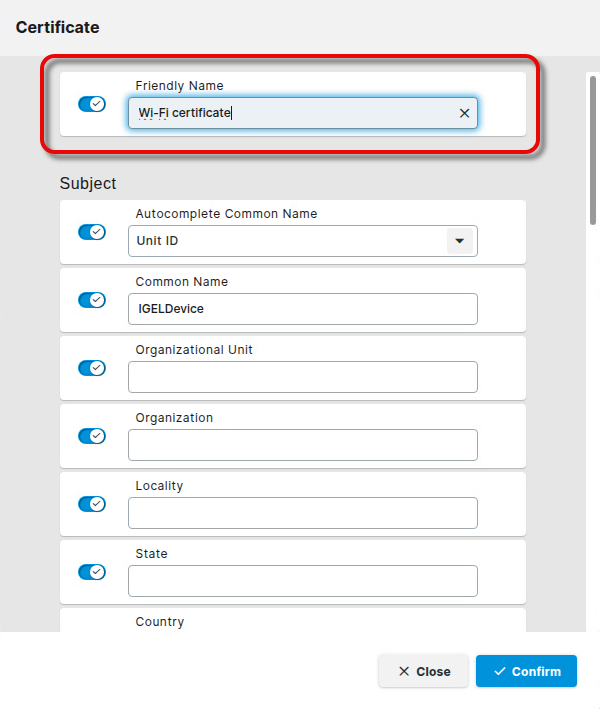
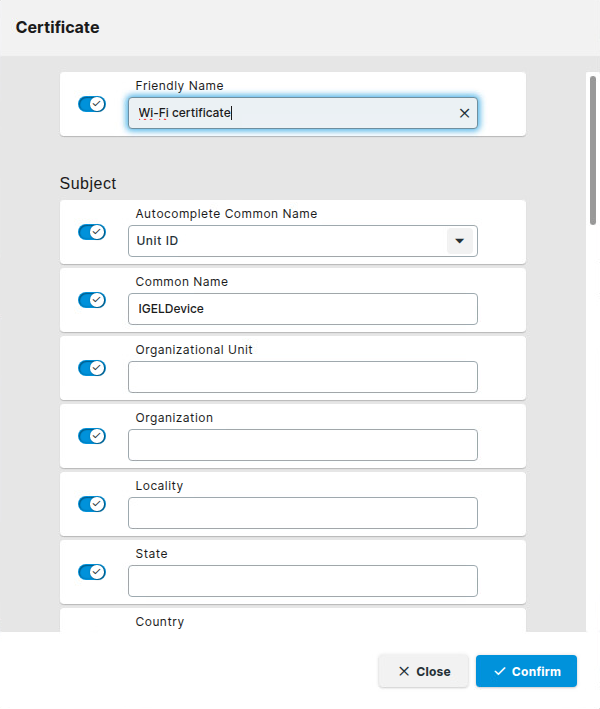
Under Friendly Name, enter a name for the certificate.
This name must be unique among all configured certificates on the device. It will be used as a directory name for storing the certificate files on the device. If the name has already been taken, a warning will be displayed, and an entry will be written to the system log.
-
Enter the data for the endpoint device’s certificate profile according to the certificate profile you have configured in the PKI.
The certificate profile on the endpoint device and the certificate profile defined in the PKI must match. If the certificate enrollment fails, it is recommended to check the logs of the PKI.
Some certificate parameters can be derived automatically from the device; this is done with the following parameters:
Subject
-
Autocomplete Common Name
The parameter replaces the occasionally configured Common Name.-
Hostname: The device’s hostname is used as the common name
-
Unit ID: The device’s unit ID is used as the common name
-
Subject Alternative Name
These auto-completed names are always added to the configured Subject Alternative Name:
-
Autocomplete Hostname: If enabled, the device’s hostname is used in the subject alternative name
-
Autocomplete IP Address: If enabled, the device’s IP address is used in the subject alternative name
-
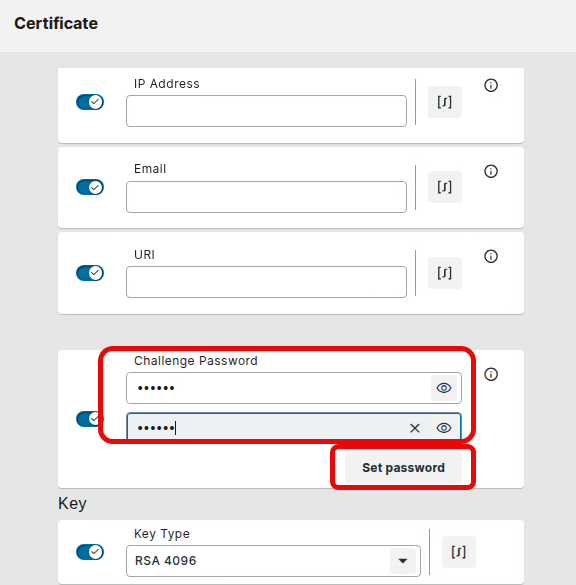
Only needed if SCEP is used: Enter the Challenge Password required for communication with the PKI and click Set password.
-
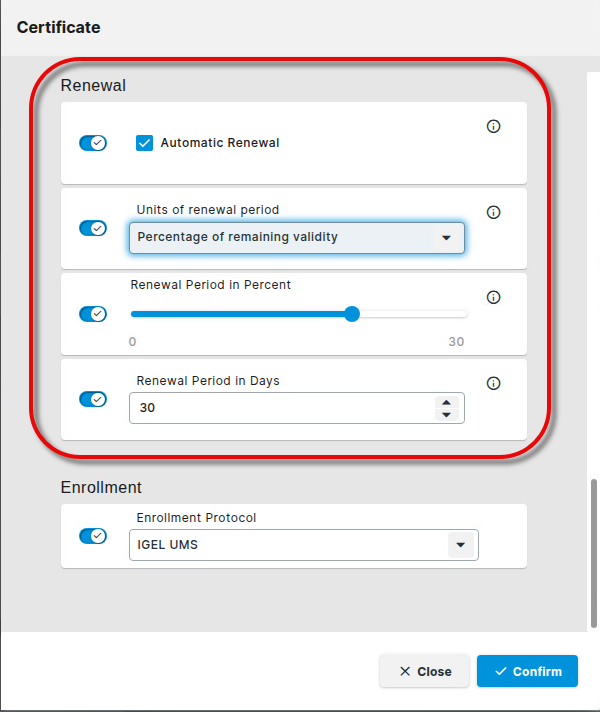
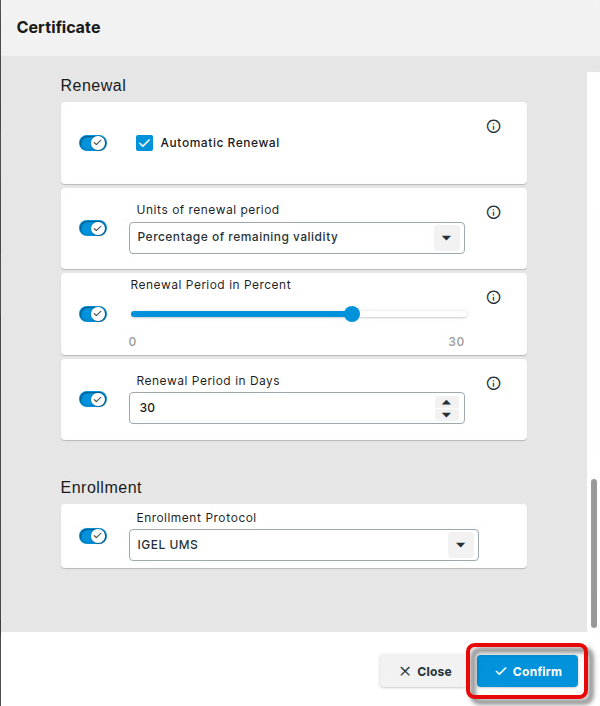
Edit the settings for certificate renewal according to your needs.
-
Automatic Renewal: When enabled, the certificate renewal will be triggered automatically, according to the settings below.
-
Units of renewal period: Choose whether the automatic certificate renewal will be triggered after a specified percentage of the validity period has passed or after a specified number of remaining days has been reached.
-
Percentage of remaining validity
-
Days of remaining validity
-
Renewal Period in Percent: Specifies the percentage of the validity period after which the renewal will be triggered. Only effective if Units or renewal period is set to Percentage of remaining validity.
-
Renewal Period in Days: Specifies the number of days remaining before the renewal is triggered. Only effective if Units or renewal period is set to Days of remaining validity.
-
-
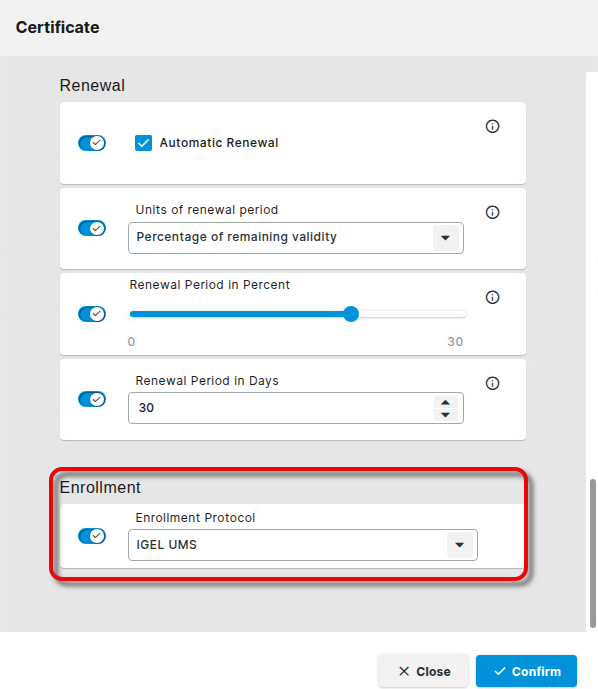
Set Enrollment Protocol to IGEL UMS.
-
When you are done, click Confirm.
-
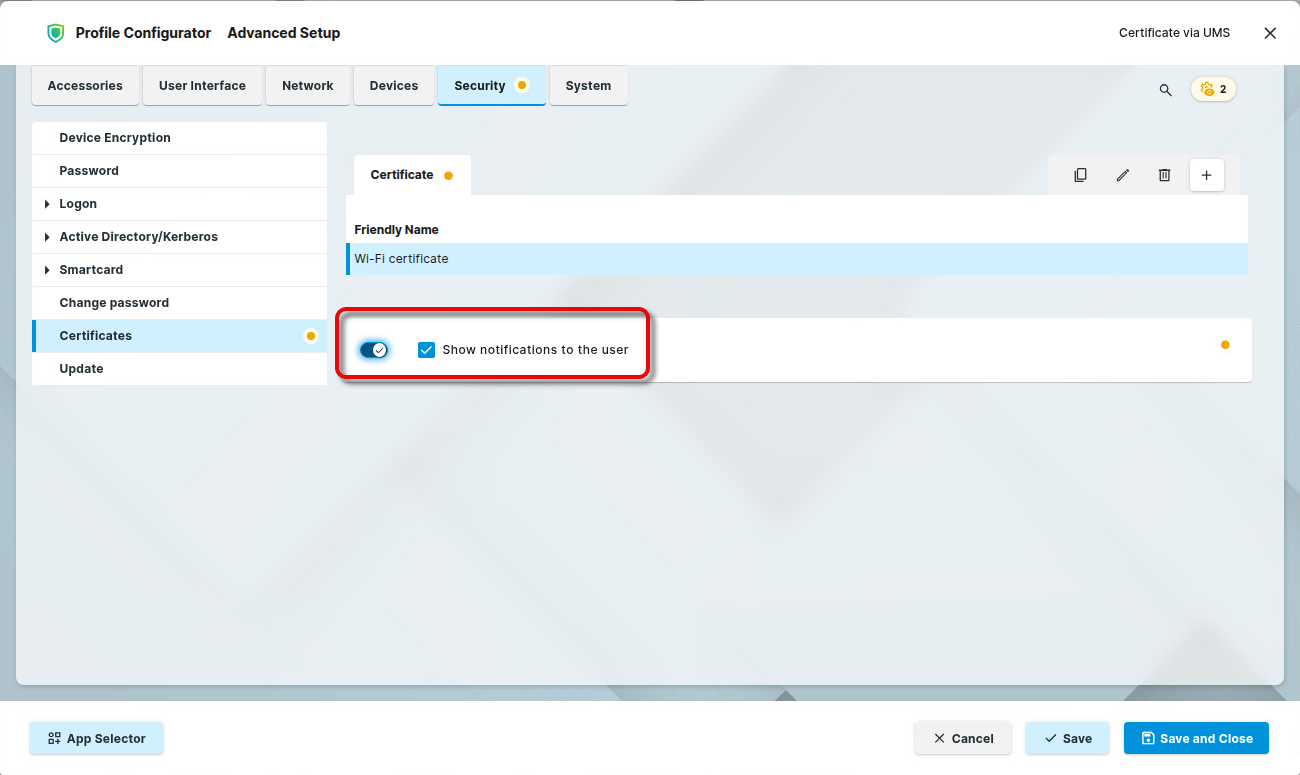
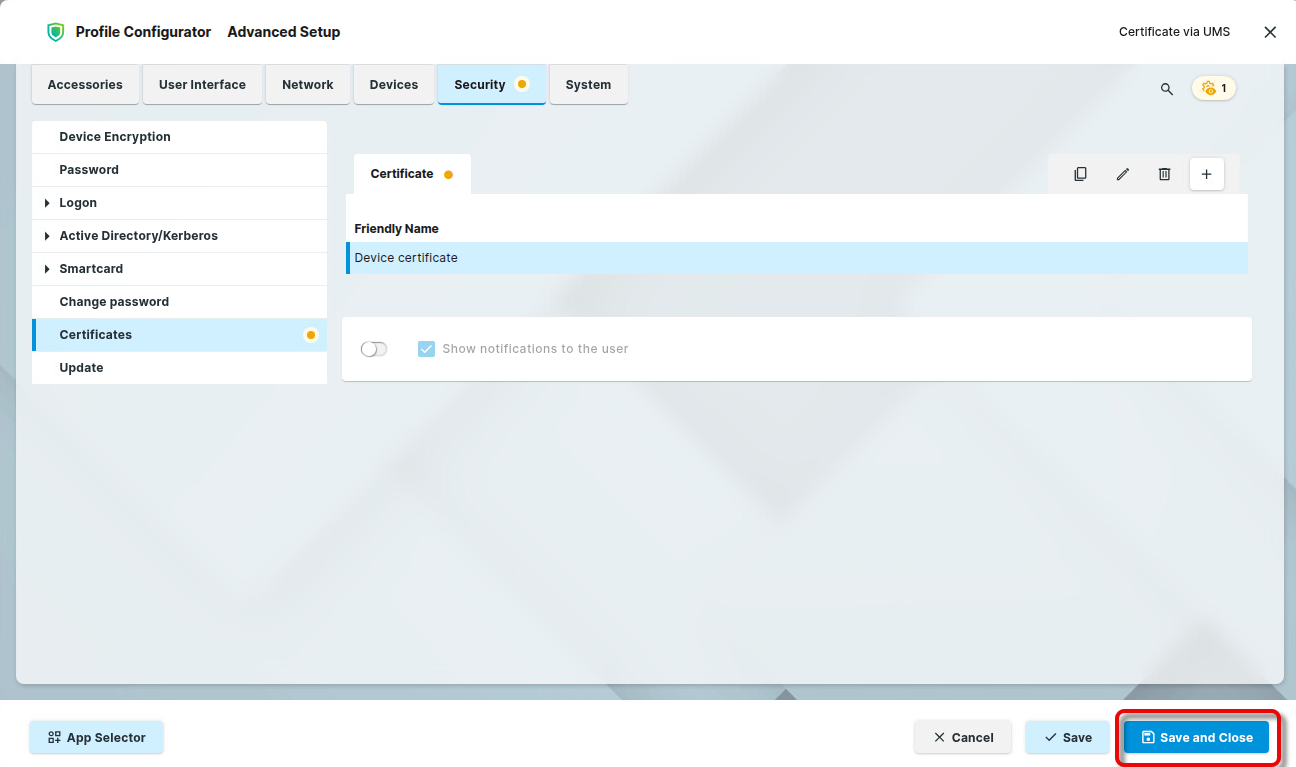
Review the setting Show notifications to the user. If enabled (default), the user will be notified about the certificate on the device.
-
Click Save and Close to finalize your profile.
Assigning the Profile to the Devices
-
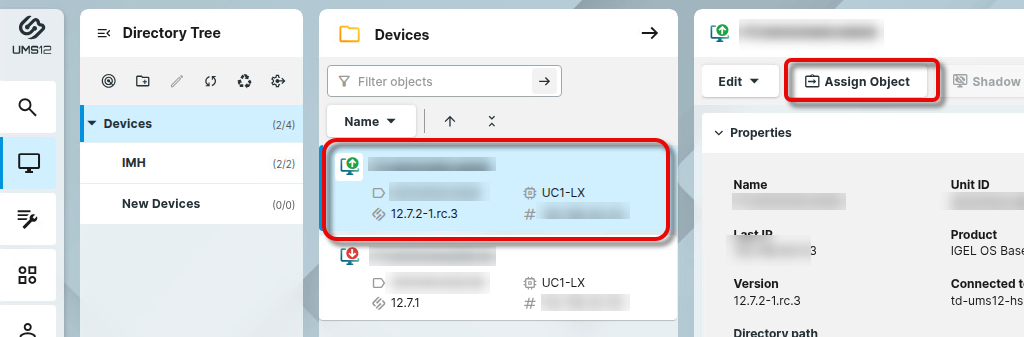
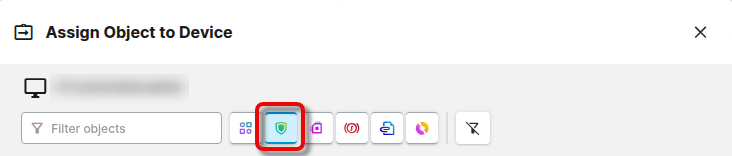
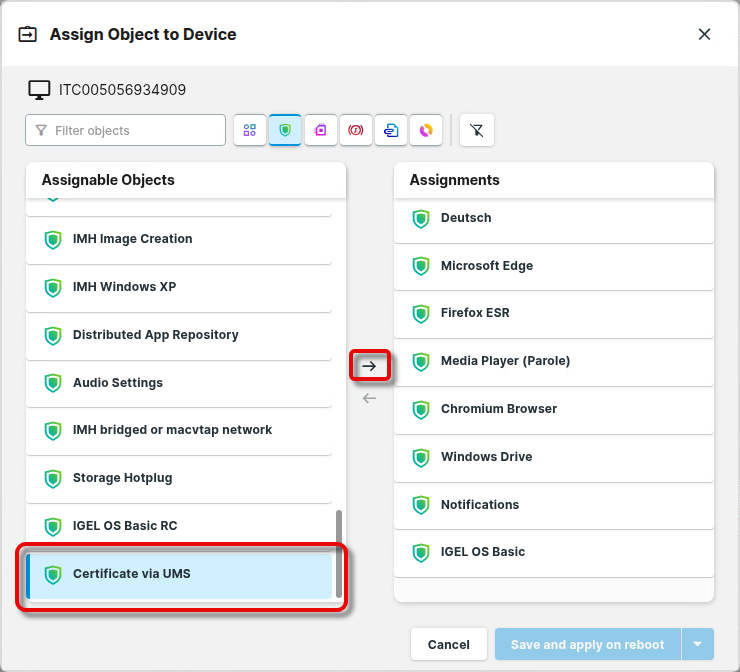
Go to the Devices area and select the relevant device or the relevant directory of devices.
-
Set the filter to show only profiles and select the profile you previously created.
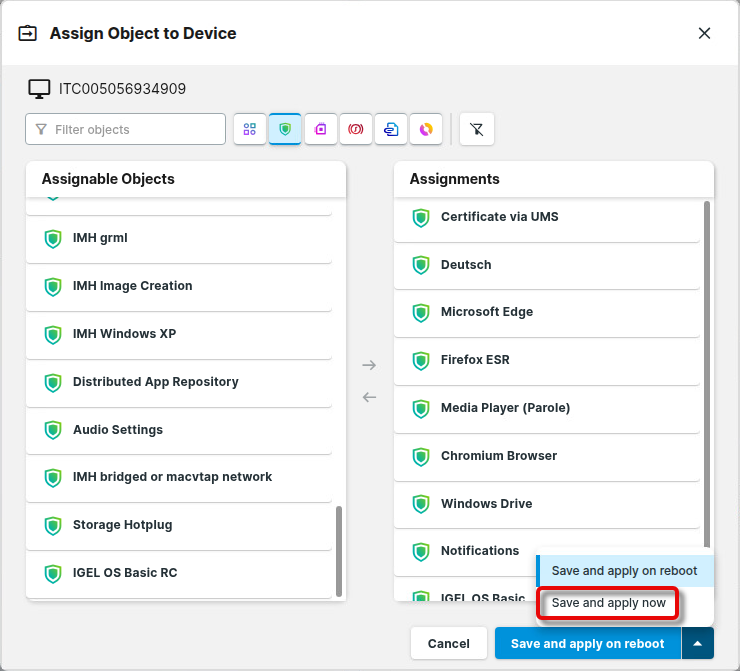
The devices will try to obtain their certificates via the UMS immediately.
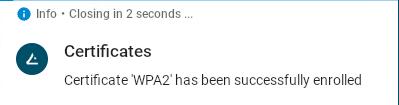
When Show notifications to the user is enabled (see Creating a UMS Profile, step 10), a notification is shown on the device indicating successful certificate enrollment.
How Can I Verify if the Certificate Has Been Deployed on the Device?
Using the Friendly Name as the path to the enrolled certificate easily allows to configure it in use cases like 802.1x authentication or VPN.
→ Open a Local Terminal on the device and check for the following files:
-
/wfs/igel-certs/<FRIENDLY NAME>/cert.pem- The enrolled certificate in PEM format -
/wfs/igel-certs/<FRIENDLY NAME>/cert.pfx- This is a PKCS12 container including the private key, certificate, and CA certificates. The container is protected by the configured key’s password. -
/wfs/igel-certs/<FRIENDLY NAME>/pkey.pem- The private key in PEM format protected by the configured password -
/wfs/igel-certs/<FRIENDLY NAME>/cacerts.pem- The CA certificate(s). Additionally, all the CA certificates are automatically installed to the system-wide OpenSSL repository of CAs in/etc/ssl/cert/ directory. -
/wfs/igel-certs/<FRIENDLY NAME>/cacerts/<CN>.pem- The CA certificate from the bundlecacerts.pem. Additionally, all the CA certificates are automatically installed to the system-wide OpenSSL repository of CAs in/etc/ssl/cert/ directory.
→ To review the relevant log entries, enter journalctl | egrep 'rmagent|igel-certs'