Managing Users and Roles in the IGEL Customer Portal
This article describes how to invite users, cancel or renew invitations, and add roles to a user or remove roles in the IGEL Customer Portal. Also included is a description of how to use Okta or Ping as federated identity providers (IdP) for logging in to your IGEL Cloud Services accounts.
Roles and Permissions
In the IGEL Customer Portal, you can find the following roles:
Super Admin
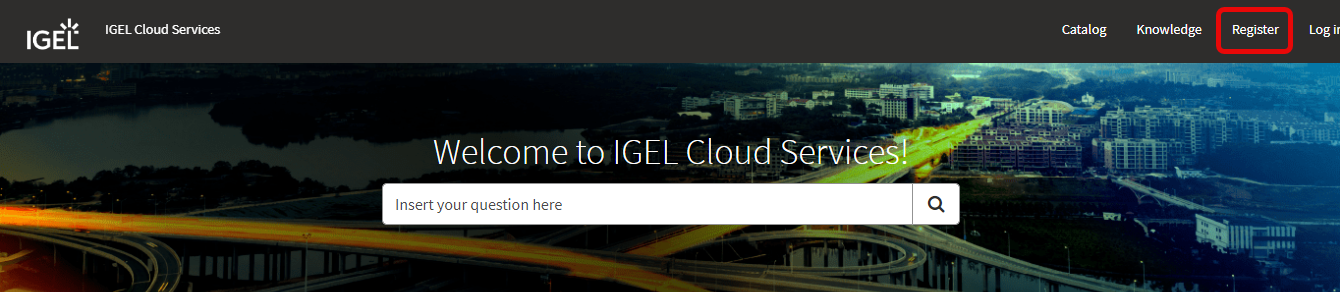
The first account you register in the IGEL Customer Portal > Register is your Super Admin account. For details on registration, see Using the IGEL Customer Portal.
The Super Admin is the first user to register any new account.
Account Admin
OBS Admin
UMS Admin
App Creator
Customer Support Account Manager
The users with these roles have the following permissions:
Super Admin | Account Admin | OBS Admin | UMS Admin | App Creator | Customer Support | |
|---|---|---|---|---|---|---|
Account Management | ||||||
View account |
|
| ||||
User Management | ||||||
View users |
|
| ||||
Invite users |
|
| ||||
Add / remove user roles |
|
| ||||
OBS IdP (Onboarding Service Identity Provider) | ||||||
Register IGEL OS IdP |
|
| ||||
Use OBS instance |
|
| ||||
IGEL OS Onboarding | ||||||
Register OBS instances |
|
| ||||
View OBS attributes |
|
| ||||
Use OBS attributes |
|
| ||||
Create OBS attributes |
|
| ||||
Add / change OBS attributes |
|
| ||||
UMS Management | ||||||
View UMS instances |
|
| ||||
Use UMS instances |
|
| ||||
Create UMS instances |
|
| ||||
Add / change UMS instances |
|
| ||||
App Creator Portal | ||||||
Create apps via the IGEL App Creator Portal |
|
| ||||
Support / Case Management | ||||||
View support cases |
|
| ||||
Submit support cases |
|
| ||||
View RMA cases |
|
| ||||
Submit an RMA case |
|
| ||||
Submit reset key cases |
|
| ||||
Submit license question cases |
|
| ||||
Inviting a User and Assigning a Role
In the following example, we will invite a new user and make this user an OBS administrator.
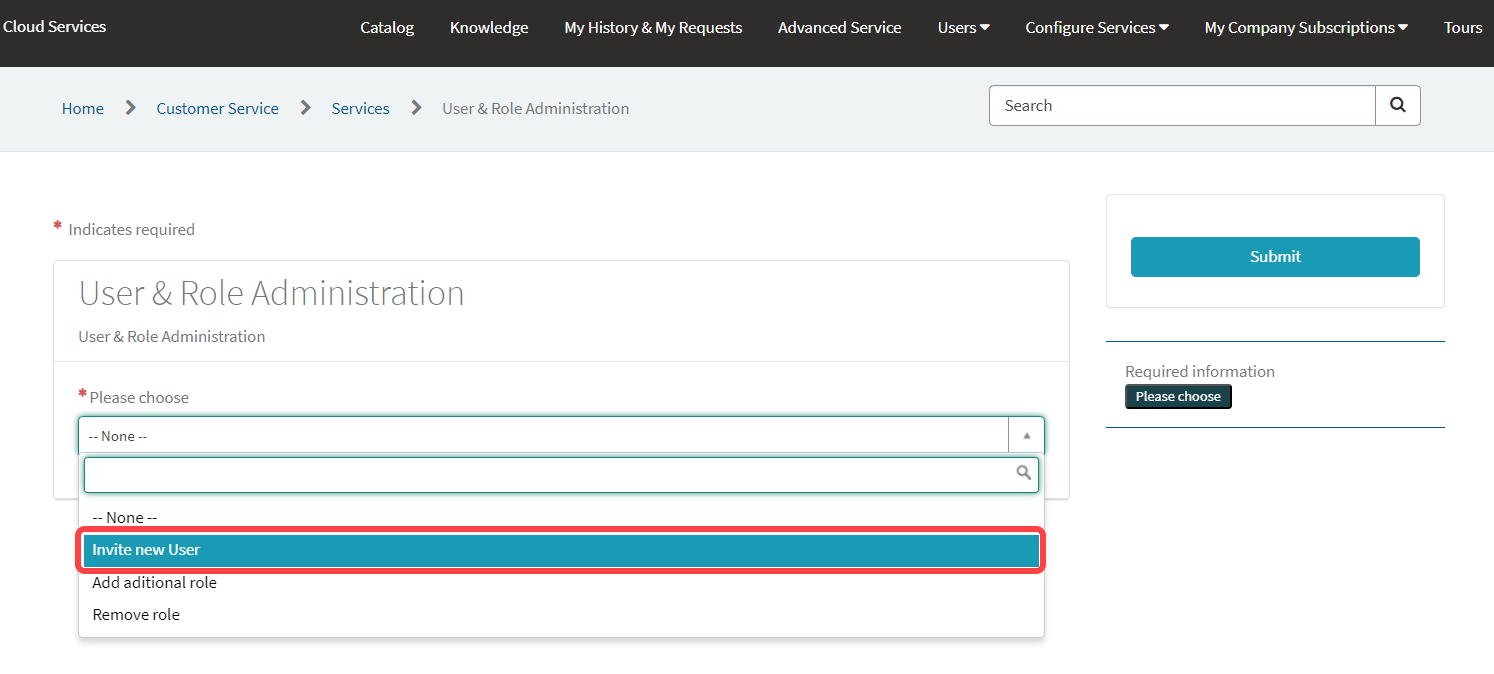
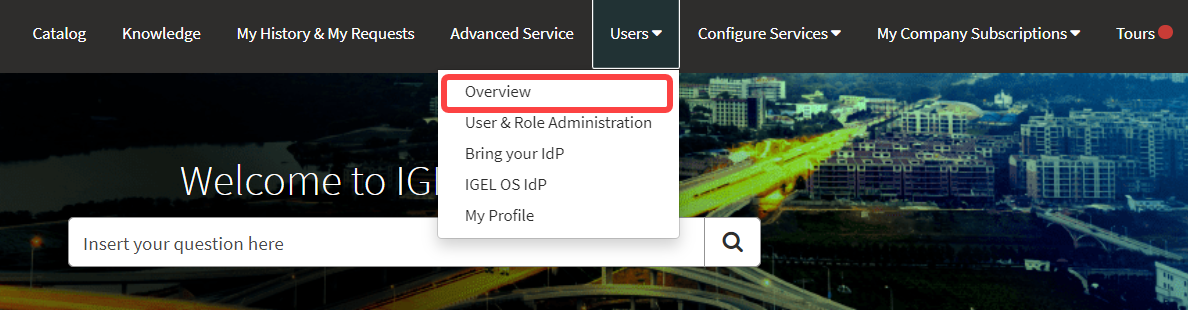
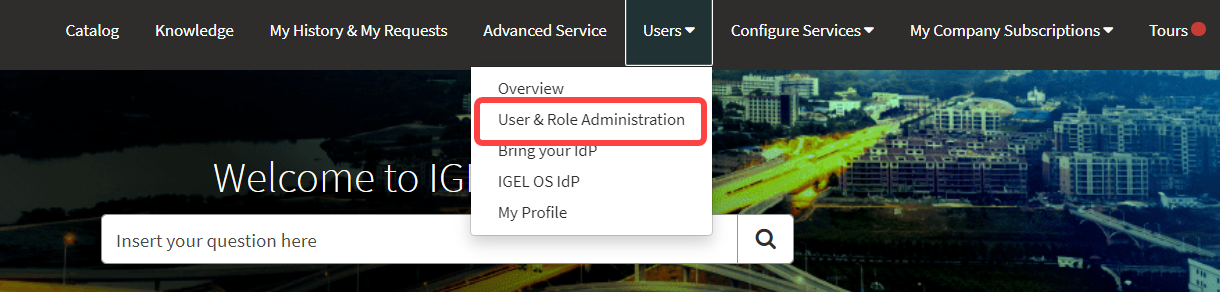
Open the IGEL Customer Portal, log in to your admin account, and select Users > User & Role Administration.

Select Invite new user.
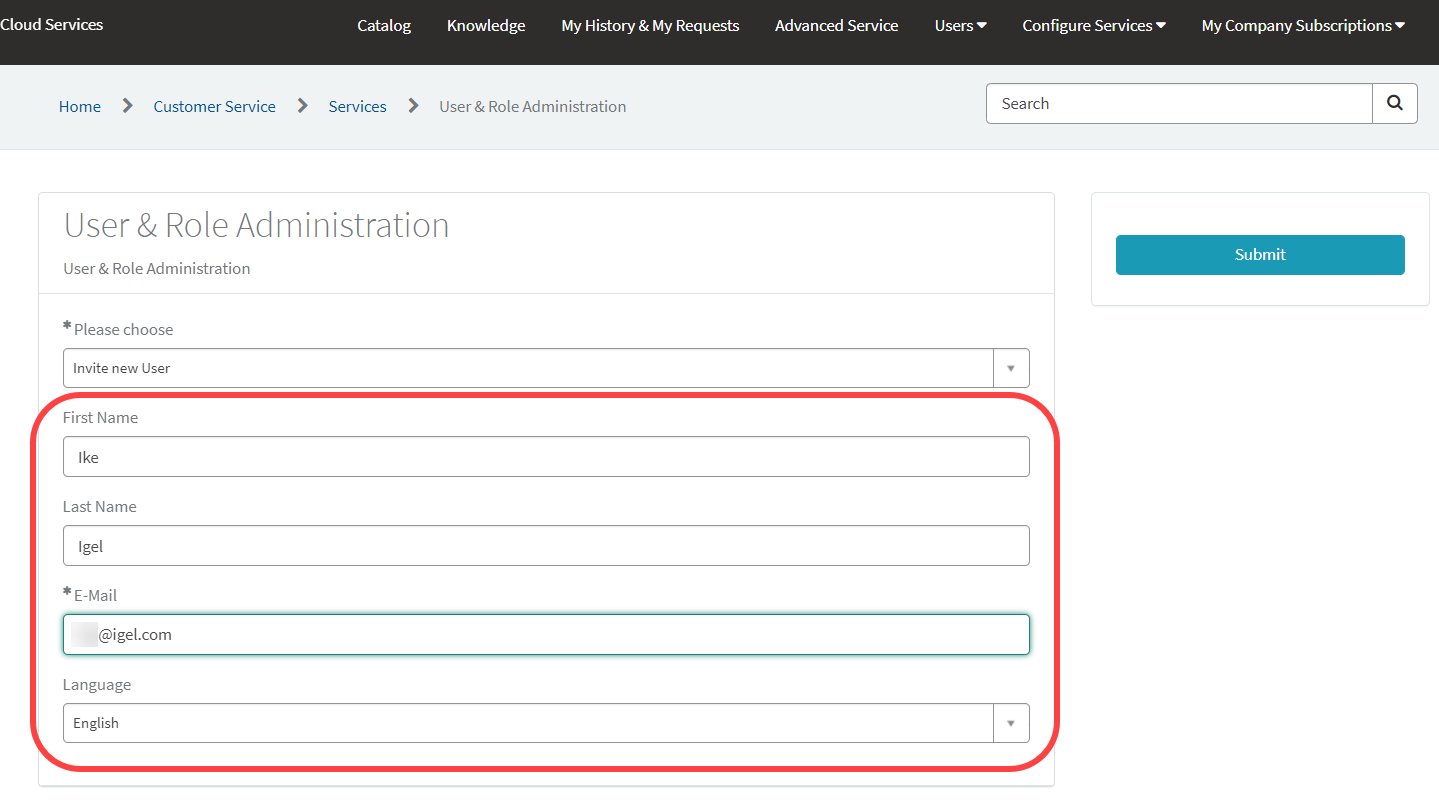
Provide the data of the new user:
First name: First name of the user
Last name: Last name of the user
E-mail (required): E-mail address of the user
Language: Preferred language for the user
Select OBS Admin as the role and click Submit.
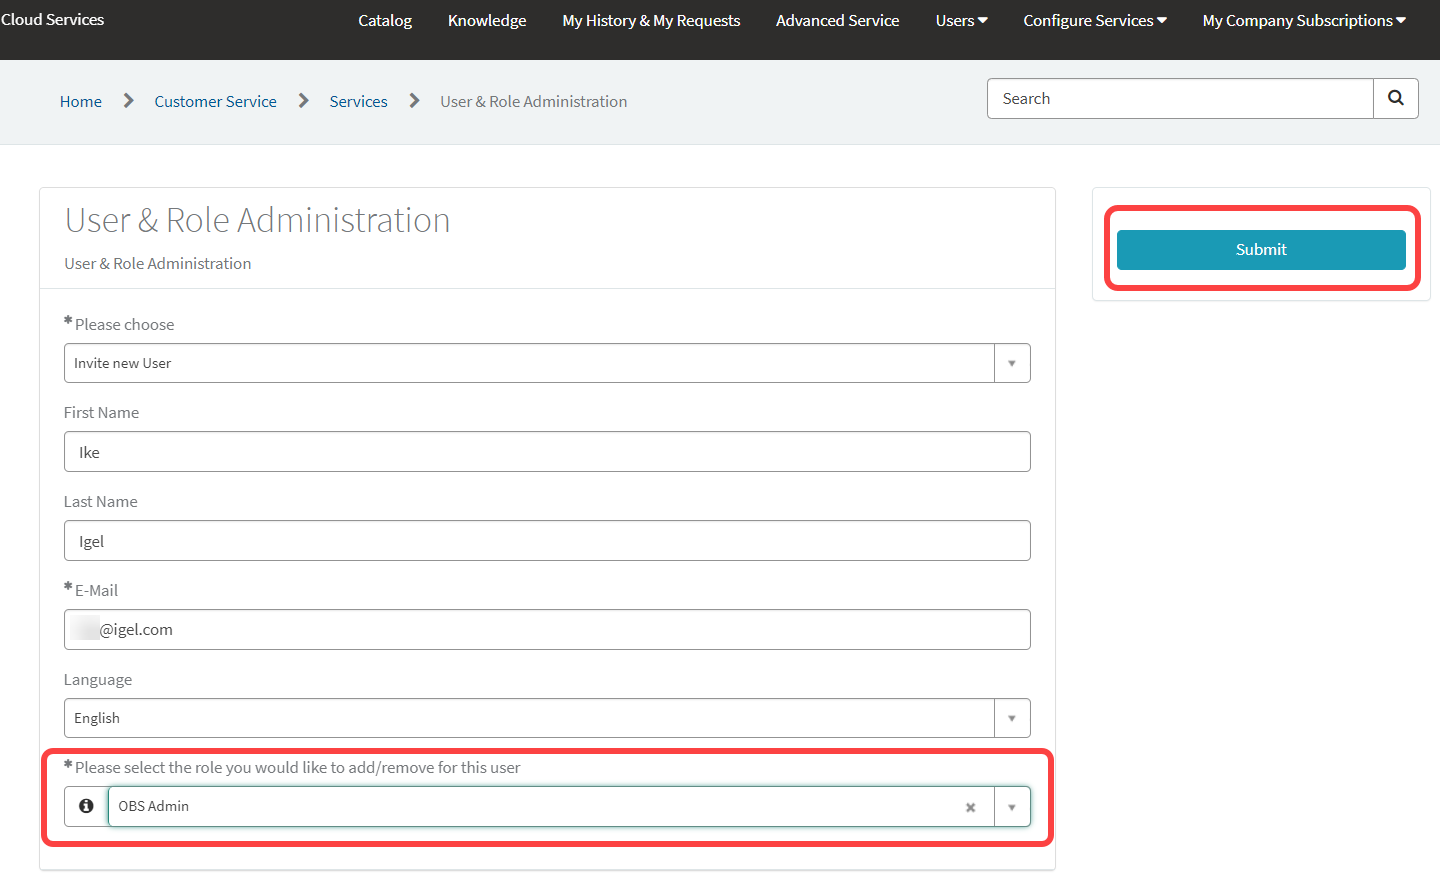
The invitation mail is sent to the user.
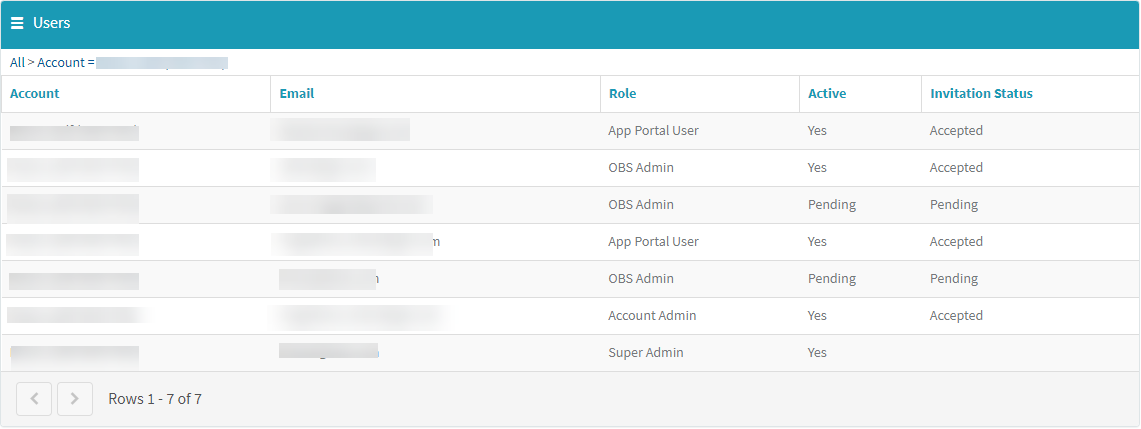
The list of users is displayed; it includes the newly added user.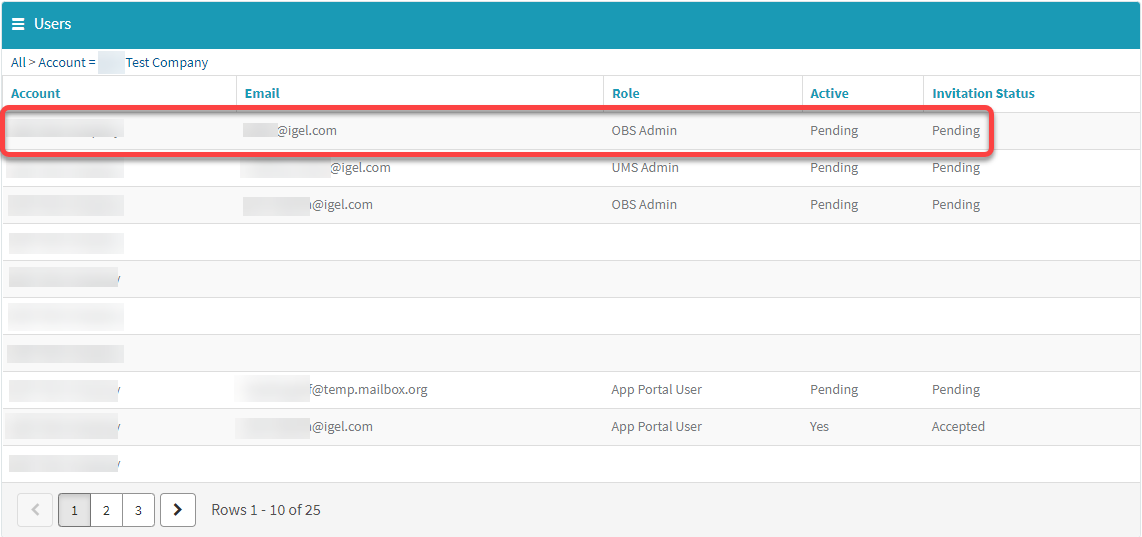
When the user accepts the invitation, the account is created, and the role is assigned. (If the user declines, the account is not created.)
The Super Admin receives a confirmation e-mail.
Canceling and Resending Invitations
You can cancel or resend pending invitations if you have one of the following roles:
Super Admin
Account Admin
Pending invitations older than 30 days will be deleted automatically. If an invitation has been deleted, you can create a new one.
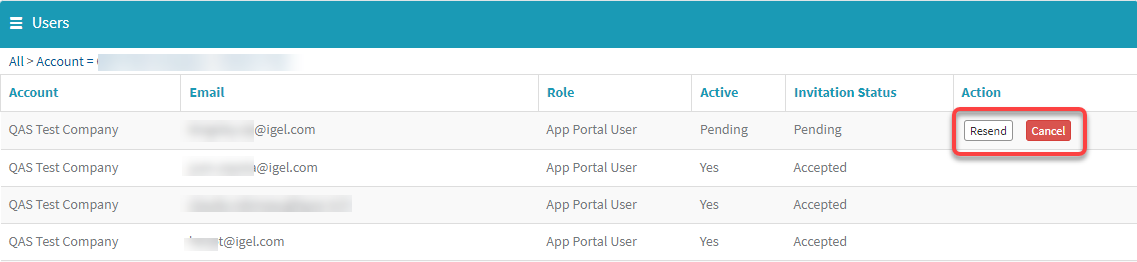
Open the IGEL Customer Portal, log in to your admin account, and select Users > Overview.
The users are listed.
Find the relevant user and click on Resend or Cancel, as appropriate.
Adding a Role to an Existing User
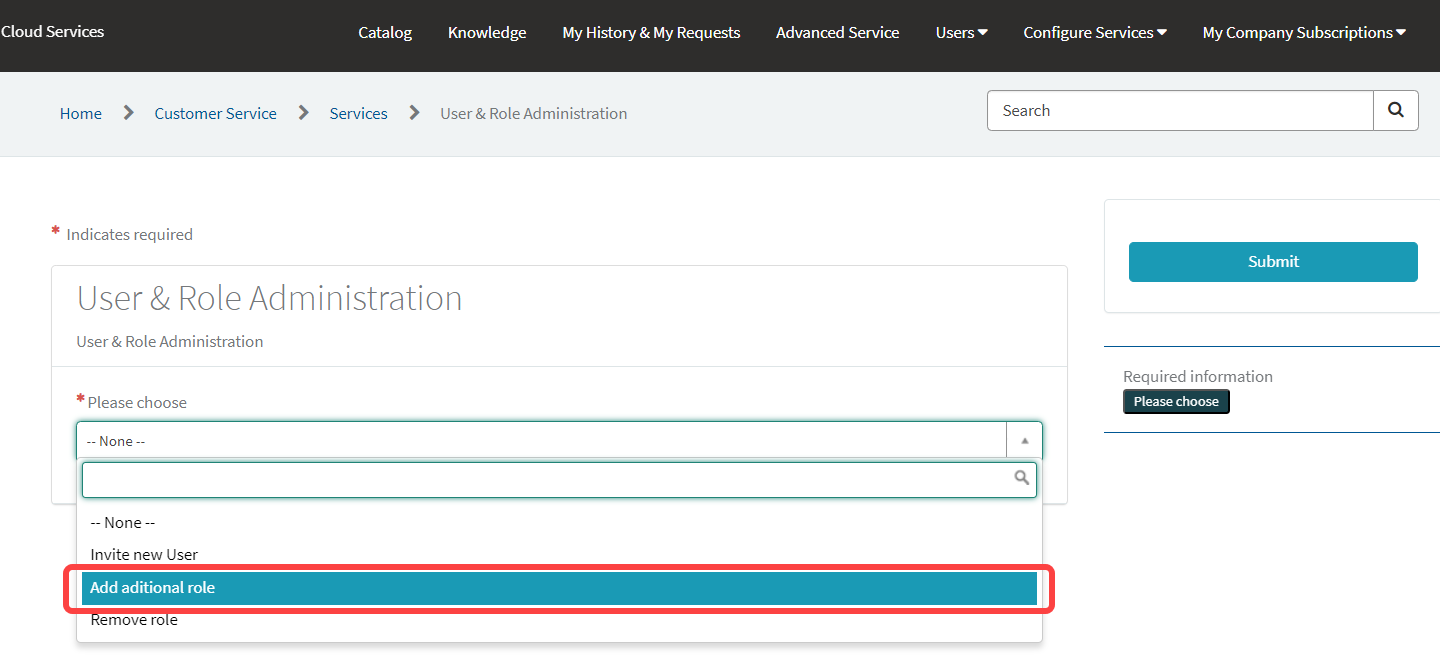
Open the IGEL Customer Portal, log in to your admin account, and select Users > User & Role Administration.

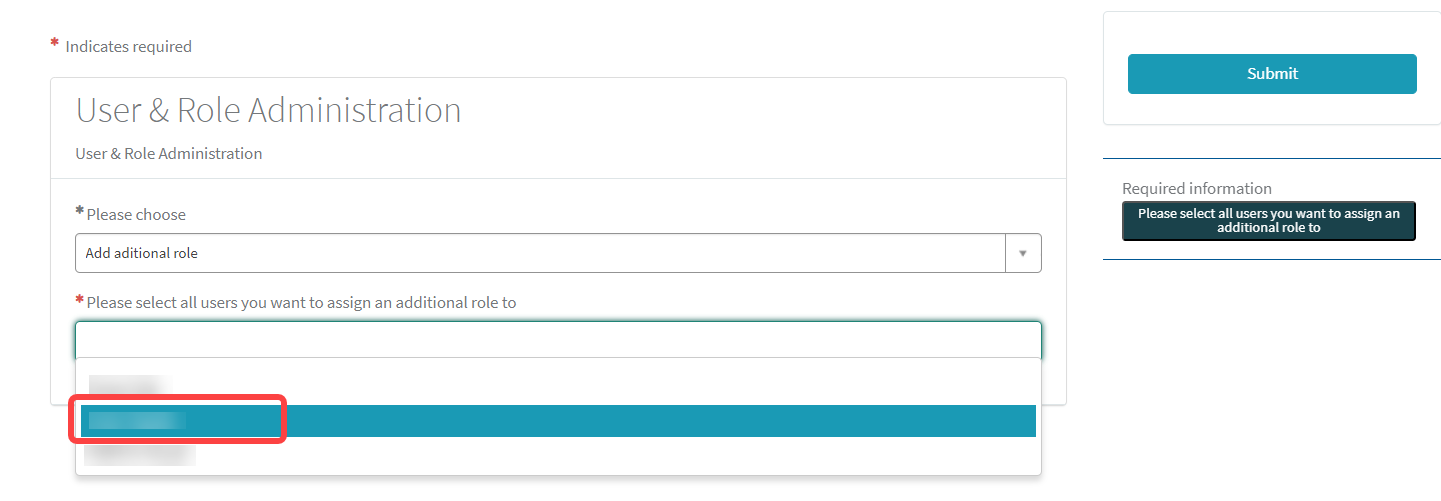
Select Add additional role.
Select one or more users that should be assigned the role.
Select OBS Admin as the additional role and click Submit.
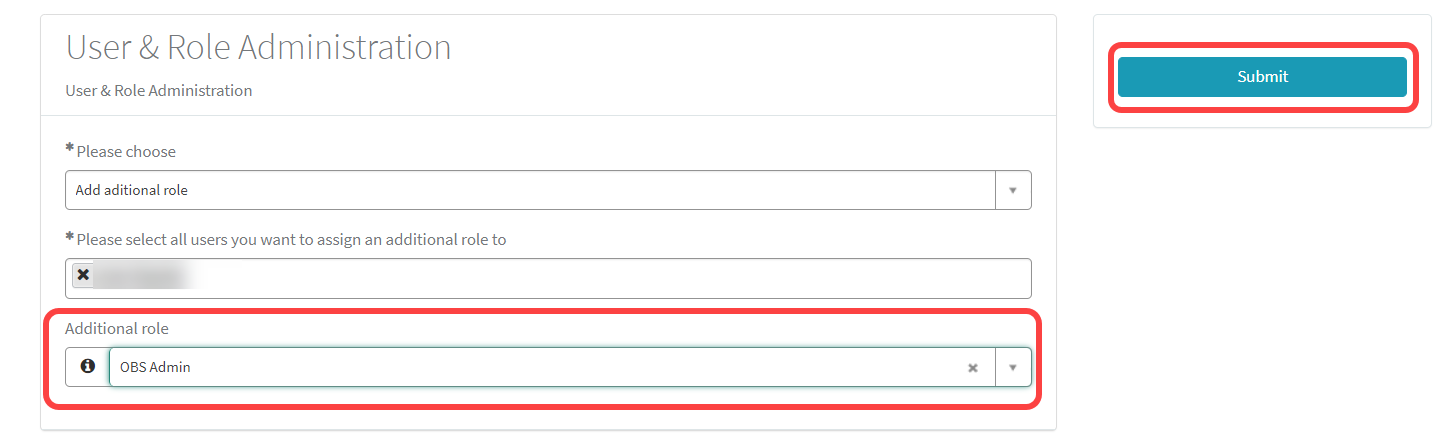
The updated list of users is displayed.
Removing a Role / Deactivating a User
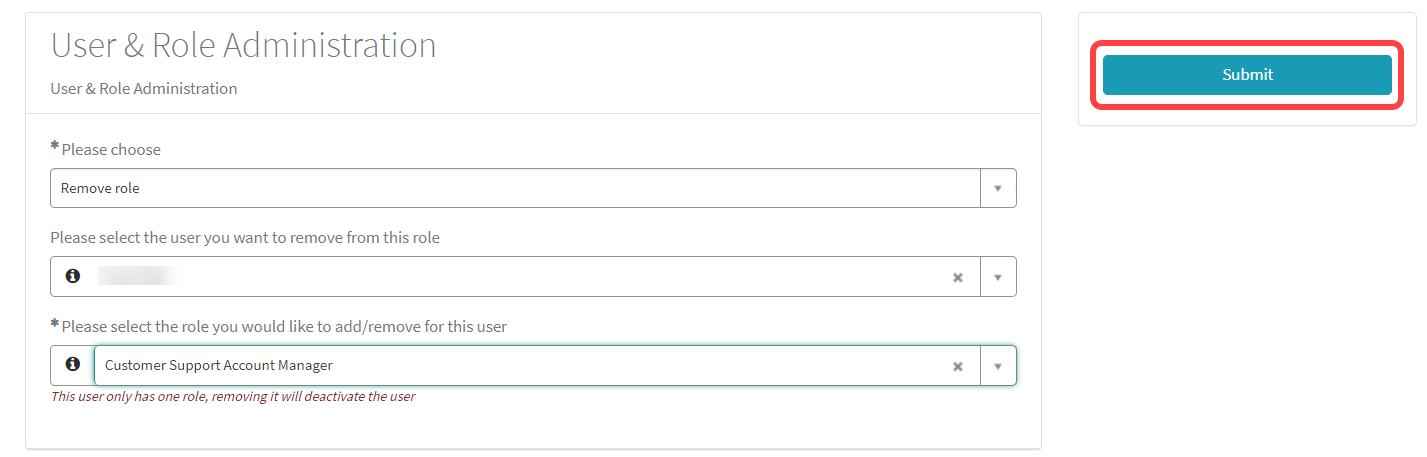
You can remove one or more rules from a user. If you deactivate a user, the account is deleted. No e-mails will be sent to this account anymore.
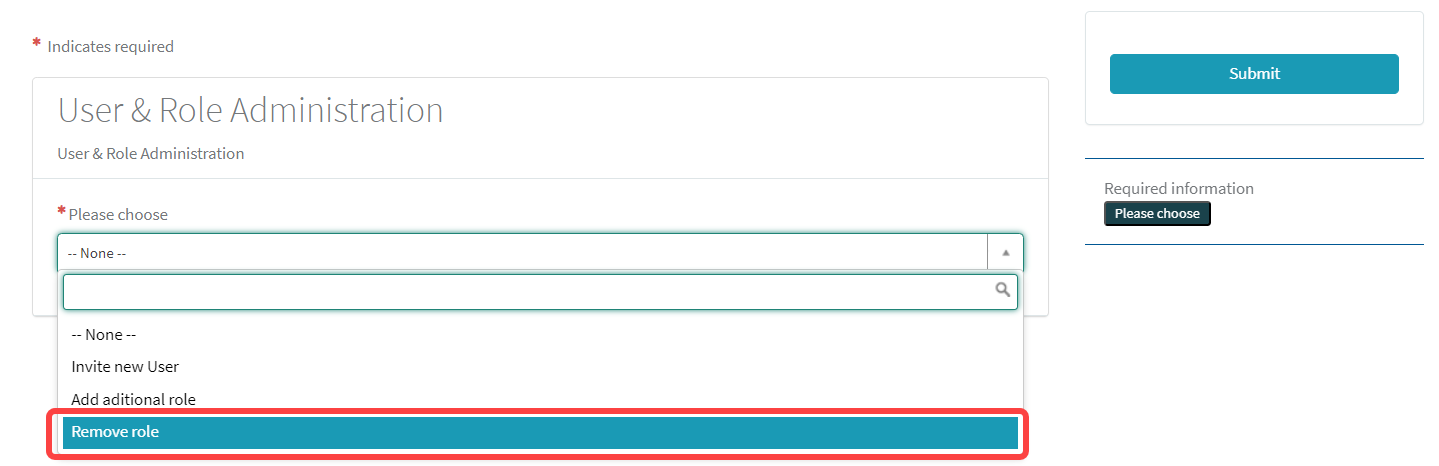
Open the IGEL Customer Portal, log in to your admin account, and select Users > User & Role Administration.
Select Remove role.
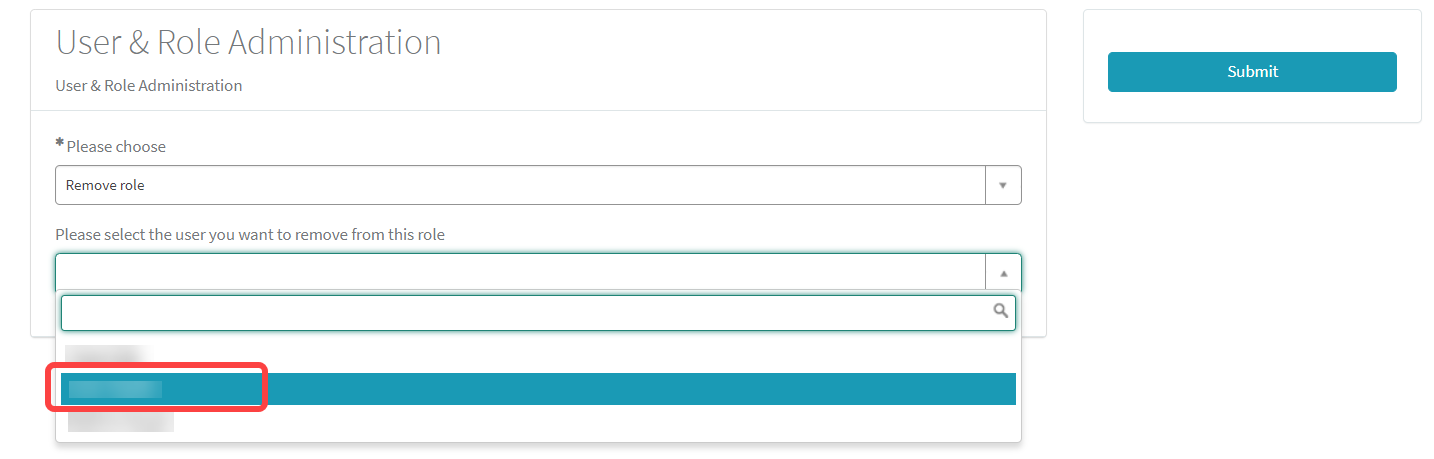
Select the user from whom you want to remove a role.
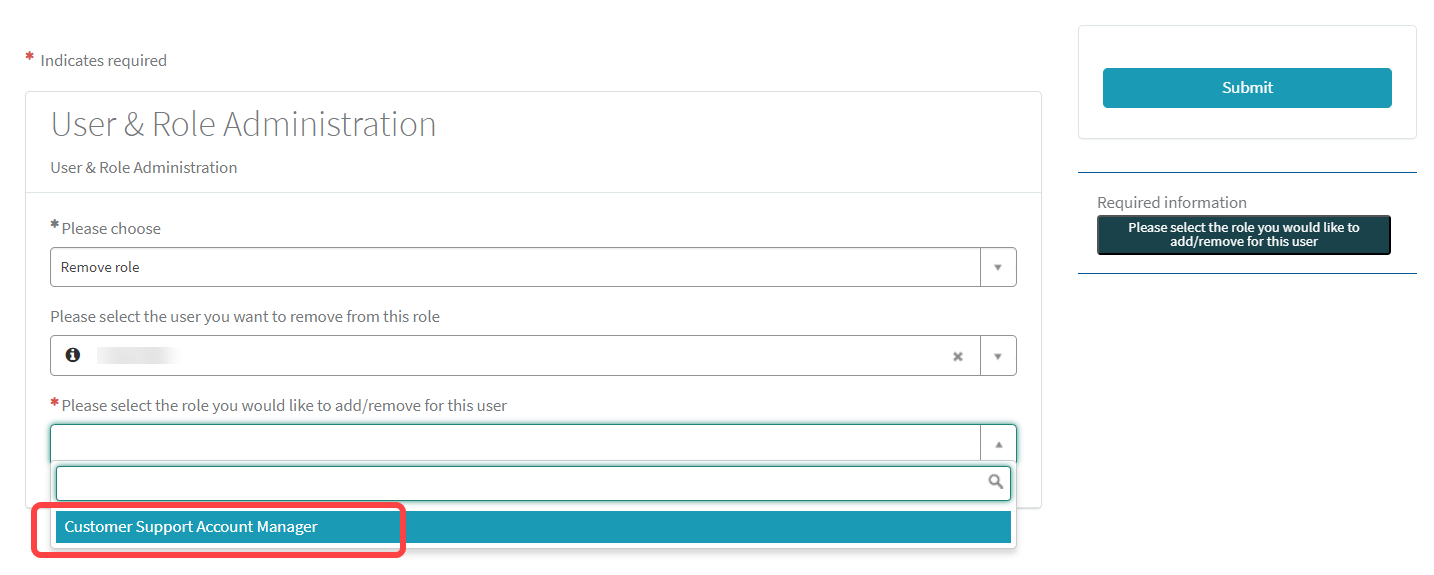
Select the role you want to remove from the user.
Click Submit to confirm the change.
Using Okta as Federated Identity Provider
Setting Up an App Integration in Okta
For federating identities from Okta to Azure Active Directory (AAD), which is used in IGEL Cloud Services, you must set up an application integration in your Okta tenant. For this purpose, we will create a SAML 2.0 application.
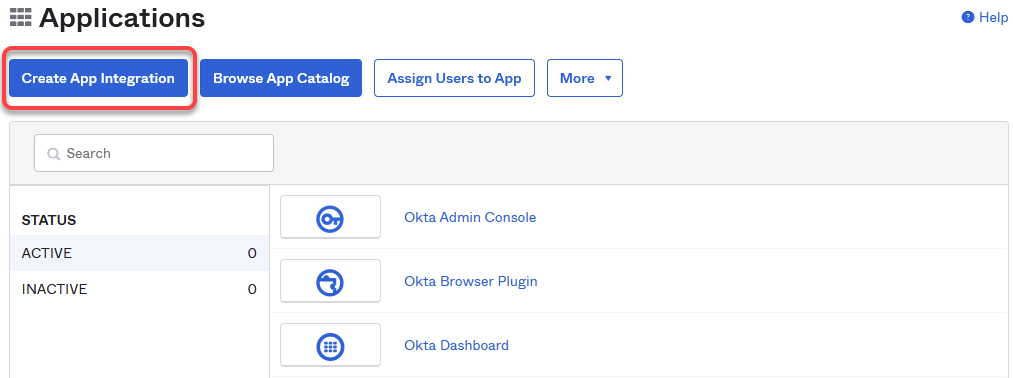
Log in to your administrator account at Okta, go to Applications, and click Create App integration.
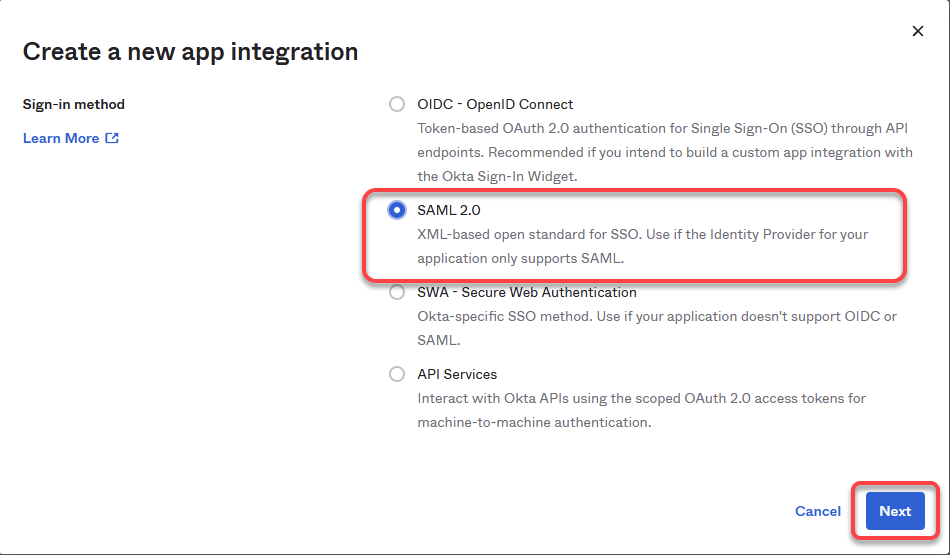
Select SAML 2.0 and click Next.
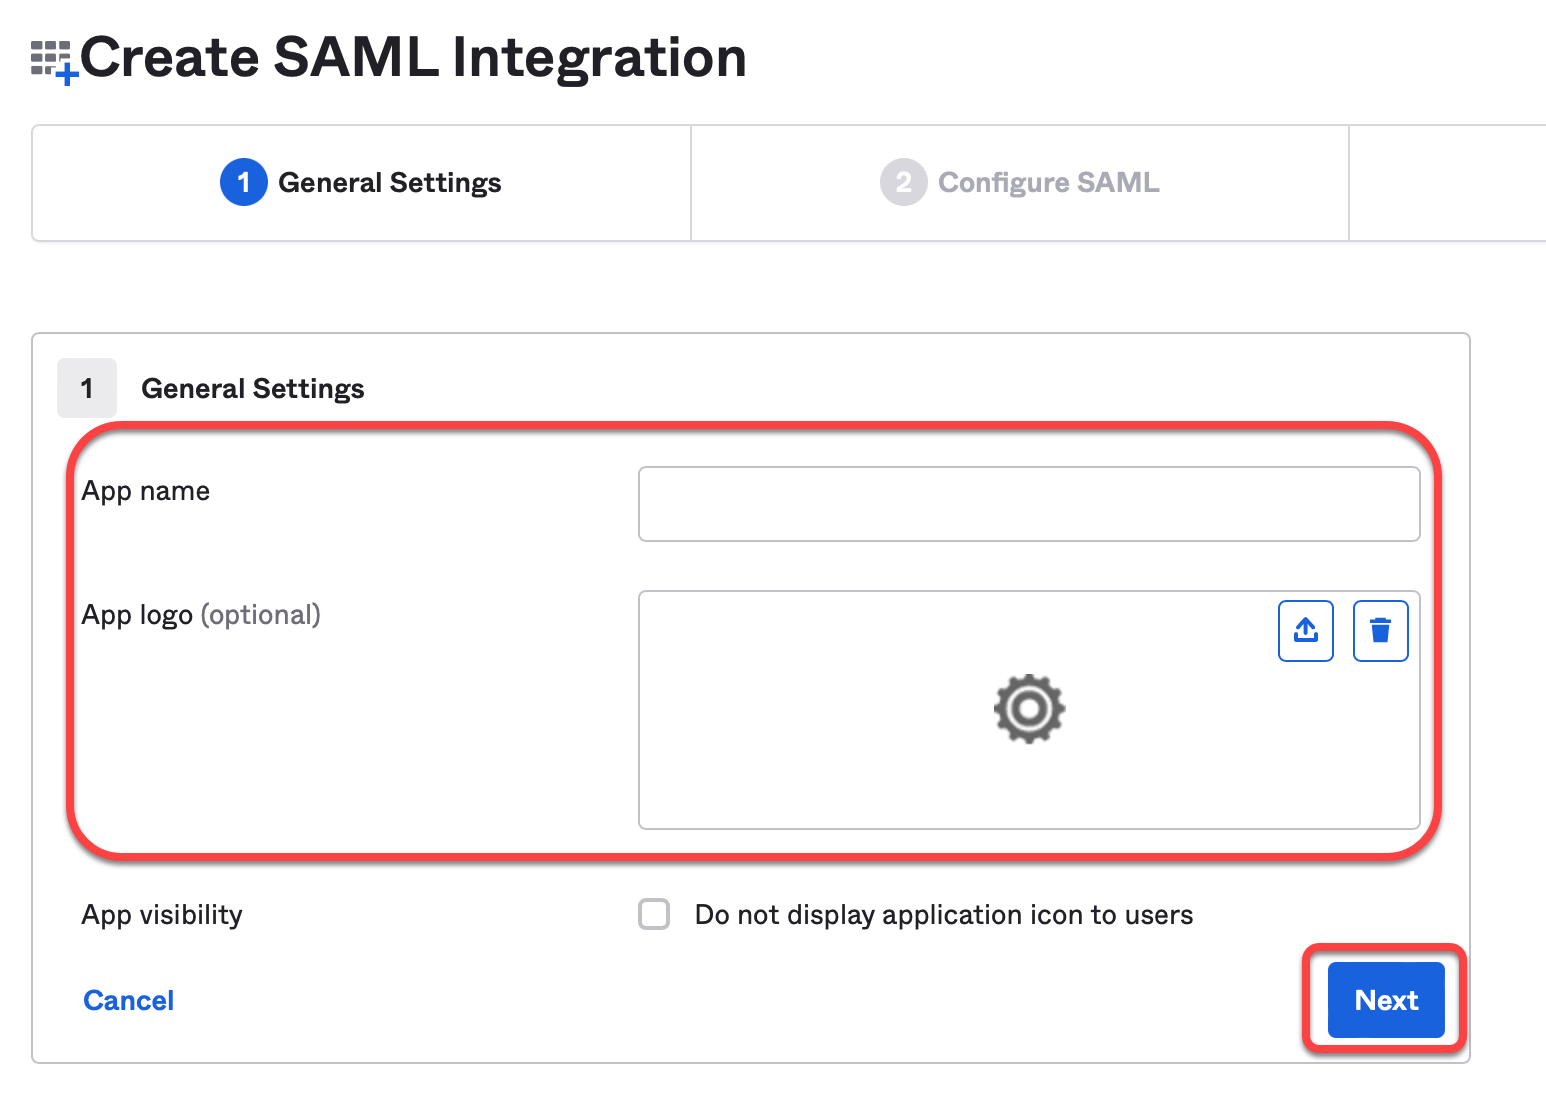
Define an App name and, optionally, an App logo, and click Next.
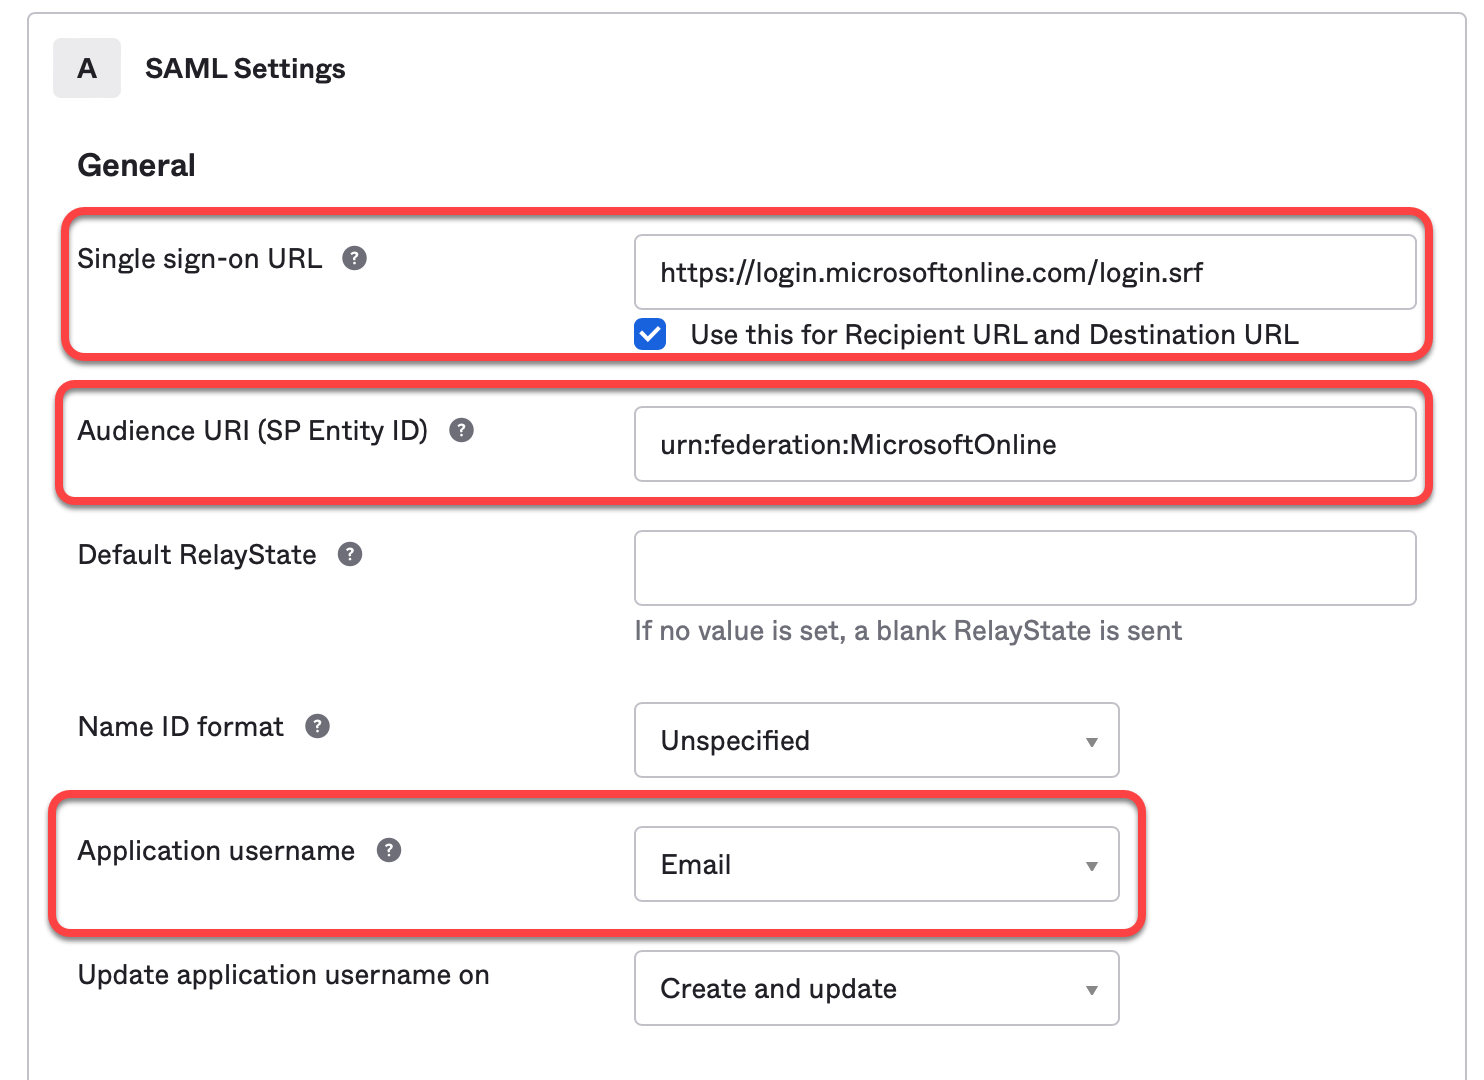
Edit the SAML connection details as follows:
Single sign on URL: Enter
https://login.microsoftonline.com/login.srfUse this for Recipient URL and Destination URL: Activate this checkbox.
Audience URI (SP Entity ID): Enter
urn:federation:MicrosoftOnlineApplication username: Set this to Email.
Add the following attributes:
Name:
http://schemas.xmlsoap.org/ws/2005/05/identity/claims/emailaddress; Value:user.emailName:
NameID Format; Value:urn:oasis:names:tc:SAML:2.0:nameid-format:persistent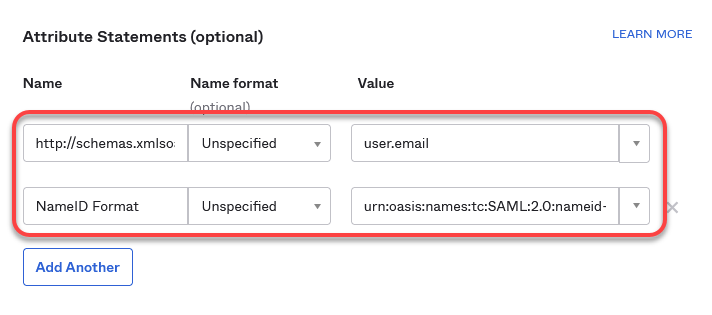
Finish your app integration.
Extracting the SAML 2.0 Connection Data
In this step, we will extract the connection data which will be used for creating an external identity that will be used for the IGEL Onboarding Service (OBS).
Open the settings for your application and select Sign On.
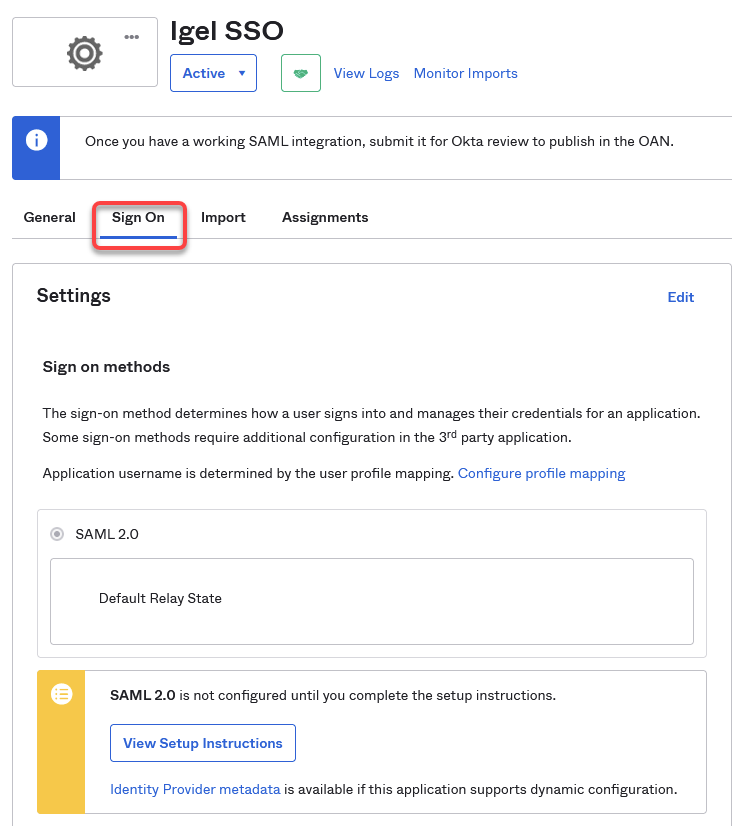
Click on the link Identity Provider metadata to download the data we will use afterward for configuring the IGEL Onboarding Service (OBS). The data is contained in an XML file. Also, note down the URL from this link, as we will need it later on.
Example metadata file: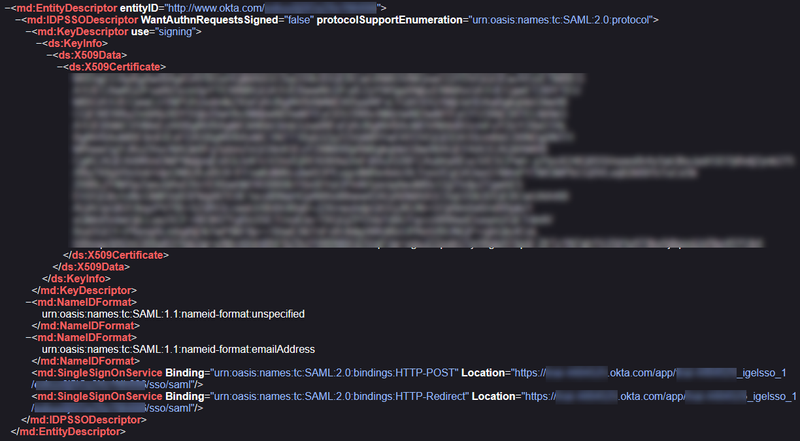
Configuring Okta as Your Federated IdP
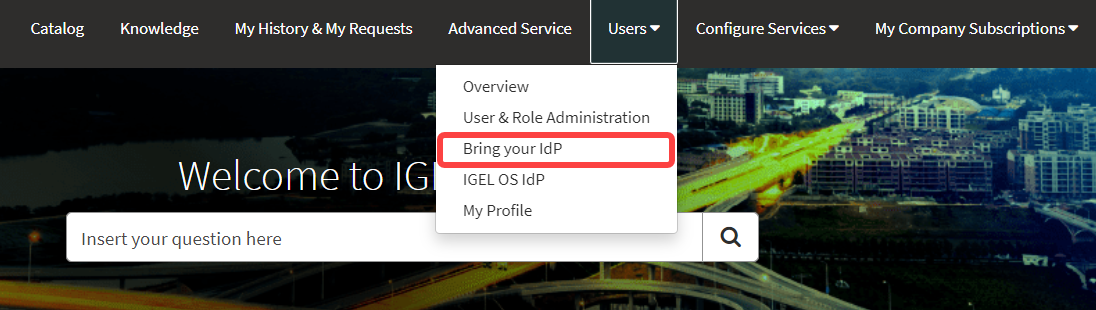
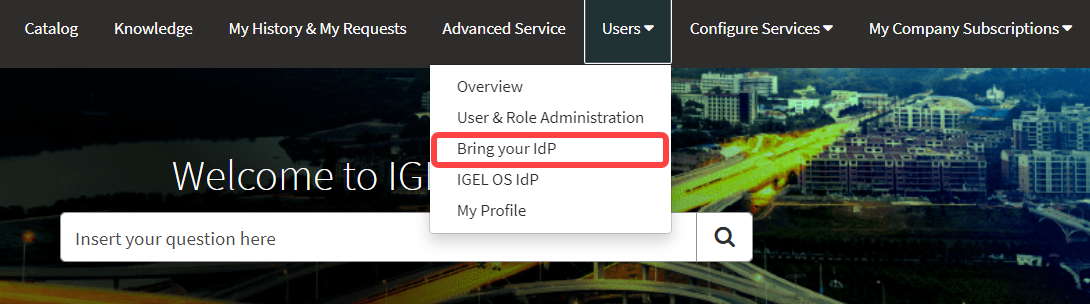
Open the IGEL Customer Portal, log in to your admin account, and select Users > Bring your IdP.
Enter the following data from your metadata file:
Issuer URI: Value of the attribute
entityIDof the element<md:EntityDescriptor>
Passive authentication endpoint: Enter the value of the
Locationattribute of the<md:SingleSignOnService>element.
Metadata URL: Enter the URL of the link Identity Provider metadata you have used before to download the metadata file.
Domain name of federating IdP: The part of Passive authentication endpoint before the
/app/without thehttps://. Example:mycompanydomain.okta.com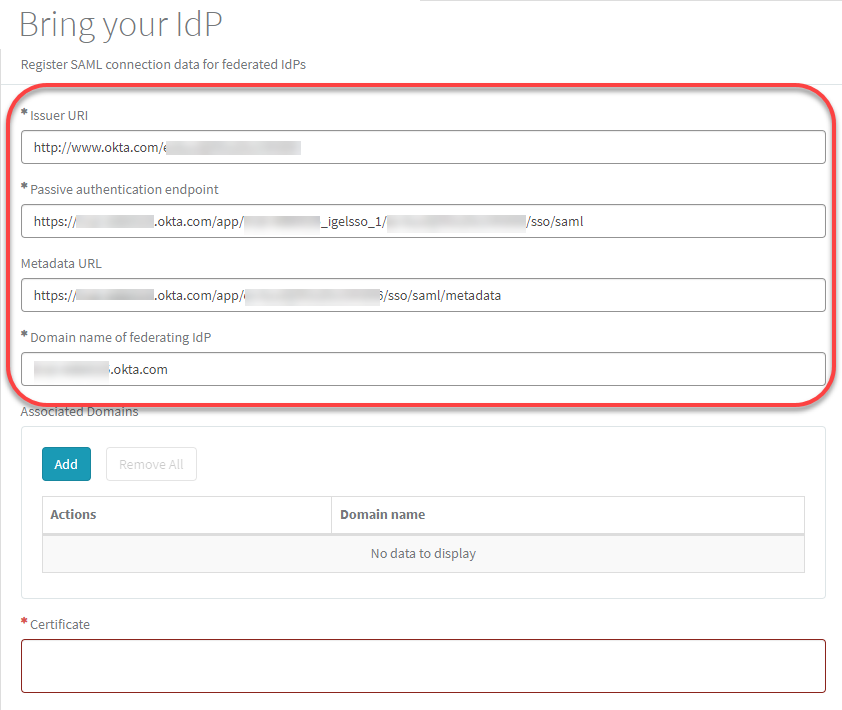
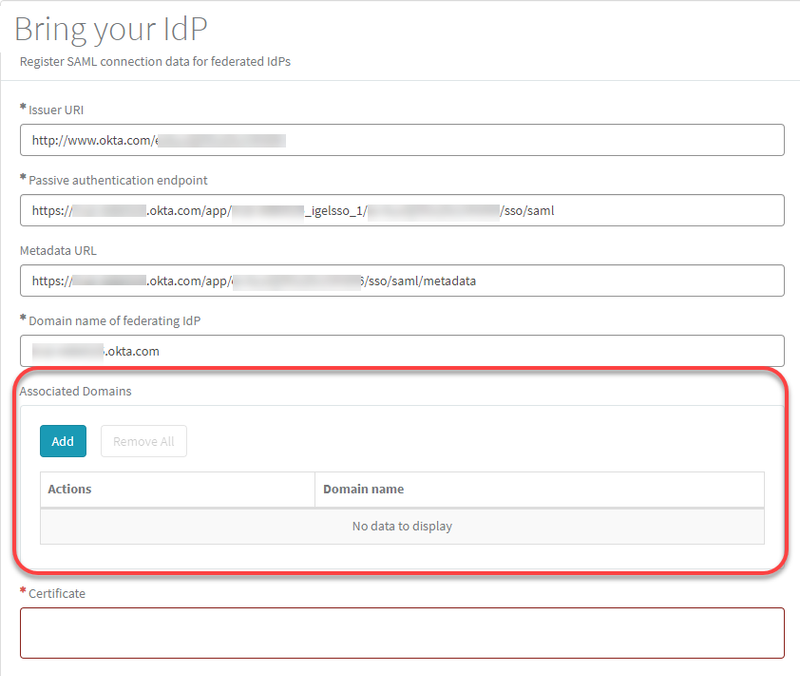
Under Associated Domains, add the domains that will be associated with your federate IdP.
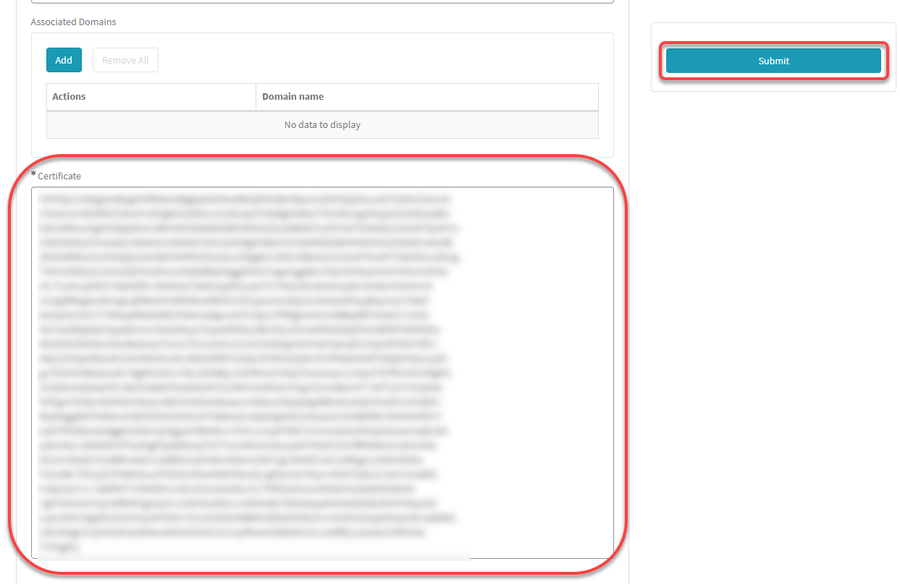
Under Certificate, paste the content of the
<ds:X509Certificate>element and then click Submit.
Assigning the Application to the Users
In the final step, we will assign the relevant users to the application we have created. When this is done, these users will be able to onboard their devices to the UMS in their company network.
You can assign groups of users or single users.
In your Okta application, select Assignments.
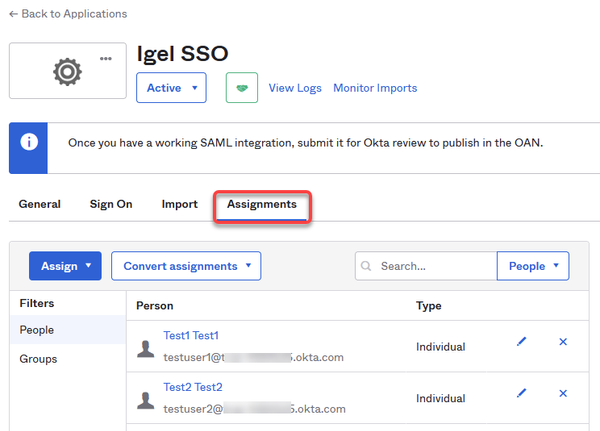
Assign the users to our new application.
Using Ping as Federated Identity Provider
Setting Up an App Integration in Ping
For federating identities from Ping to Azure Active Directory (AAD), you must set up an application integration in your Ping tenant. For this purpose, we will create a SAML 2.0 application.
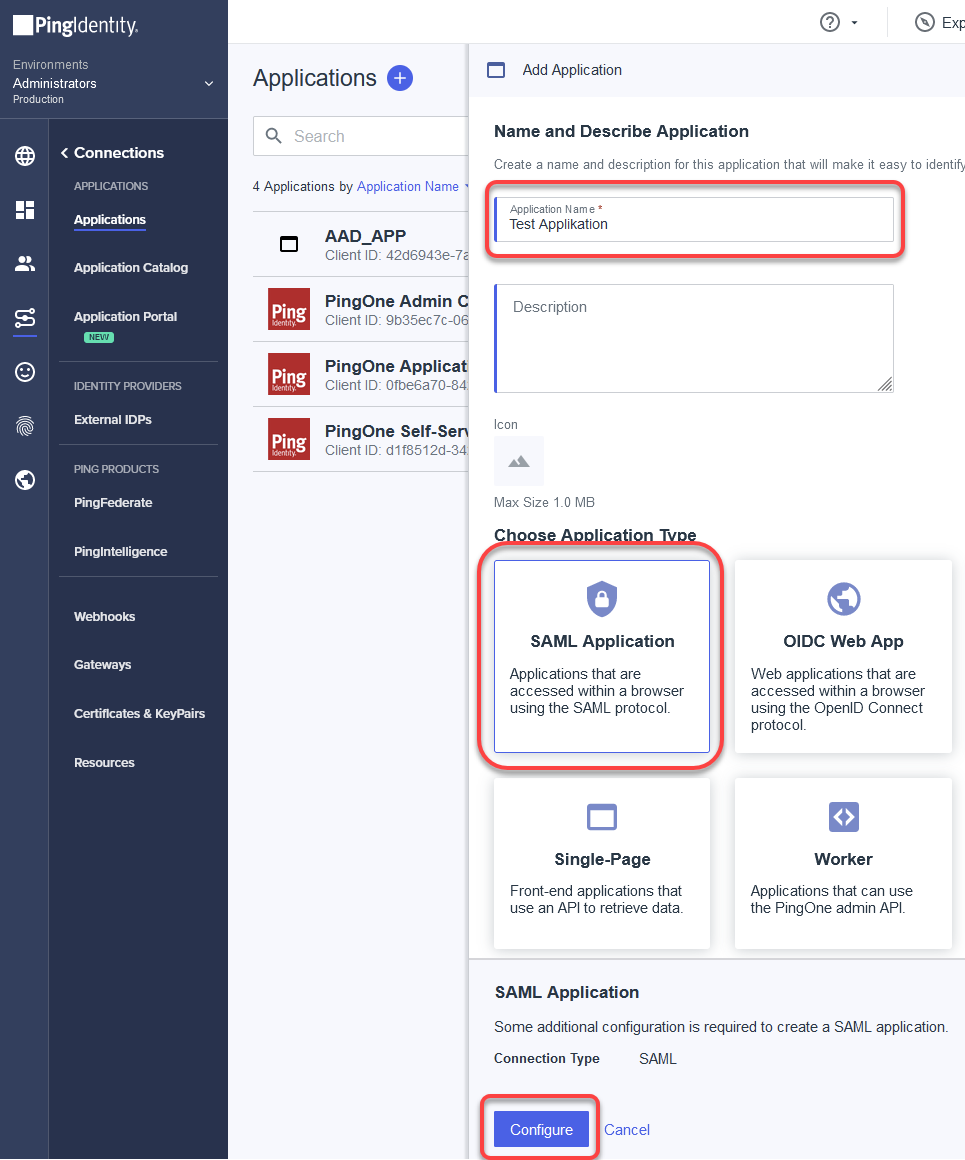
Log in to your account at Ping, go to Connection > Applications, and then add an application.
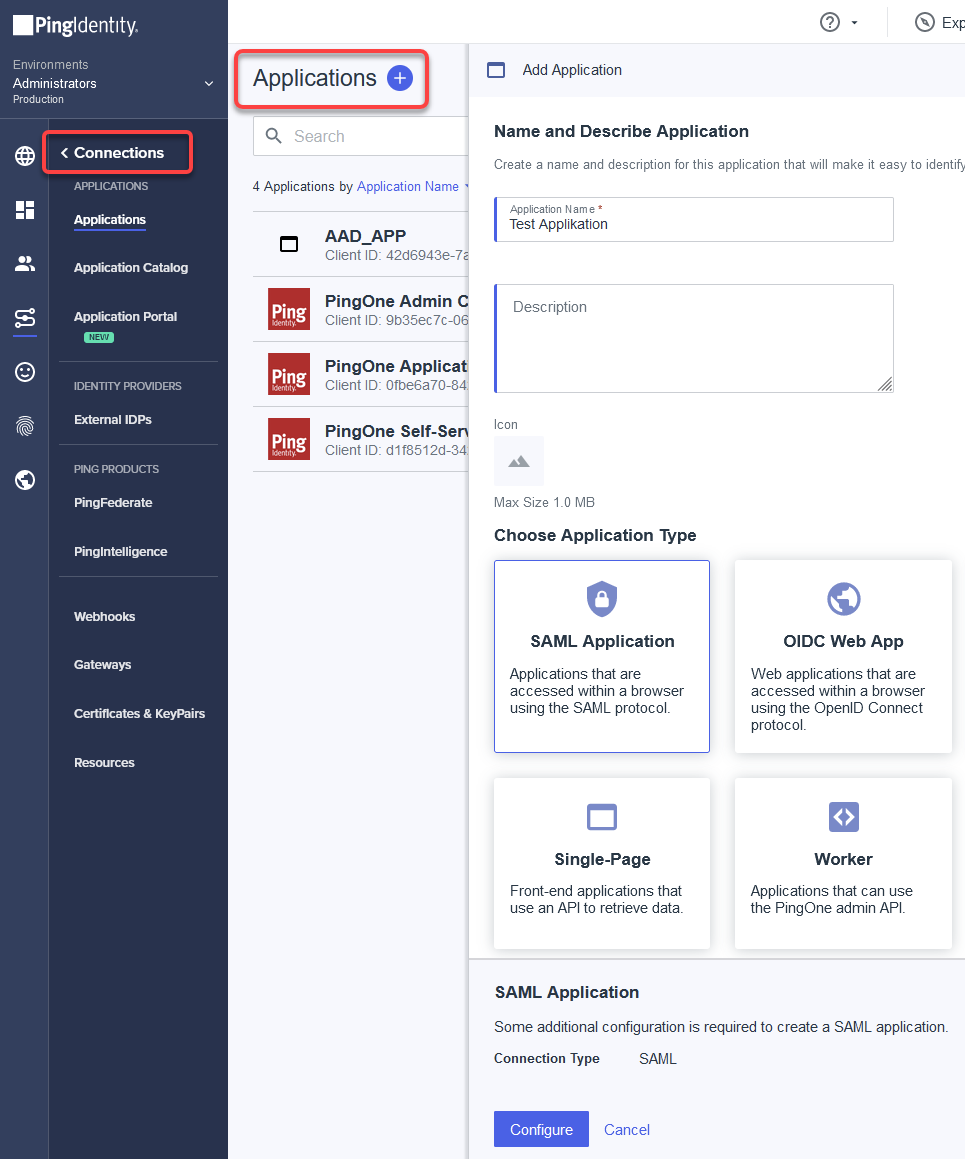
Enter an Application Name, select SAML Application as the application type, and then click Configure.
In the SAML Configuration dialog, select Manually Enter and enter the following data:
ACS URLs: Enter
https://login.microsoftonline.com/login.srfEntity ID: Enter the prefix
https://login.microsoftonline.com/followed by the Azure Active Directory tenant ID.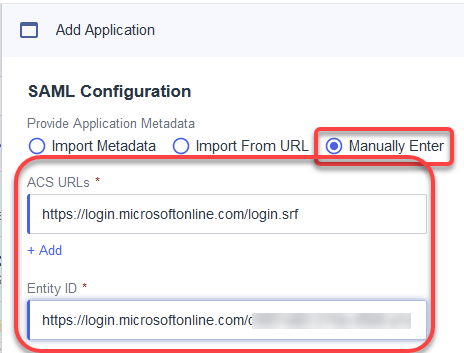
Create the application.
Edit/create the following attribute mappings:
Map
saml_subjecttoUser ID.Create the identifier
http://schemas.xmlsoap.org/ws/2005/05/identity/claims/emailaddressand map it toEmail Address.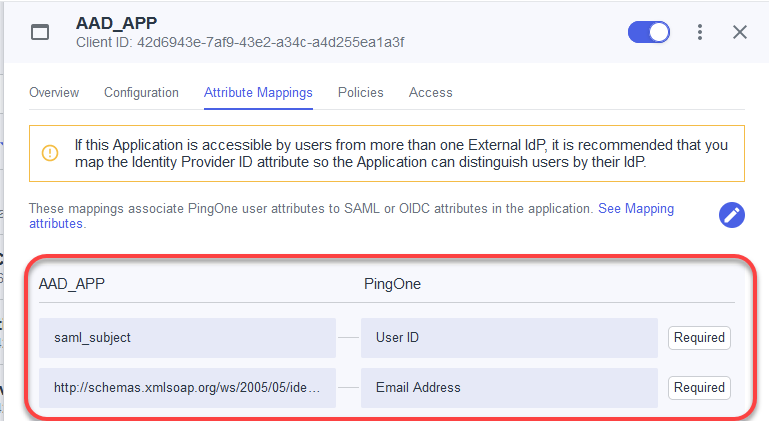
Finish the application setup.
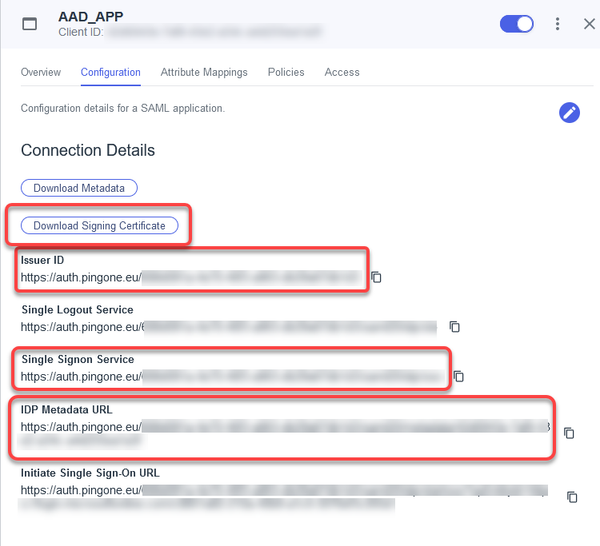
Obtaining the SAML 2.0 Connection Data
In this step, we will get the connection data which will be used for creating an external identity that will be used for the IGEL Onboarding Service (OBS).
→ Open the settings for your application and select Configuration.
The relevant data is shown and can be copied to the clipboard.
Configuring Ping as Your Federated IdP
Open the IGEL Customer Portal, log in to your admin account, and select Users > Bring your IdP.
Enter the following data from your metadata file:
Issuer URI: The Issuer ID from the Ping Configuration page.
Passive authentication endpoint: The value of Single Signon Service from the Ping Configuration page.
Metadata URL: The IDP Metadata URL from the Ping Configuration page.
Domain name of federating IdP: Enter the domain name that is associated with your Ping account.