Citrix Fabulatech Scanner Redirection in IGEL OS
The following article details how you can activate Fabulatech scanner redirection for Citrix sessions.
Note that Fabulatech Scanner for Remote Desktop must also be installed on the backend server. For more information and a free trial version, see https://www.scanner-for-remote-desktop.com/.
How to Enable Fabulatech Scanner Redirection for Citrix
In the IGEL Setup, go to System > Firmware Customization > Features and make sure that Scanner support /SANE (Limited support - functionality "as is", see product documentation for details) is activated.
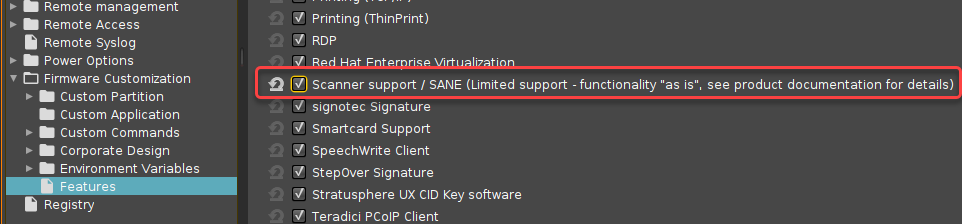
If the option is already activated, continue with step 2.
If the option has not been activated before, the software component must be downloaded first. For this purpose, make sure that the source of the current firmware is set correctly:
If you are using Universal Firmware Update, make sure that the device is assigned to the current firmware. For details, see Universal Firmware Update and Assigning updates.
If you are not using Universal Firmware Update, make sure that System > Update > Firmware Update is set to the source of the current firmware. For details, see Firmware Update Settings for IGEL OS.
After clicking OK to confirm your changes, you must reboot the system.
In the IGEL Setup, go to Sessions > Citrix > Citrix Global > Fabulatech Scanner Redirection.
Check Fabulatech Scanner for Remote Desktop.
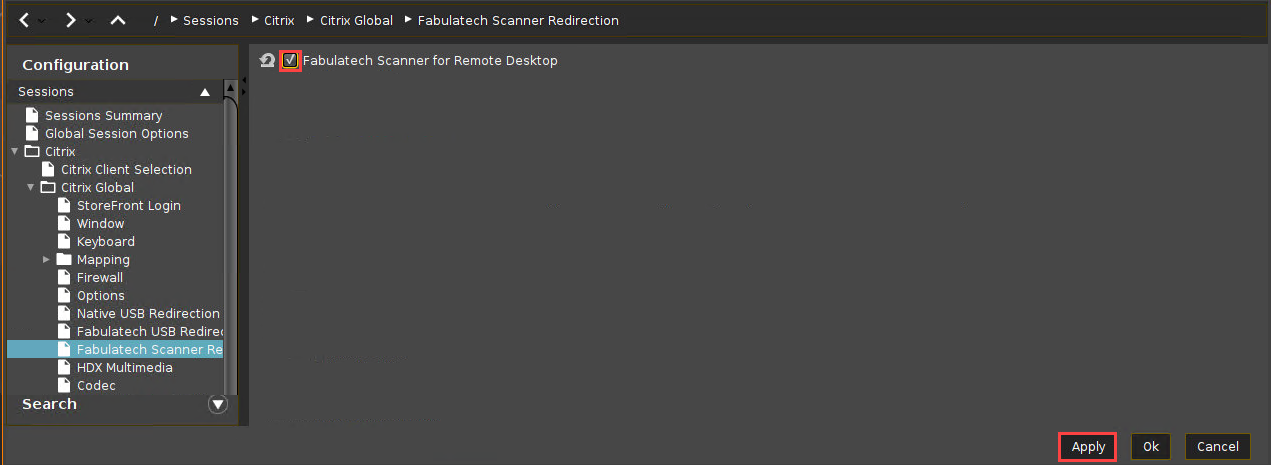
Click Apply or Ok to confirm the settings.