Schnellstart-Anleitung
In diesem Abschnitt wird beschrieben, wie eine Azure Virtual Desktop (AVD)-Sitzung (früher Windows Virtual Desktop, WVD) mit dem AVD-Client von IGEL auf der Grundlage des RD Core SDK von Microsoft für Linux eingerichtet wird, mit dem eine Verbindung zu einer AVD-Bereitstellung hergestellt werden kann.
Anforderungen
-
Gerät mit IGEL OS 11.03.261 oder höher; laden Sie die neueste Version unter igel.com/avd
-
Azure Virtual Desktop Bereitstellung
Anweisungen
-
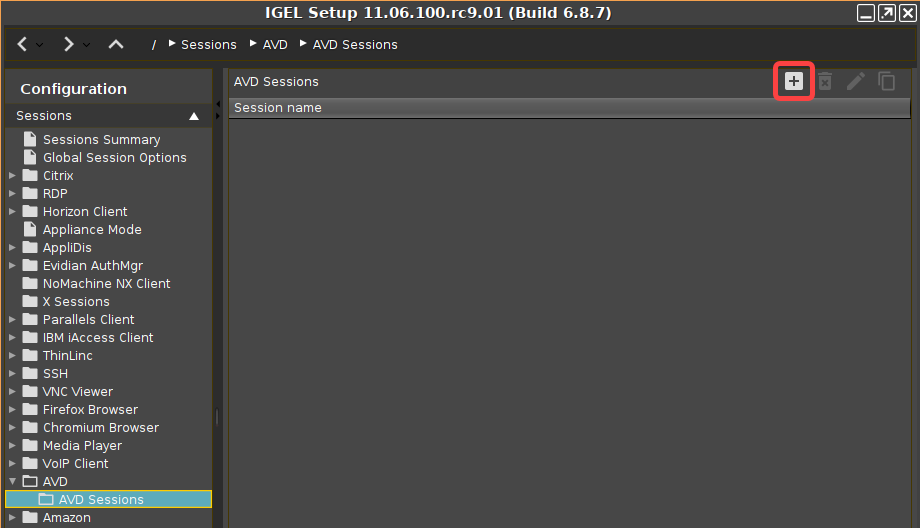
Open the Setup or the configuration dialog in the UMS and go to Sessions > AVD > AVD Sessions.
-
Click the

-
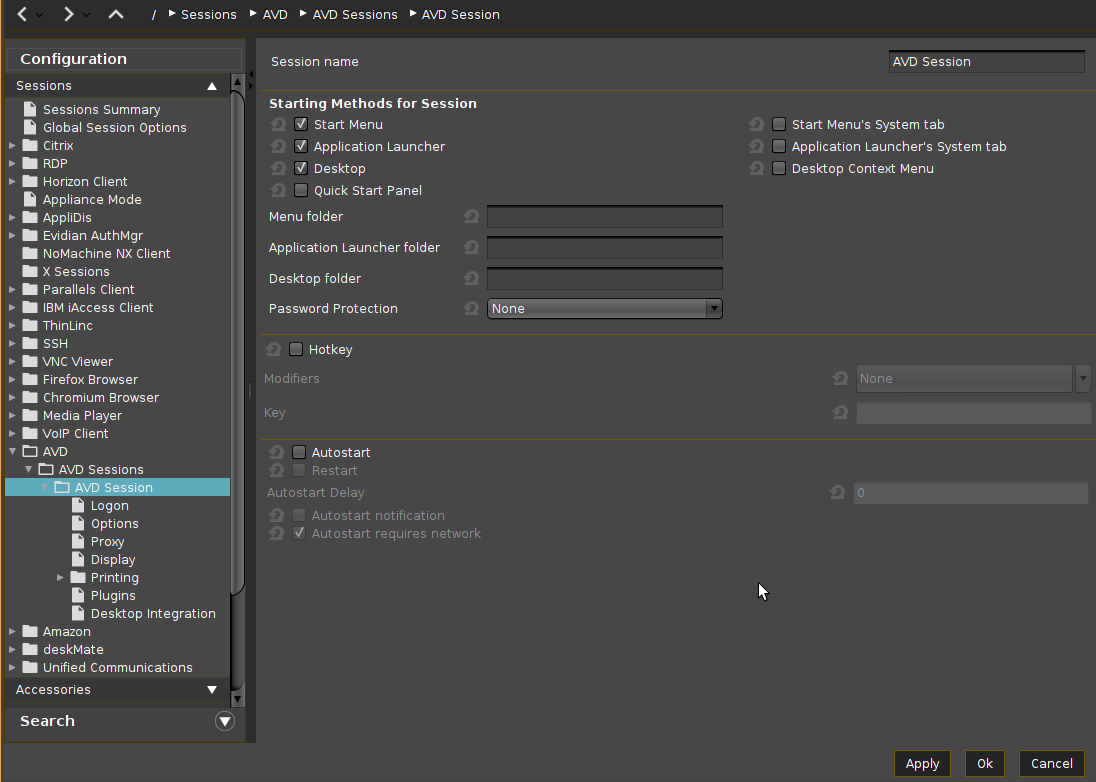
Enter a Session name and configure the starting methods according to your needs.
-
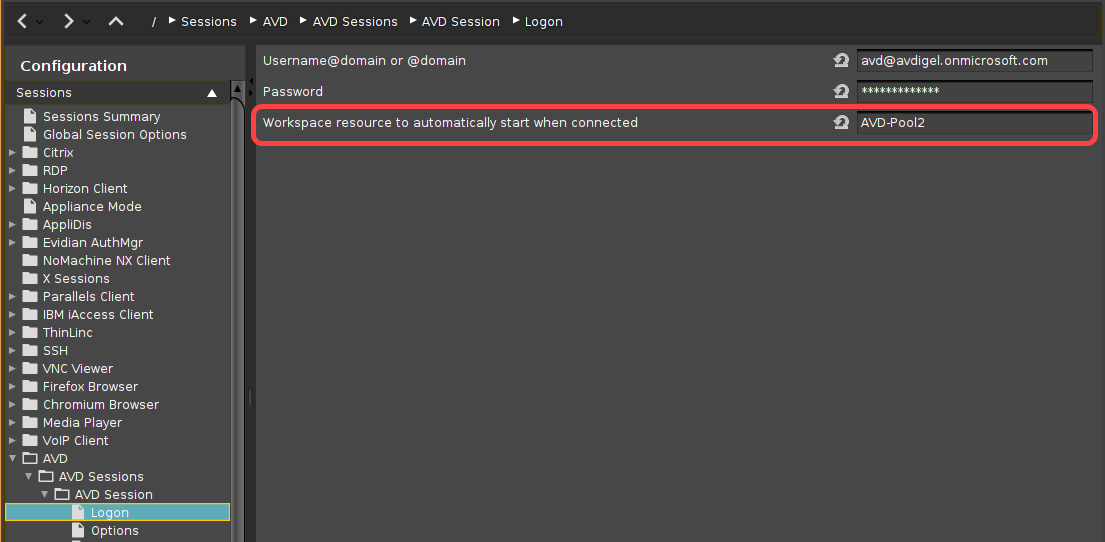
If the login is to be started automatically on session startup, go to Sessions > AVD > AVD Sessions > [Session name] > Logon and enter your credentials under Username@domain or @domain and Password. For details, see Logon 1.
-
Wenn eine bestimmte Ressource automatisch gestartet werden soll, geben Sie deren Namen unter Workspace-Ressource, die beim Verbinden automatisch gestartet werden soll ein.
-
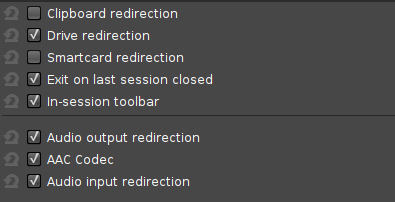
Go to Sessions > AVD > AVD Sessions > [Session name] > Options and enable or disable features and redirections according to your needs.

-
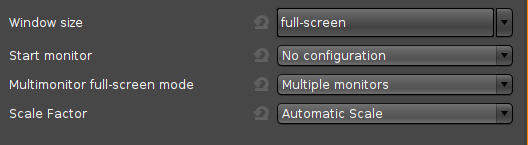
If you do not want to run the AVD client on all available screens in fullscreen, go to Sessions > AVD > AVD Sessions > [Session name] > Display and change the settings according to your needs.
-
Go to Sessions > AVD > AVD Sessions > [Session name] > Plugins and enable features according to your needs.

-
Click Apply or OK.
The AVD session is configured and can be started with the starting methods you have configured in step 3.
Wenn Sie weitere AVD-Sitzungen konfigurieren möchten, beginnen Sie wieder bei Schritt 2.
Siehe auch das Referenzhandbuch Kapitel AVD Session.