How to Use IGEL Cloud Gateway on Microsoft Azure Marketplace
IGEL offers preconfigured Linux virtual machines on Microsoft Azure Marketplace for installing an instance of IGEL Cloud Gateway (ICG). This article presents an easy, straightforward way to prepare your virtual machine and install the ICG on it. However, an experienced user might prefer alternative methods or different settings.
Please note that Azure is a Microsoft product, therefore IGEL can not provide support for issues with Azure.
Overview
The following steps are required:
ICG Installation; see the Installation and Setup chapter in the ICG Manual
Updating the ICG or the Keystore
If you need to update the ICG or the ICG keystore, you must enable SSH access temporarily; see Enabling SSH Access.
IMPORTANT! Do not forget to disable SSH access afterward; see Disabling SSH Access.
Creating the Resources
Log in to your Azure account. If you have no Azure account, create one first.
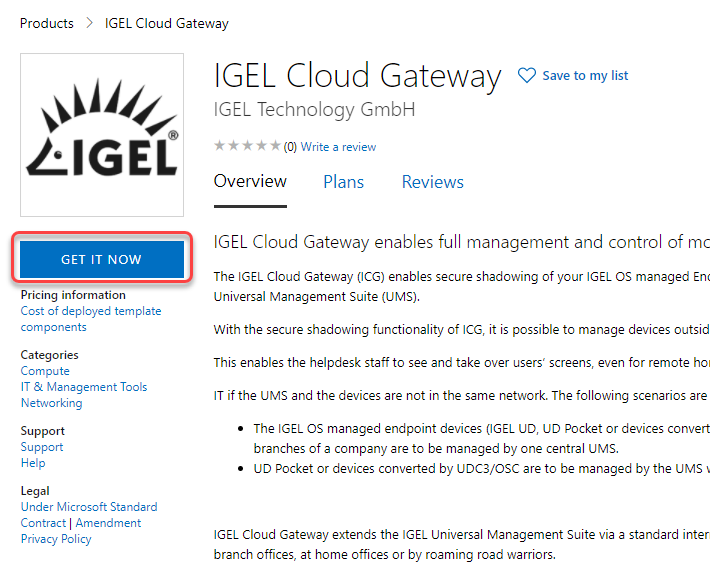
Go to https://azuremarketplace.microsoft.com/en-us/marketplace/apps/igeltechnologygmbh.igel-cloud-gateway and click Get It Now.
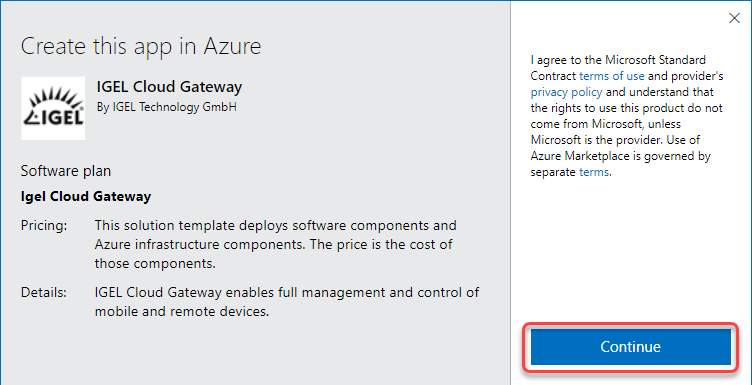
In the confirmation dialog, click Continue.

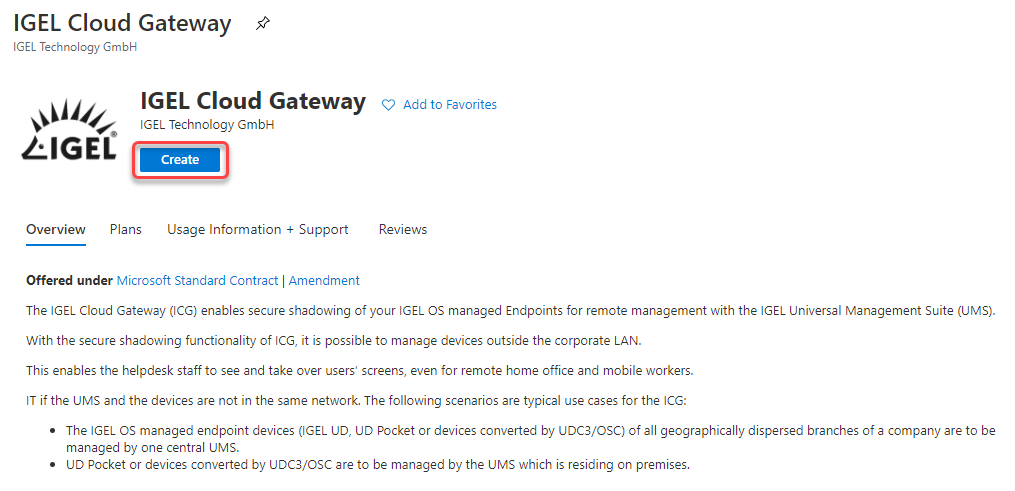
On the IGEL Cloud Gateway start page, click Create.
In the Subscription field, select the Azure subscription that is to be billed for this service.

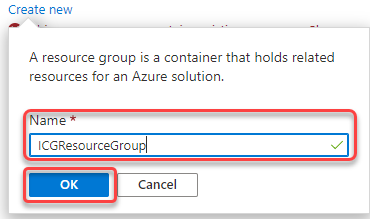
If you have a pre-existent resource group that is empty, you can select it. Otherwise, click Create new.

In the resource group dialog, enter a Name and click OK.
Edit the following settings according to your needs:
Region: Choose the appropriate region.
It is recommended to define a greater area, which potentially makes your ICG more fail-safe. If your ICG is to be located in Germany, for instance, West Europe would be a good choice.
Virtual Machine name: Enter a name or leave it as it is.
Username: Enter a username for SSH access. This user account will be used for ICG installation by the UMS.
For security reasons, the username should be long (20 to 30 characters) and cryptic.
Username "icg" Is Reserved
Do not use "icg" as a username for the remote installer; this is the username under which the Tomcat server is running.
Authentication type: Choose Password. (Currently, the ICG installation process only supports password authentication.)
Under Password and Confirm password, enter a strong password (20 to 30 characters are recommended)
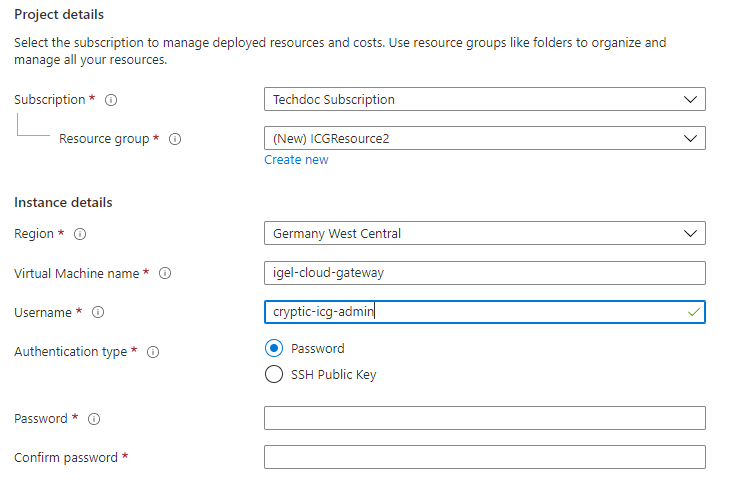
Click Next: Virtual Machine Settings.
Edit the settings according to your needs:
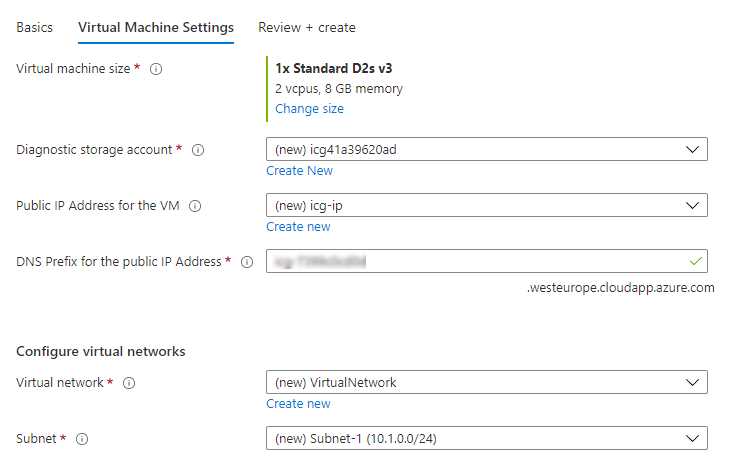
Virtual machine size: The pre-selected size should be appropriate for typical scenarios. If you need a different size, click Change size. The B series and D series are recommended. For minimum requirements, see Prerequisites.
Diagnostic storage account: Leave this as it is or rename it if desired.
Do not delete the diagnostic storage account, as the diagnostic data can be important for support cases.
Public IP Address for the VM: It is recommended to use a static IP address because firewalls typically check against IP addresses, not DNS names.
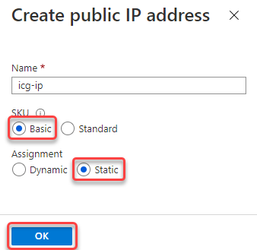
Click Create New.
Under Assignment, select Static, then confirm with OK.
SKU: Select Basic.
Assignment: Select Static.
Confirm with OK.
DNS Prefix for the public IP Address: Freely editable component of the DNS name for the ICG. The DNS prefix must be unique within the region; if you enter a DNS prefix that is already in use, a warning will be displayed. The DNS name will be composed like this (example):
icg-abc123.germanywestcentral.cloudapp.azure.comVirtual network: For advanced users. Allows for interconnecting networks, e.g. inside Azure or from the on-premises networks via VPN. If not required, leave this setting as it is.
Subnet: Subnet for the virtual network.
Click Review + create.
The settings for the virtual machine are validated. If the validation is passed, the result should look like this: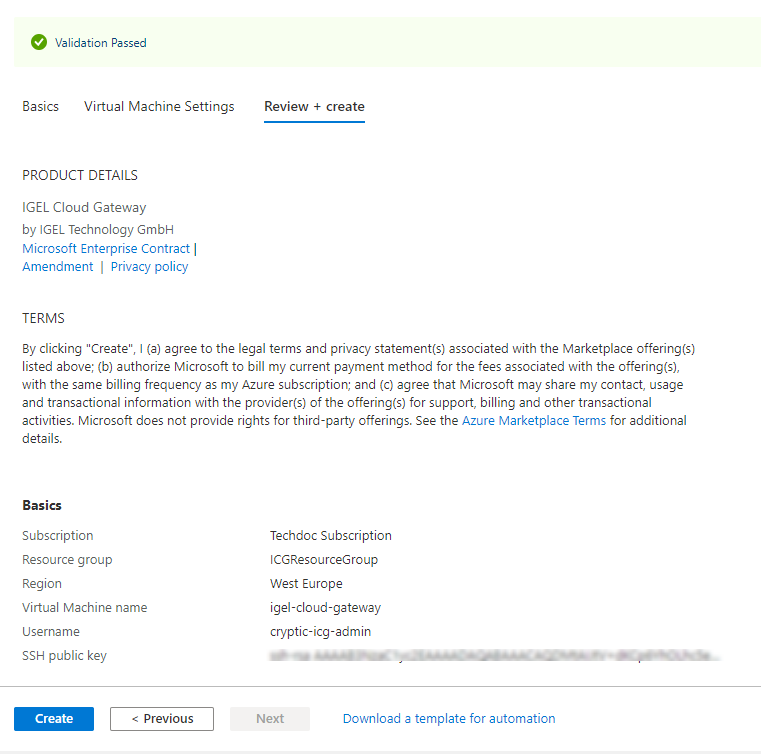
If the validation has errors, please fix them and retry.
To finally create the virtual machine, click Create.
This process should take around 5 minutes.
When everything went well, the page should look like this: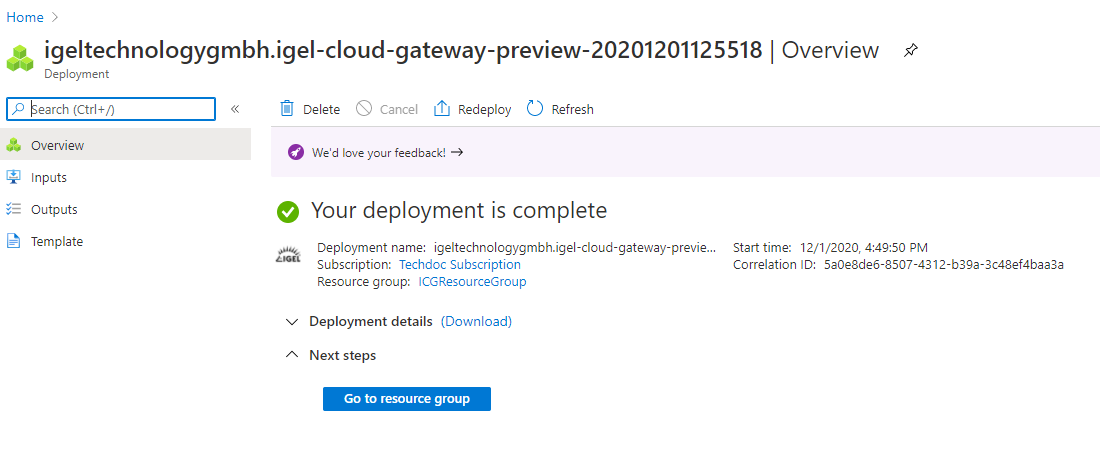
Continue with installing the ICG; see the Installation and Setup chapter in the ICG Manual.
After the ICG has been installed successfully, do not forget to disable SSH for security reasons; see Disabling SSH Access.
Do not forget to DISABLE SSH ACCESS because SSH access poses a security risk!
IMPORTANT! Disabling SSH Access
It is highly recommended to disable SSH access when it is not needed anymore.
When SSH access is disabled, any request to port 22 will be blocked by the Azure firewall, so that requests to port 22 will not even cause any load on the virtual machine.
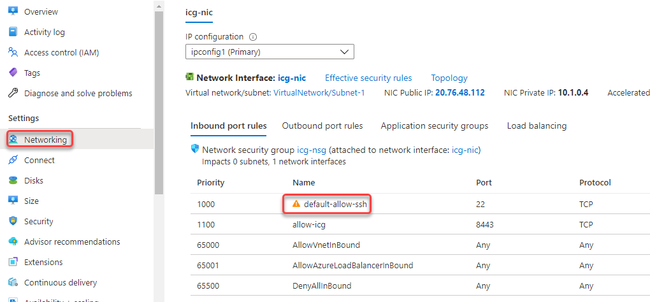
Select Networking from the menu and then click default-allow-ssh.
Switch Action from "Allow" to "Deny" and click Save.
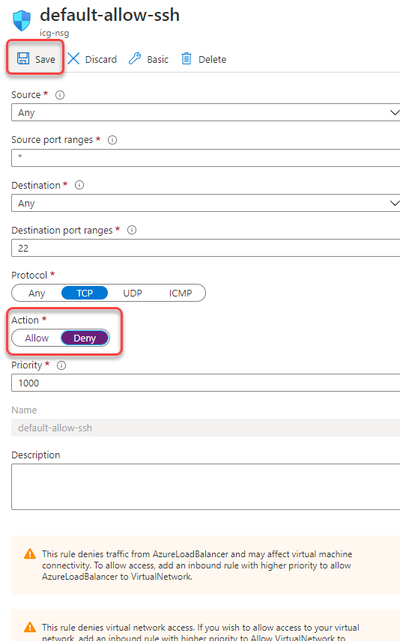
After a few seconds, the security rule is updated. Any traffic for port 22 is blocked.
Enabling SSH Access
To make your virtual machine accessible by the UMS, you must enable SSH access. The UMS will use SSH for ICG installation, ICG update, and ICG keystore update. It is highly recommended to disable SSH access after the operation has succeeded (see Disabling SSH Access).
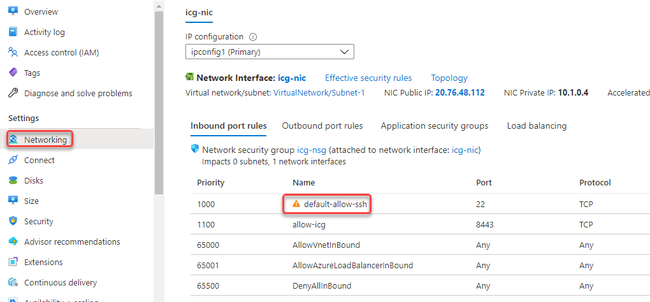
Select Networking from the menu and then click default-allow-ssh.
Switch Action from "Deny" to "Allow" and click Save.
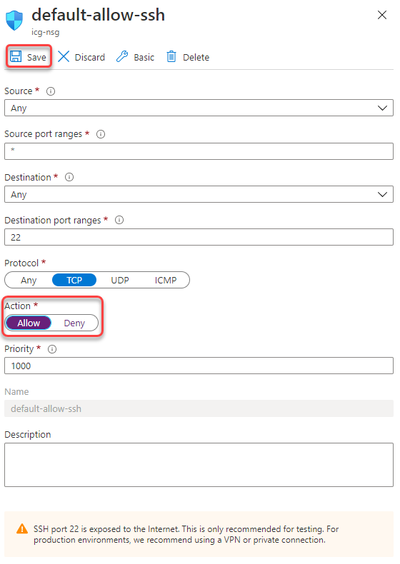
After a few seconds, the security rule is updated. Your virtual machine is accessible over SSH.When you are done, do not forget to disable SSH for security reasons; see Disabling SSH Access.
Do not forget to DISABLE SSH ACCESS because SSH access poses a security risk!
