To provide the OSCW installer with the download source for the IGEL OS firmware files, we will create a profile that provides the path to those files.
The configuration comprises the following steps:
Creating a Profile
-
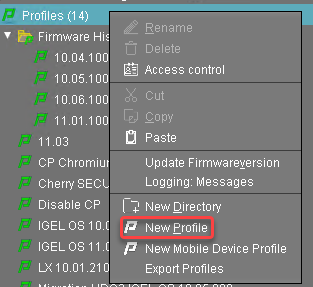
In the structure tree of the UMS Console, go to Profiles and open New Profile in the context menu.
-
In the New Profile dialog, change the settings as follows:
-
Profile Name: A name for the profile, e. g. "IGEL OS Creator for Windows - configuration"
-
Based on: Select "IGEL Unified Management Agent 1.xx.xxx", e. g. "IGEL Unified Management Agent 1.01.100".
-
-
Click Ok.

The configuration dialog opens.
-
Click Firmware.
You are taken to System > OSC > Firmware where you can set all relevant parameters.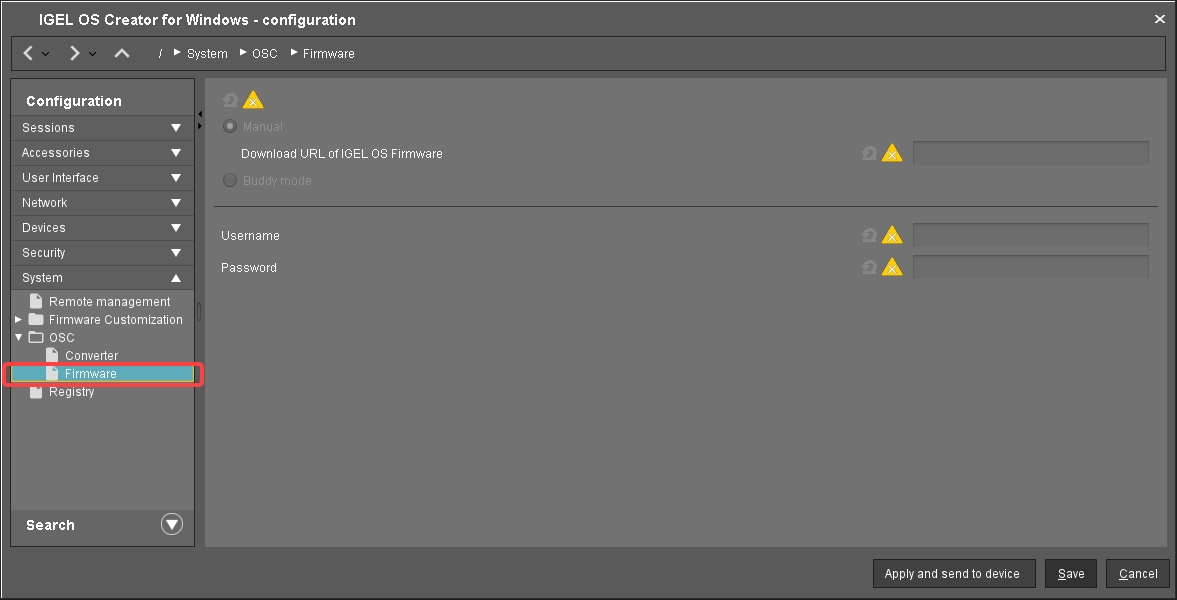
-
Change the settings as follows (click the


-
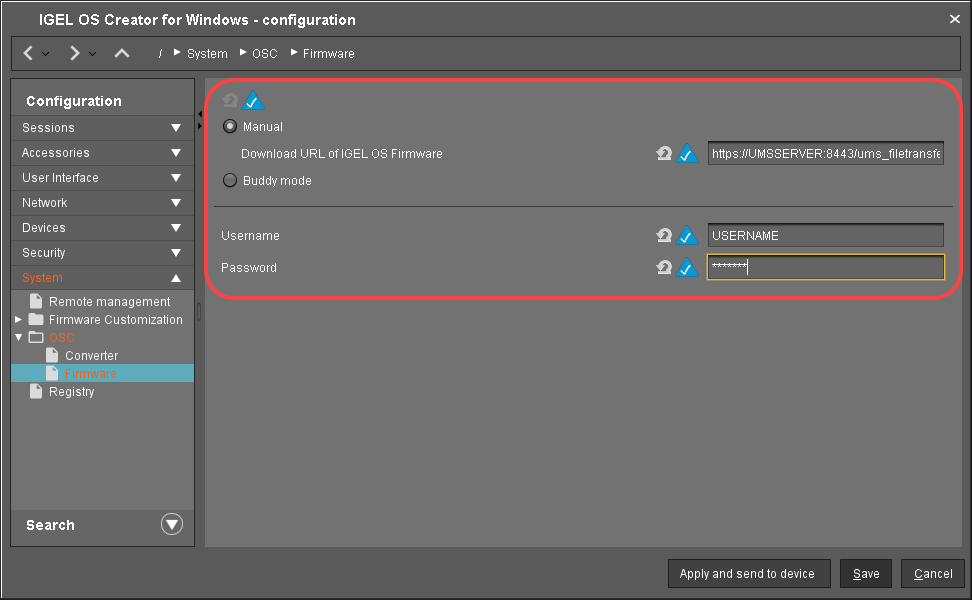
Download URL of IGEL OS Firmware: Enter
https://[IP address of your UMS Server]:8443/ums_filetransfer/ orhttp://[IP address of your UMS Server]:9080/ums_filetransfer/
Example:https://192.168.178.100:8443/ums_filetransfer/orhttp://192.168.178.100:9080/ums_filetransfer/ -
Username: Enter the username for the UMS.
-
Password: Enter the password for the UMS user.
-
-
Click Save.
Assigning the Profile to the Target Machines
-
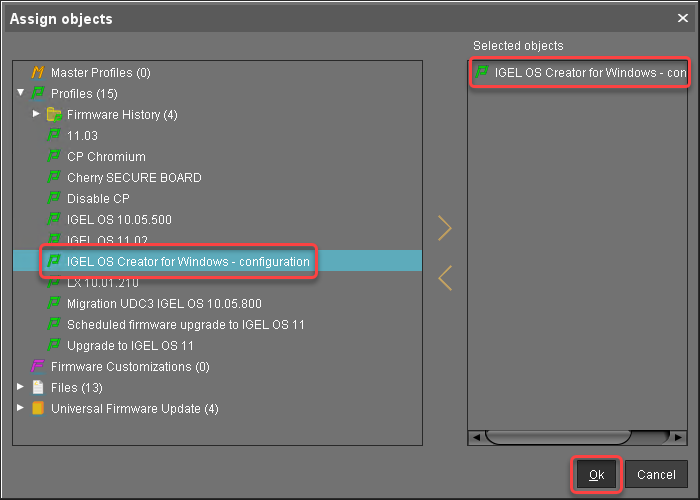
Select the directory that contains your target machines and in the Assigned objects area, click

-
In the Assign objects dialog, select the profile you have created beforehand, click

-
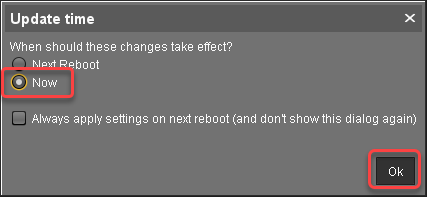
In the Update time dialog, select Now and click Ok.
-
Confirm the Information dialog.
Check List