If you assign an Identity Provider (IdP) role to a user group in the IGEL Universal Management Suite (UMS), you can use this mapping to control permissions.
When a user logs in via Single Sign-On (SSO) and their IdP role matches the mapped role, they are automatically added to the corresponding UMS user group. The user then receives all permissions assigned to that group.
You can also map IdP roles in the UMS Console, see Administrator Accounts in the IGEL UMS .
Prerequisites
-
You need to configure the IdP client, see How to Configure an Identity Provider Client in the IGEL UMS Web App.
-
You need to configure the roles in the IdP beforehand, to know the exact role values.
-
You need to create the user groups in the UMS to which you will assign the IdP role. For details, see How to Create User Groups in the IGEL UMS Web App.
Permission Requirement
The Identity Provider tab is only visible for users with the Administrator accounts permission.
Mapping the IdP Roles
To map the roles created in your IdP to user groups in your UMS:
-
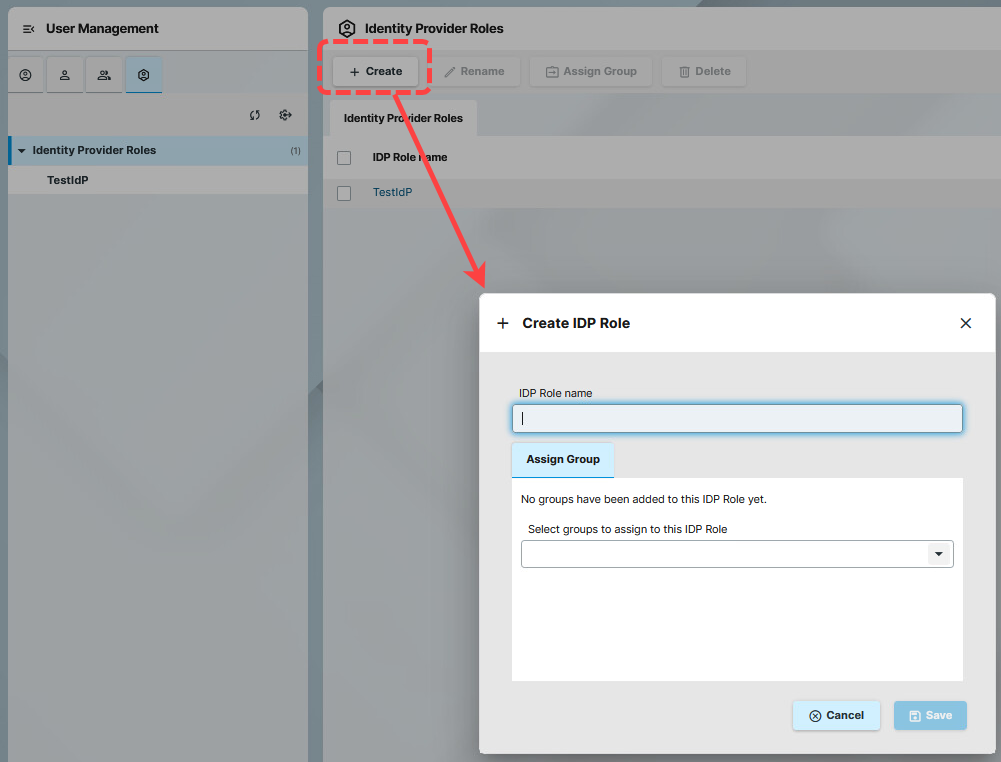
Go to User Management > Identity Provider Roles.
-
Click Create.
-
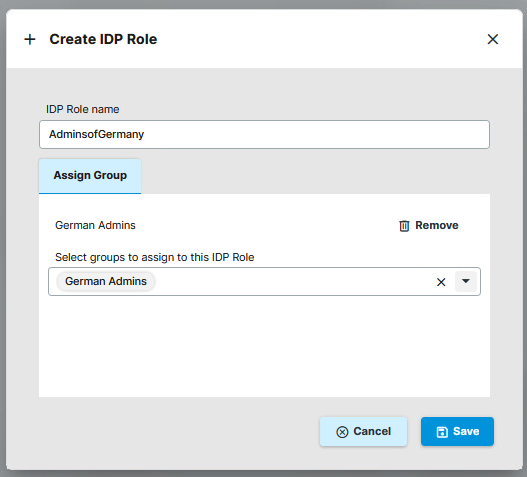
Under IDP Role name, add the value of the role configured in your IdP.
IdP Role names are case-sensitive, so the value should be exactly the same, as in your IdP client.
-
Select the groups to assign the IdP role.
-
Save the IdP role.
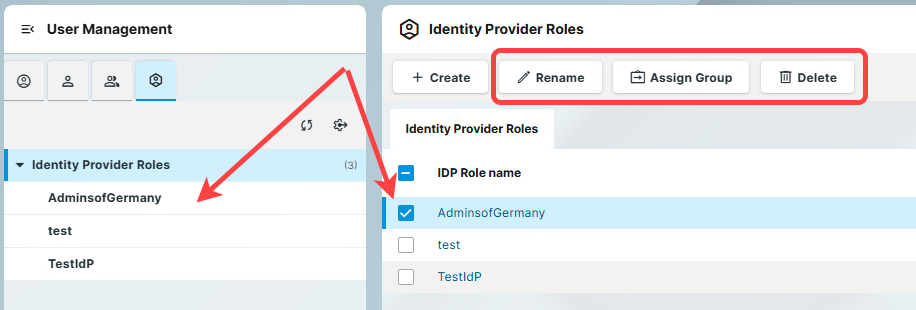
The new IdP role gets listed under the Identity Provider Roles. You can manage the role either by selecting from the list or by navigating to it in the structure tree.