Creating a Ping Application That Will Serve as Identity Provider
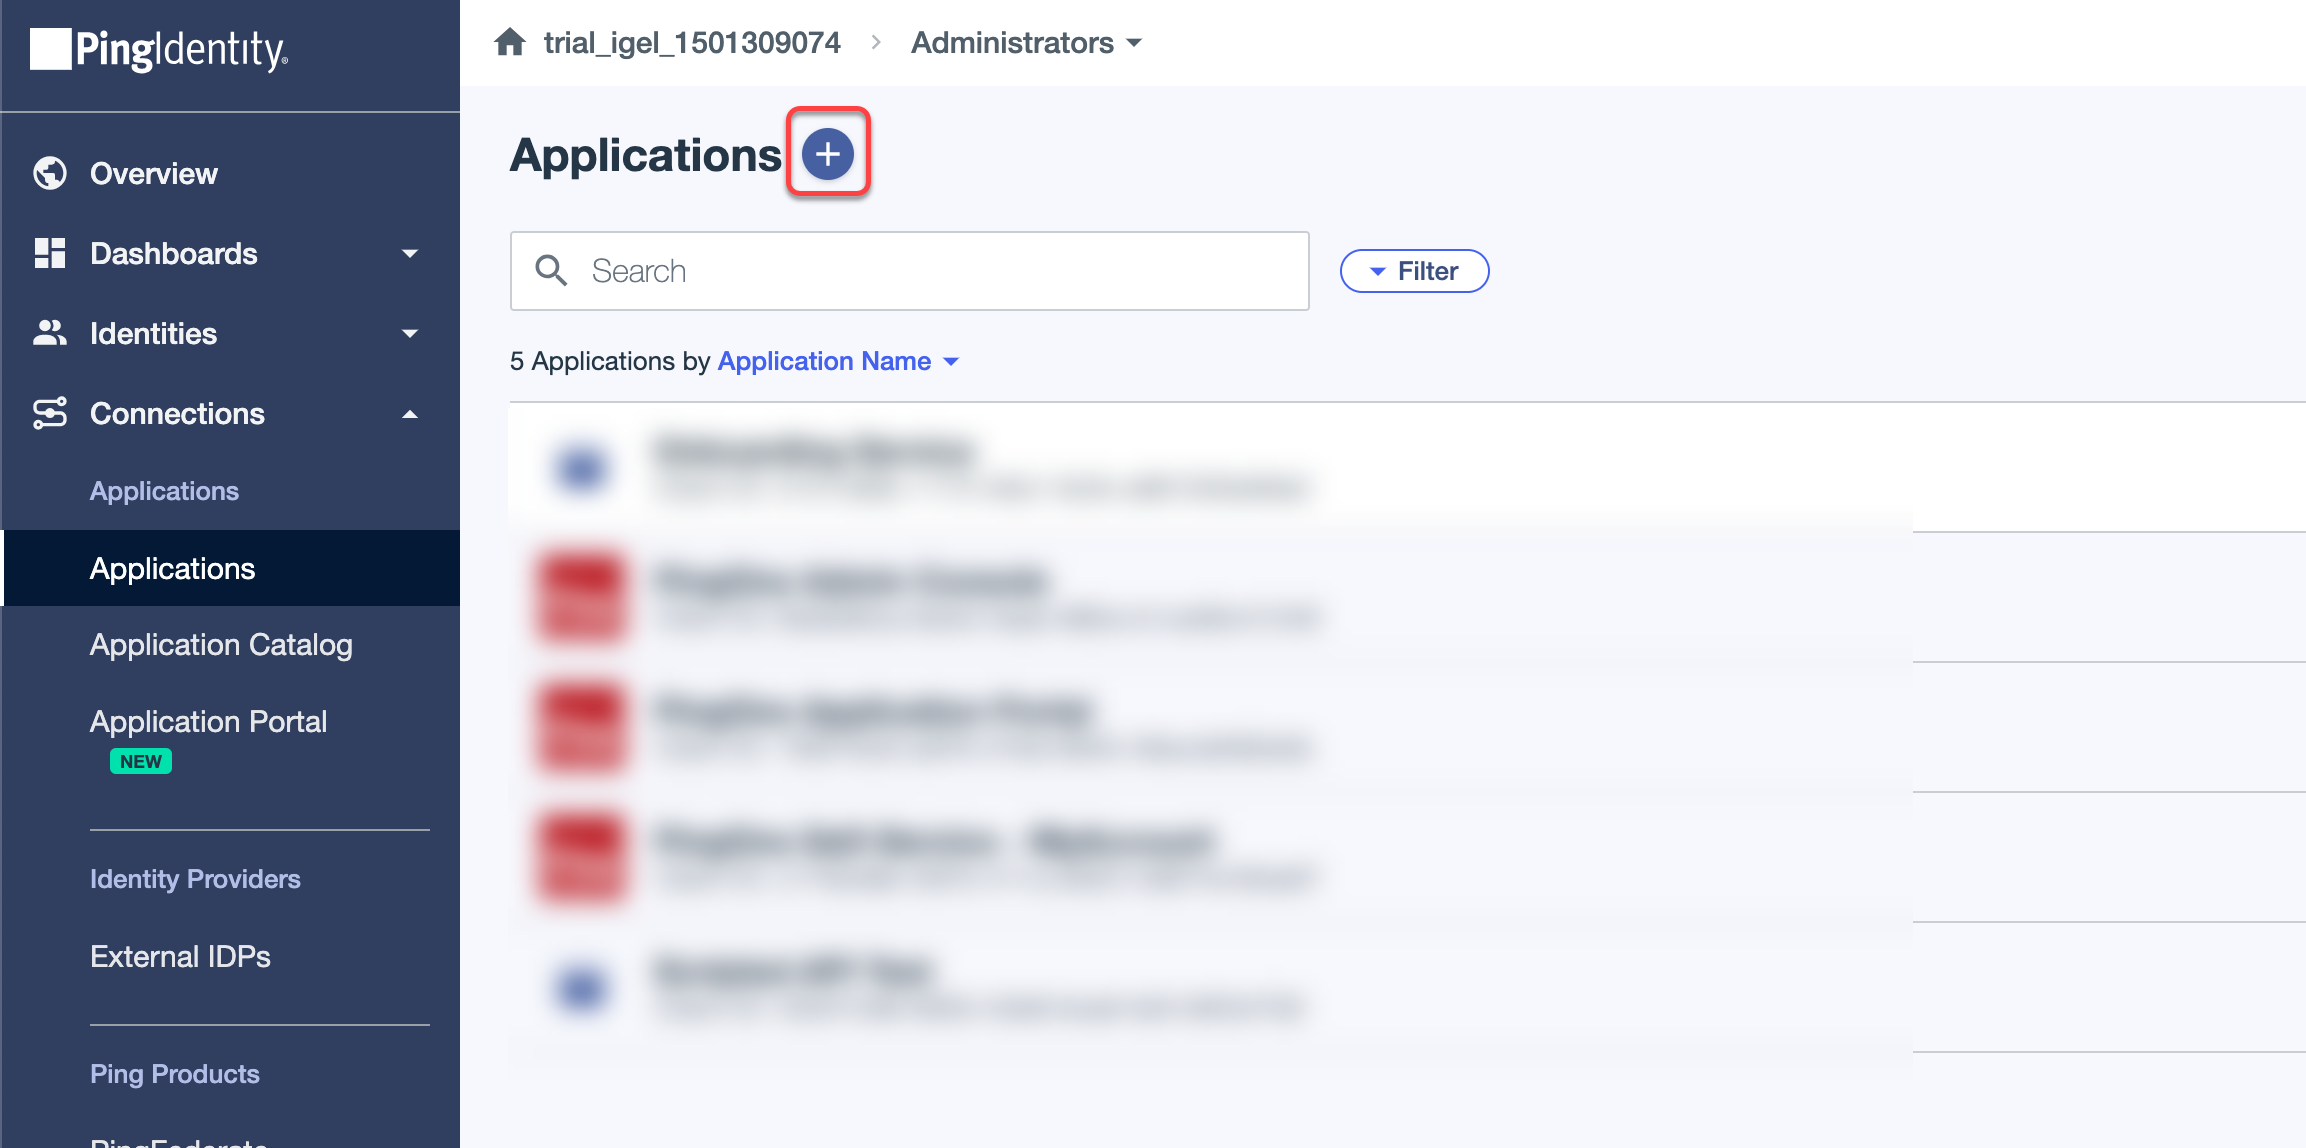
Log in to Ping with your admin account, and on theConnections > Applications page add a new application.
Edit the settings as follows and then clickNext.
UnderApplication Name, enter a name for your application, e.g. "OBS".
Set Application TypetoOIDC Web Application.
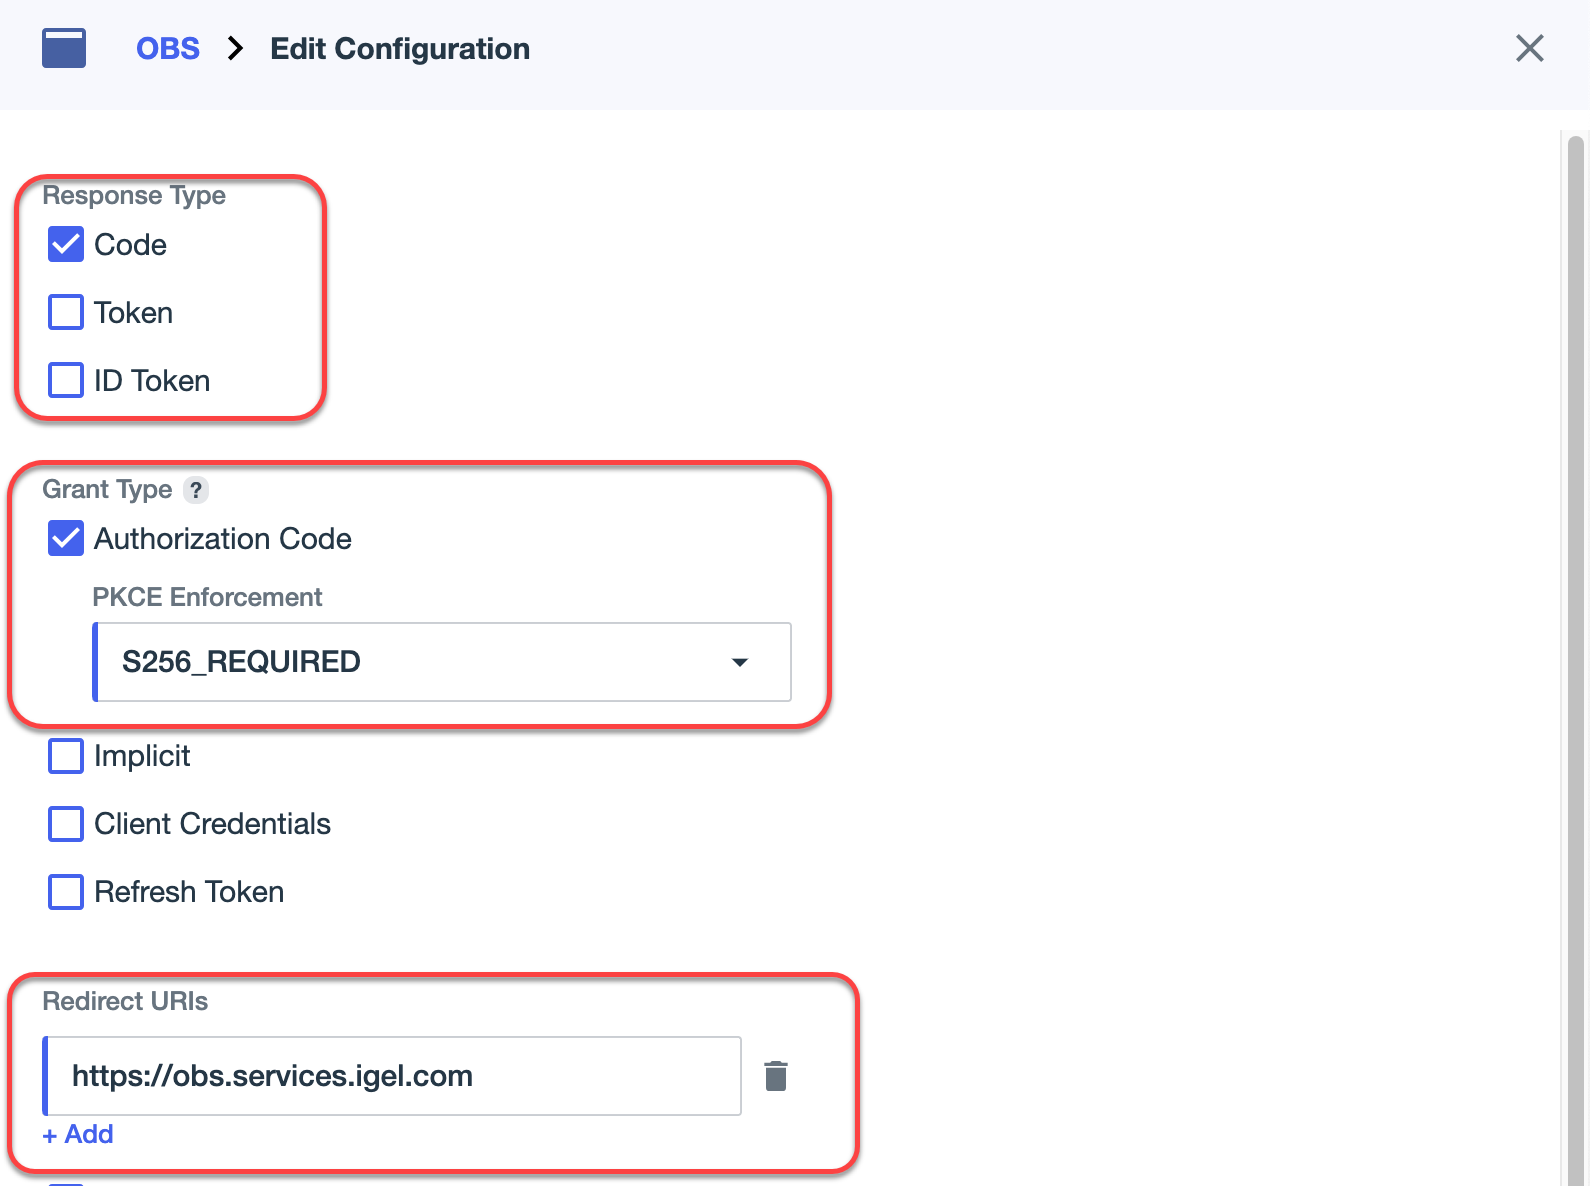
Edit the settings underEdit Configurationas follows and then clickSave.
UnderResponse Type, make sureCodeis selected.
Make sure that as theGrant Type, the optionAuthorization Codeis selected and that theProof Key for Code Exchange (PKCE) Enforcement is set toS256_REQUIRED.
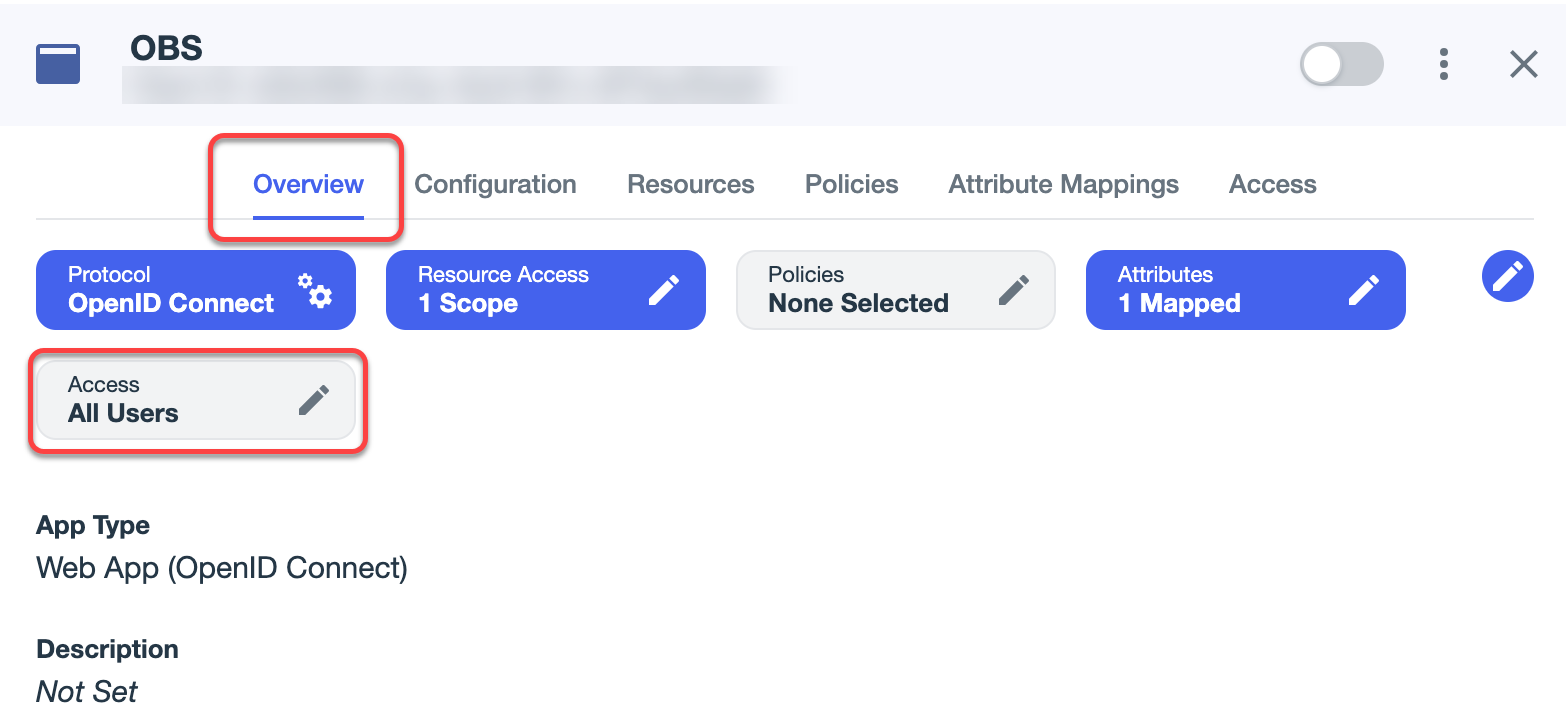
By default, access is granted for all users.To configure access, open theEditAccesspage fromthe Access button and use group access by choosing an existing Group configured underIdentities > Groups.
The app integration is created.
Registering Our Ping Application in the IGEL Customer Portal
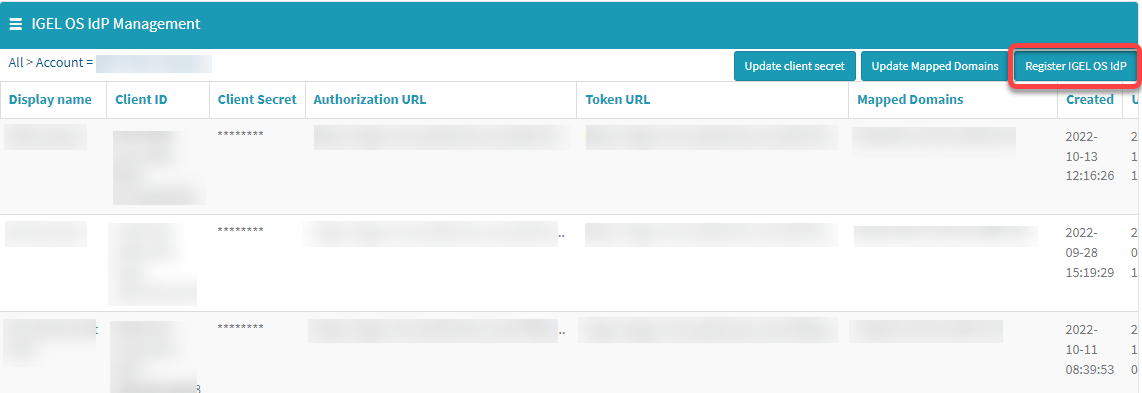
Open theIGEL Customer Portalin your browser, log in to your admin account,and selectUsers >IGEL OS IdP.
ClickRegister IGEL OS IdP.
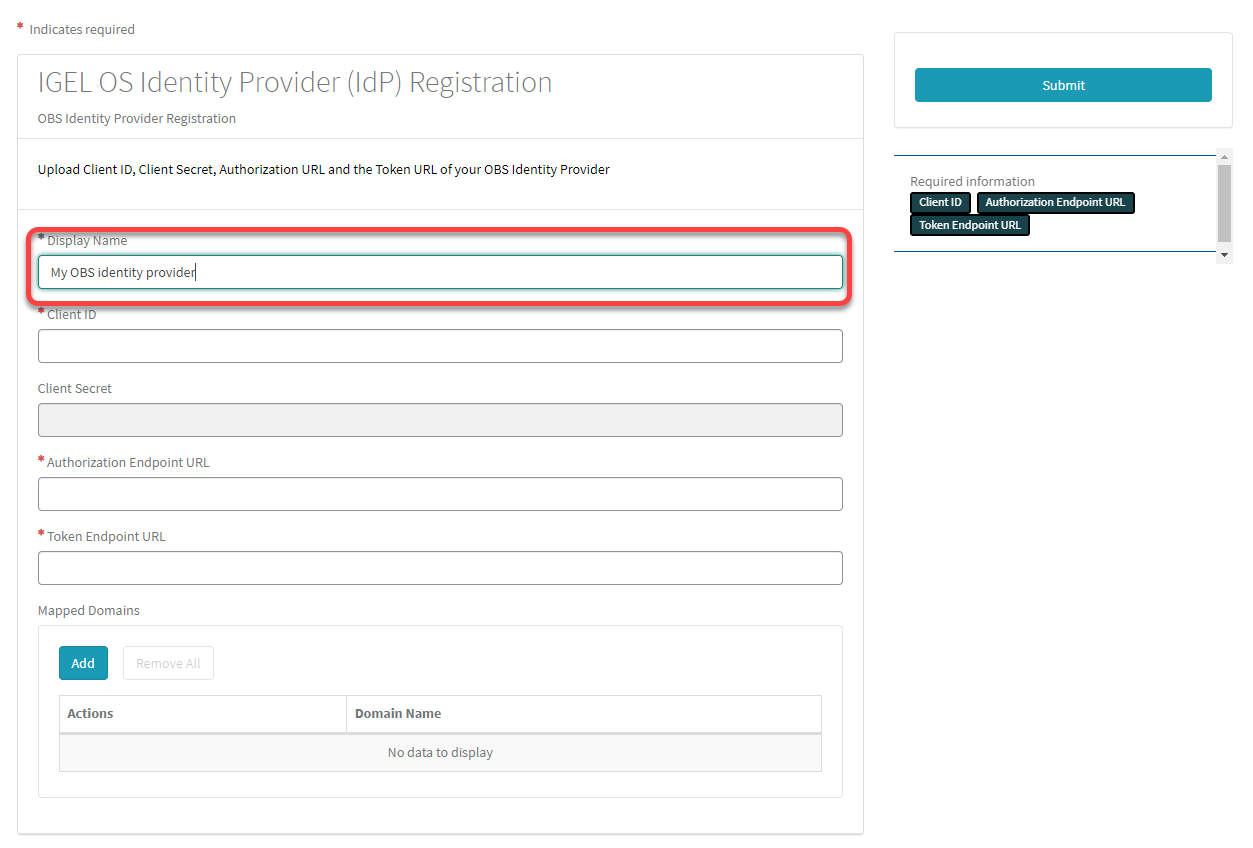
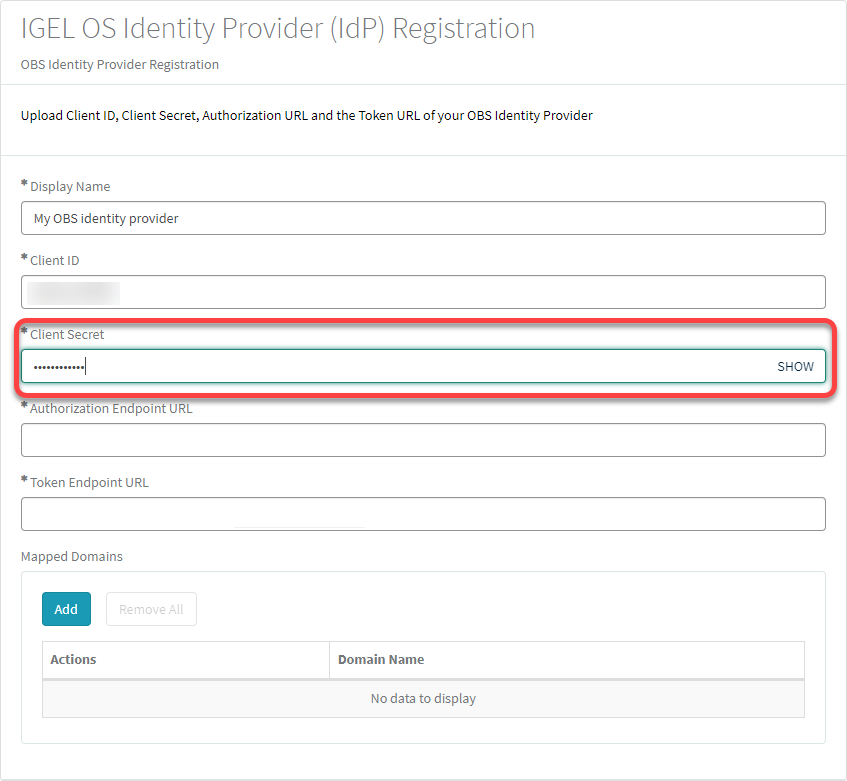
Enter a Display name. This is the name under which your identity provider app will be displayed.
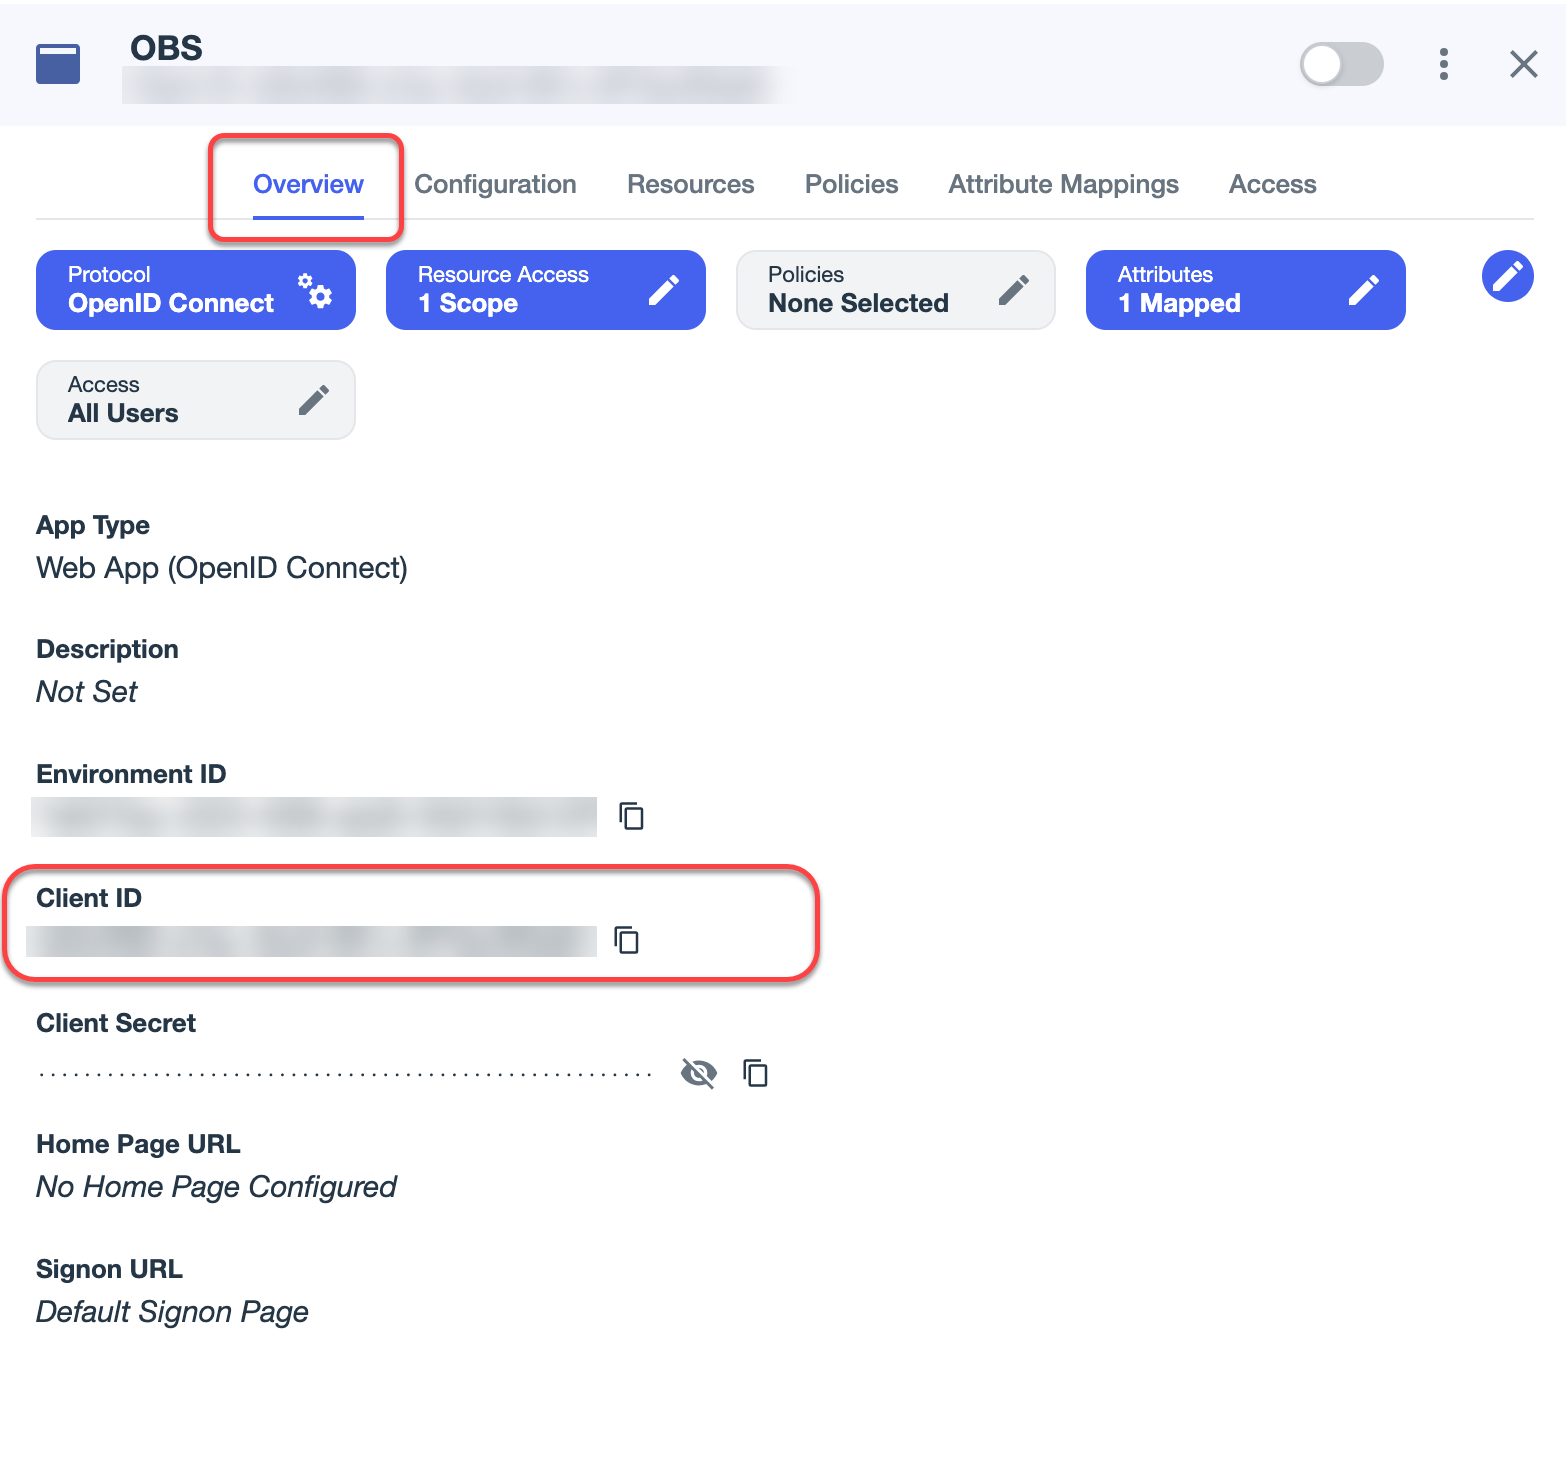
Change to the tab with your Ping app, go to theOverviewtab and copy the Client ID.
Change to the IGEL Customer Portal (IGEL OS Identity Provider (IdP) Registration) tab and paste the client ID into the fieldClient ID.
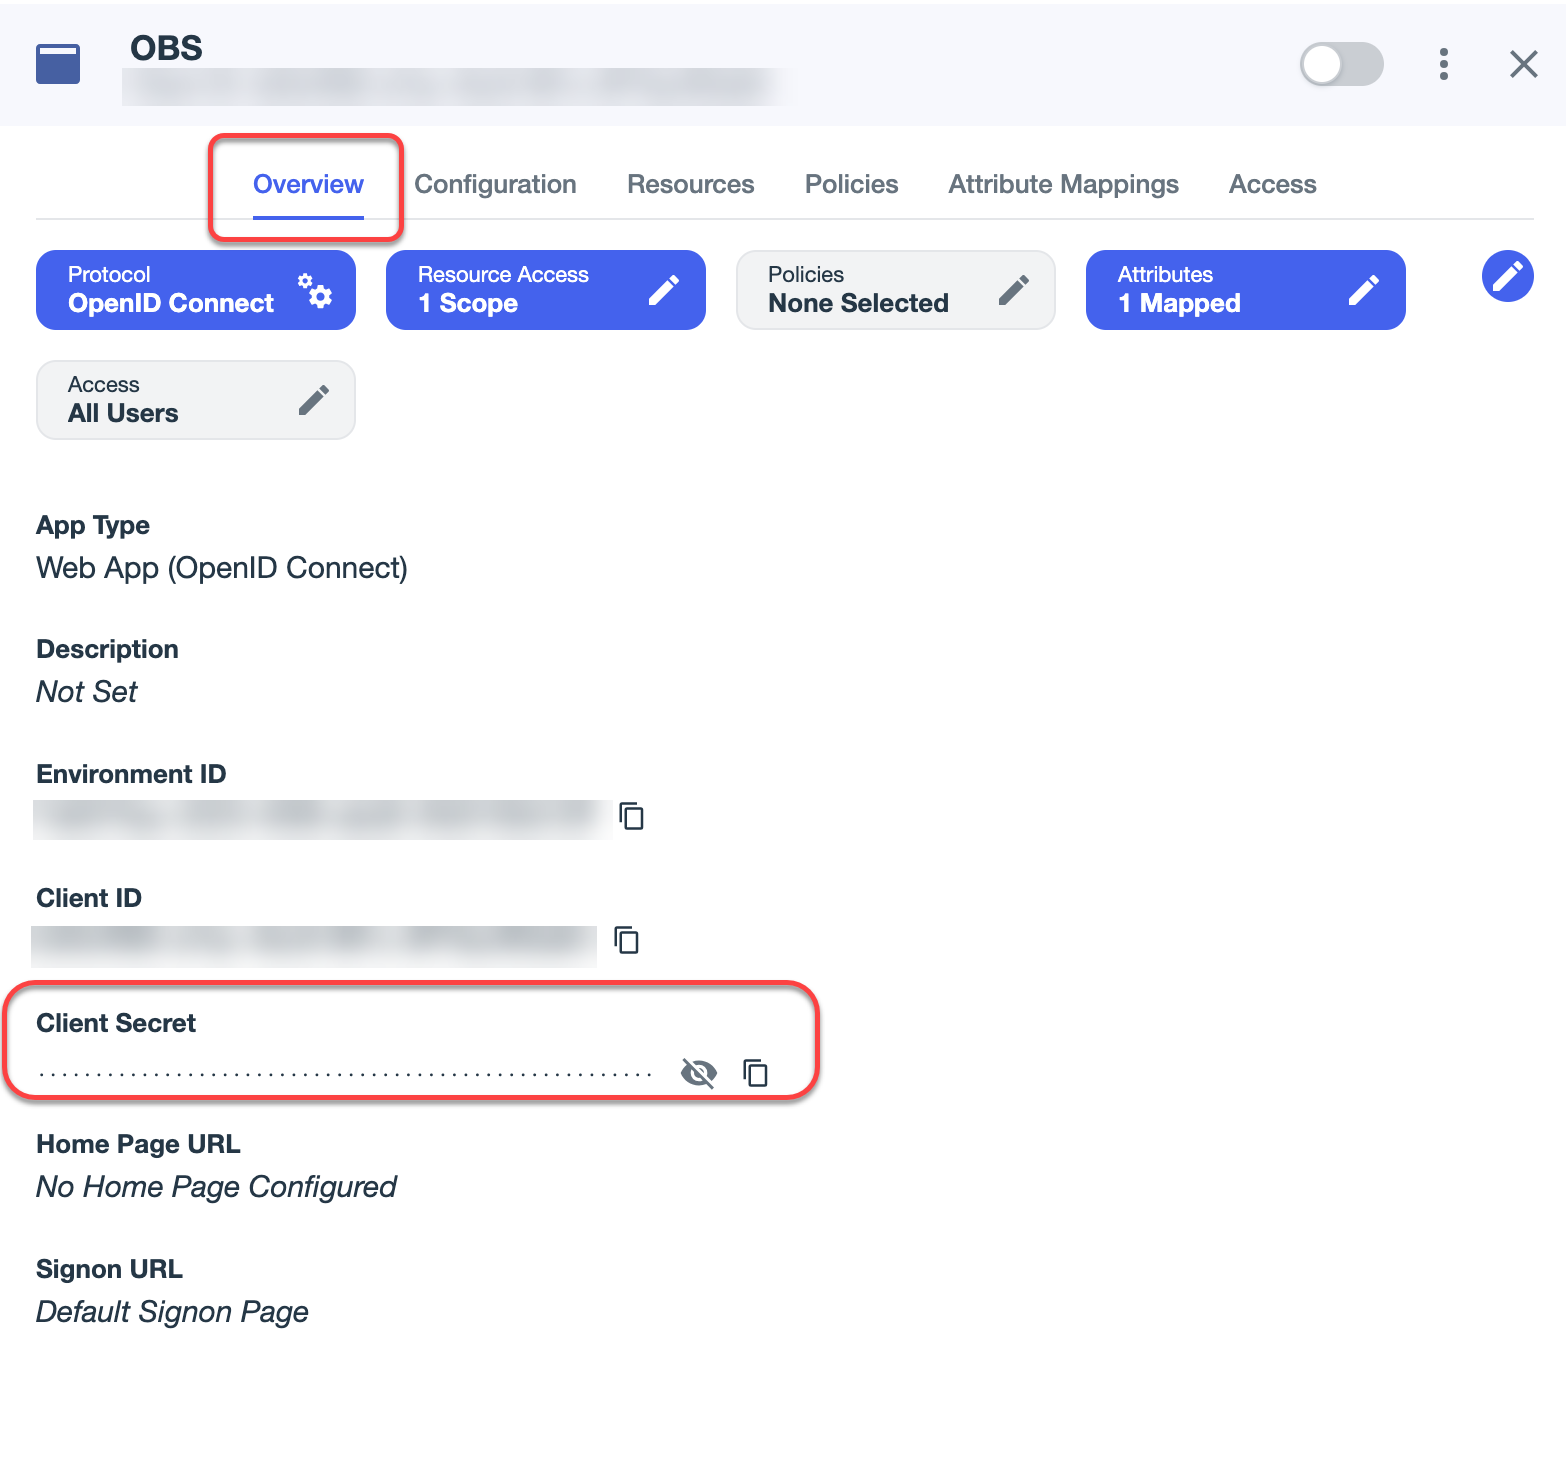
Change to the tab with your Ping app, go to theOverviewtab and copy theClient Secret.
Change to the IGEL Customer Portal (IGEL OS Identity Provider (IdP) Registration) tab and paste the client secret into the fieldClient secret.
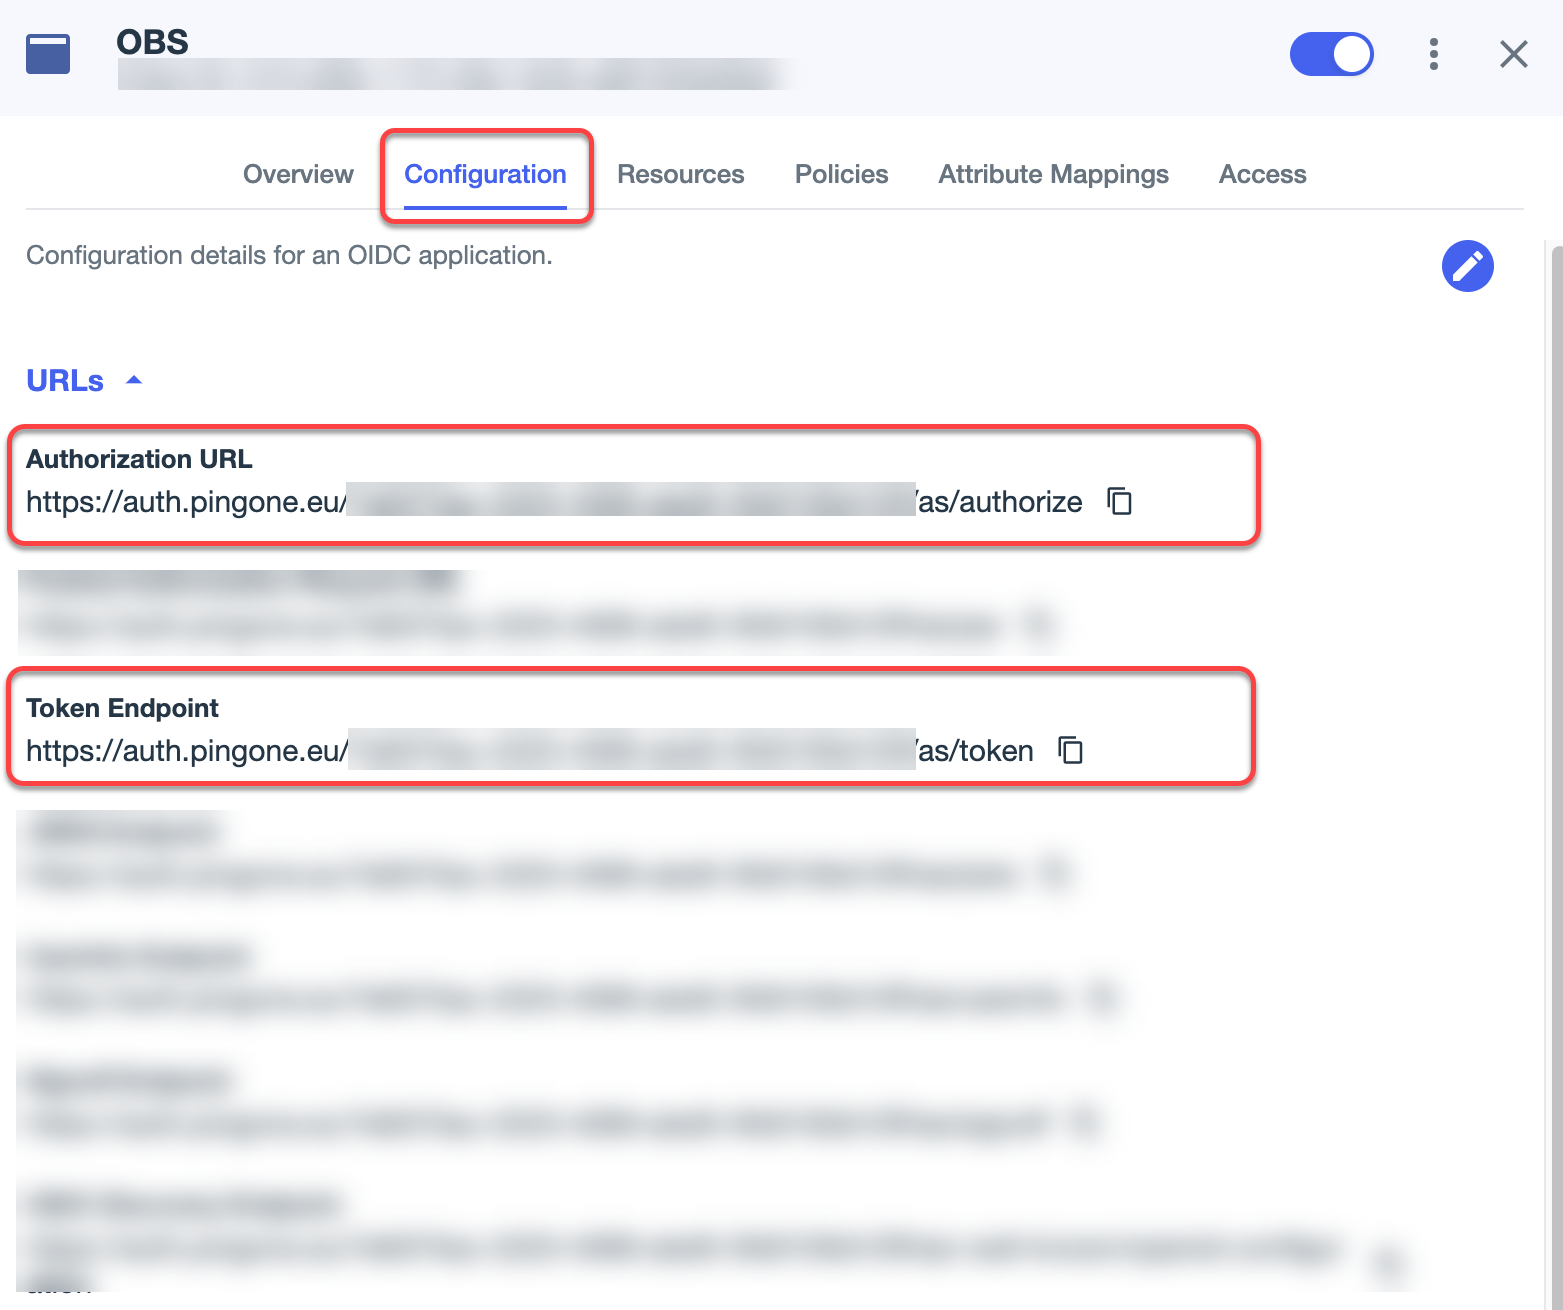
To get theAuthorization Endpoint URL andToken Endpoint URL, change to the tab with your Ping app andgo to theConfigurationtab.
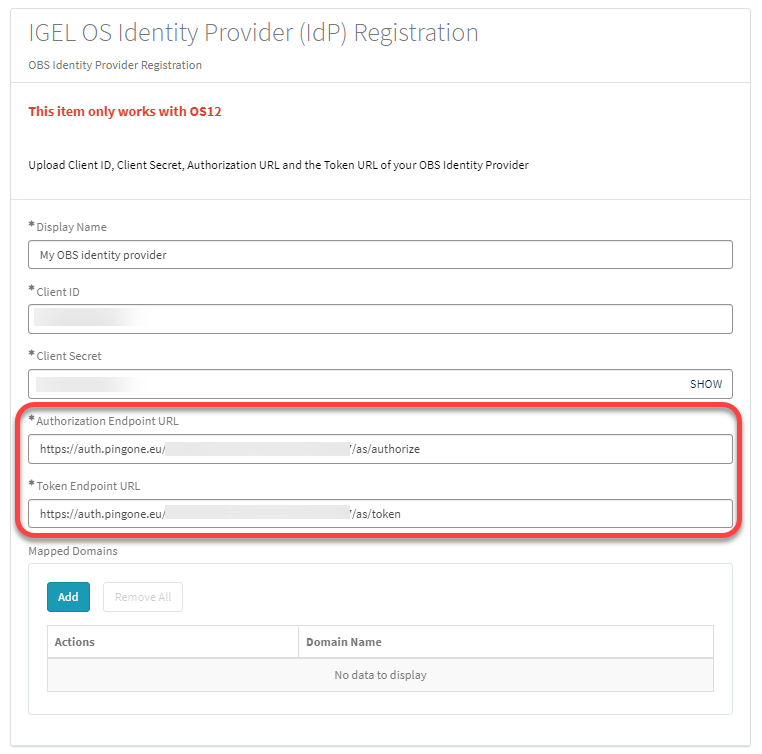
Copy and paste the values into theAuthorization Endpoint URL andToken Endpoint URL fields one by one.
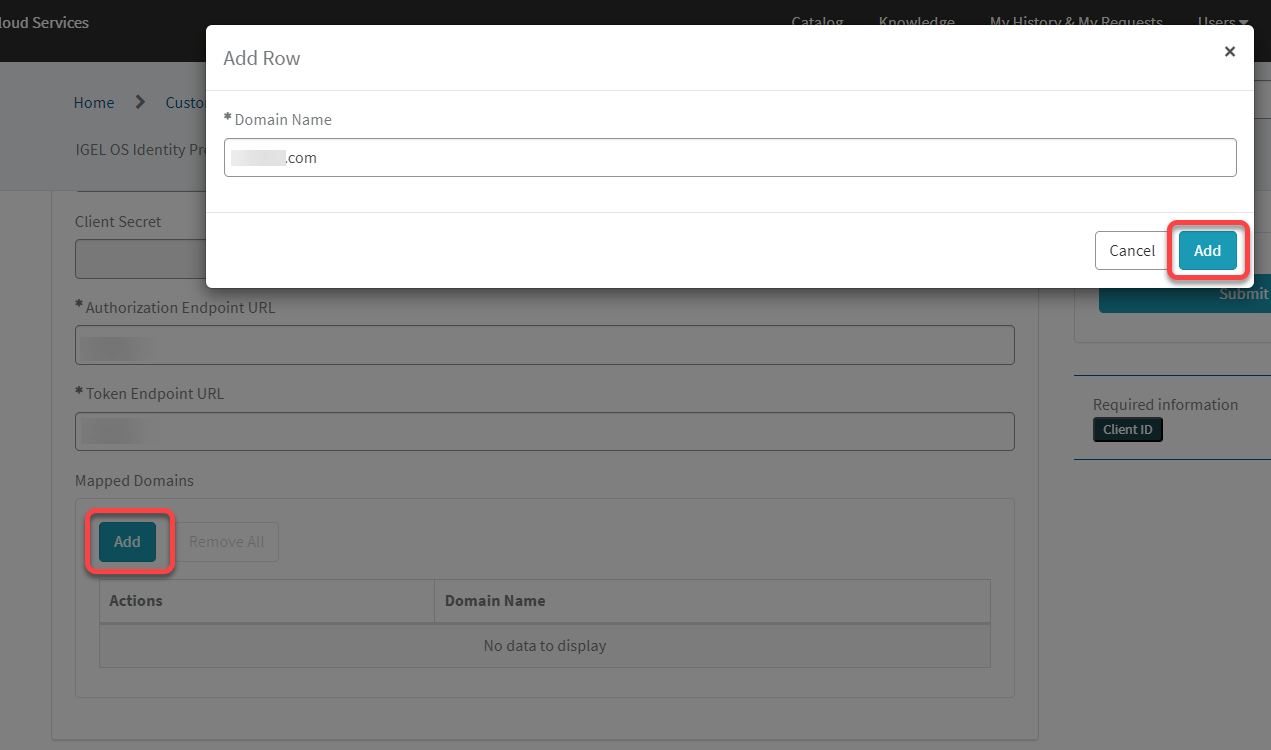
To add a domain, clickAdd, enter theDomain name, and then clickAddin the dialog.