Download page Uninstalling the IGEL Cloud Gateway (ICG).
Uninstalling the IGEL Cloud Gateway (ICG)
The standard method of uninstalling your IGEL Cloud Gateway (ICG) is via the UMS Console; see Uninstalling ICG via the UMS Console. With this method, the ICG instance is uninstalled on its hosting machine, and the corresponding ICG entry is removed from the UMS database.
As an alternative, you can use shell commands; see Uninstalling ICG Manually. If you have uninstalled an ICG instance manually, or the machine that hosted the ICG instance does not exist anymore, you must remove the associated database entry in a separate step; see Removing the ICG Entry from the UMS Database.
Uninstalling ICG via the UMS Console
In the UMS Console, go to UMS Administration > UMS Network > IGEL Cloud Gateway, select the ICG instance you want to remove, and then click the uninstall button.
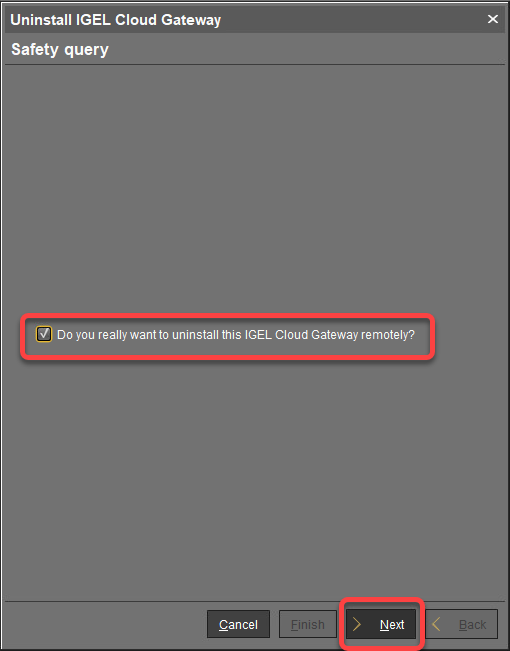
Confirm the dialog and click Next.
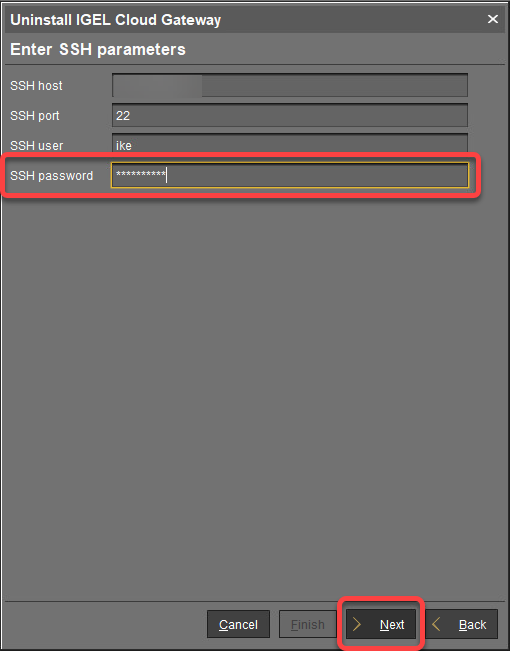
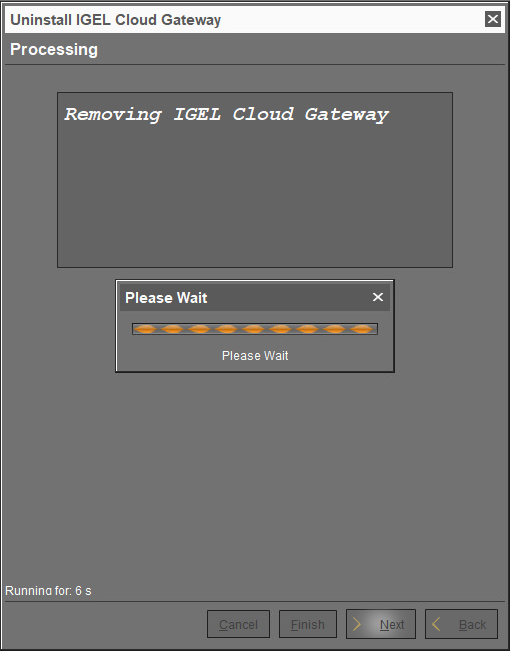
Enter the SSH password of an SSH user with sudo permissions (typically the same user that installed the ICG) and click Next. The uninstall process is started. If everything goes well, ICG is uninstalled from the machine.
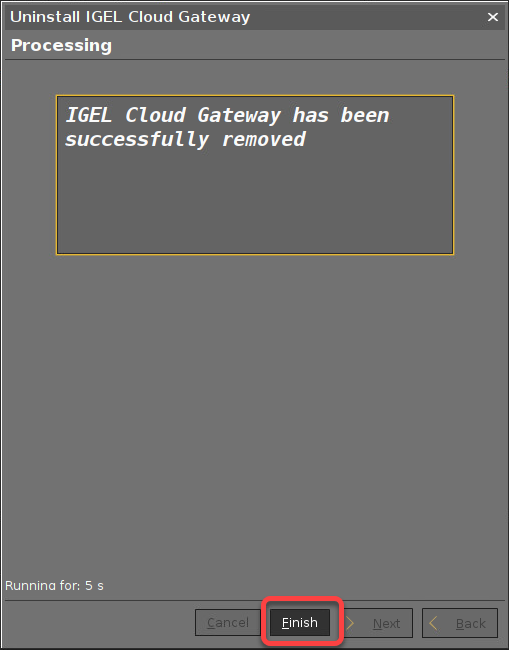
Click Finish.
Uninstalling ICG Manually
ICG includes an uninstall script. To altogether remove ICG from the system, proceed as follows:
Log in as root or a user with sudo privileges to the ICG host.
Change to the directory you installed ICG in (default: /opt/IGEL/icg/). It contains the uninstall.sh script.
To start the uninstall process, run sudo ./uninstall.sh
A dialog opens. Confirm that you want to completely remove your ICG instance. ICG is removed completely.
Removing the ICG Entry from the UMS Database
Once an ICG instance is removed from the database, it is not possible to associate it with the UMS again. If you want to recover your ICG, you must perform a new installation.
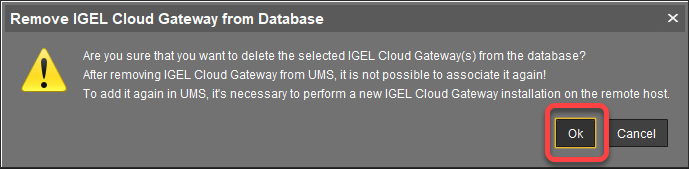
In the UMS Console, go to UMS Administration > UMS Network > IGEL Cloud Gateway, select the ICG you want to remove, and then select the removal button.
Confirm the dialog. The ICG instance is removed from the database.