You can choose between the following formats for your picture : BMP, JPG, GIF, TIF, PNG and SVG. Ensure that the name of your image file has no blanks, otherwise the file will not be accepted. 25 MB of free storage space are available for your pictures.
Click New file on the context menu of the Files directory in the tree.
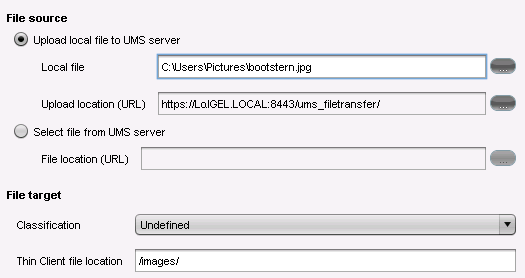
Activate Upload local file to UMS server.
Browse to find your background image in Local file.
Browse to select your picture directory in Upload location (URL).
Enter a Thin Client file location directory for the target decive.
If you enter a directory which does not yet exist, it will be created automatically. If you do not enter a specific directory, the image will be put in the root directory.
Click OK. Your image will be listed in the list of Files.
Assign the image to the client by drag and drop or Assigned objects.
If you put more than one image in the Thin Client file location directory, all images will be alternately shown by the screensaver, one after the other.