Using the IGEL Managed Hypervisor (IMH), you can run virtual machines on IGEL OS 12 devices and provide a secure, manageable way to run legacy workloads on modern infrastructure.
This article describes how to create a virtual machine and upload it to the storage server.
Local virt-manager Permissions
To create or configure a virtual machine as described in this article, you need to log in as root.
Background: IGEL Managed Hypervisor restricts the operations a local non-administrator user can perform in virt-manager. A local non-administrator user can perform the following operations without entering administrator credentials:
-
List existing virtual machines
-
Start an existing virtual machine
-
Stop an existing virtual machine
-
Open the graphical console of an existing virtual machine
All other local virtual machine management operations require administrator credentials. These operations include:
-
Creating, editing, or deleting virtual machines
-
Creating or deleting snapshots
-
Configuring virtual networks
-
Configuring storage pools
Installing the IGEL Managed Hypervisor App on the Image Creation Machine
In the following, we will use a UMS profile to install and configure IGEL Managed Hypervisor on the IGEL OS device to be used for image creation.
-
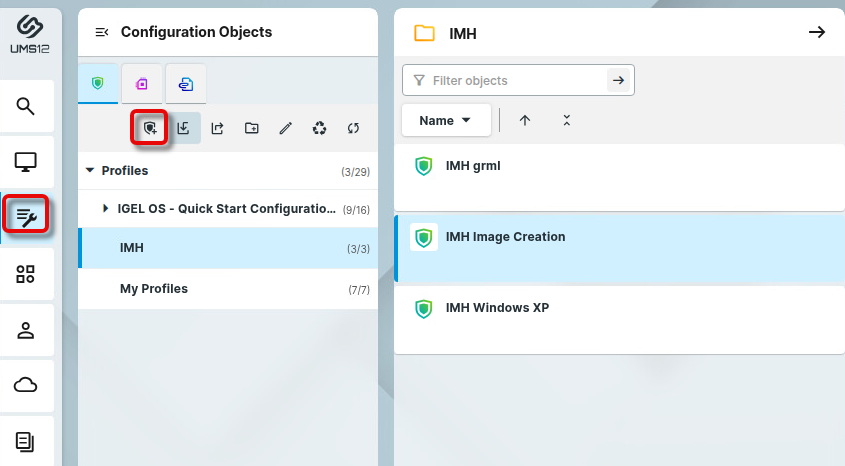
Open the UMS Web Console, go to Profiles, and create a new profile.
-
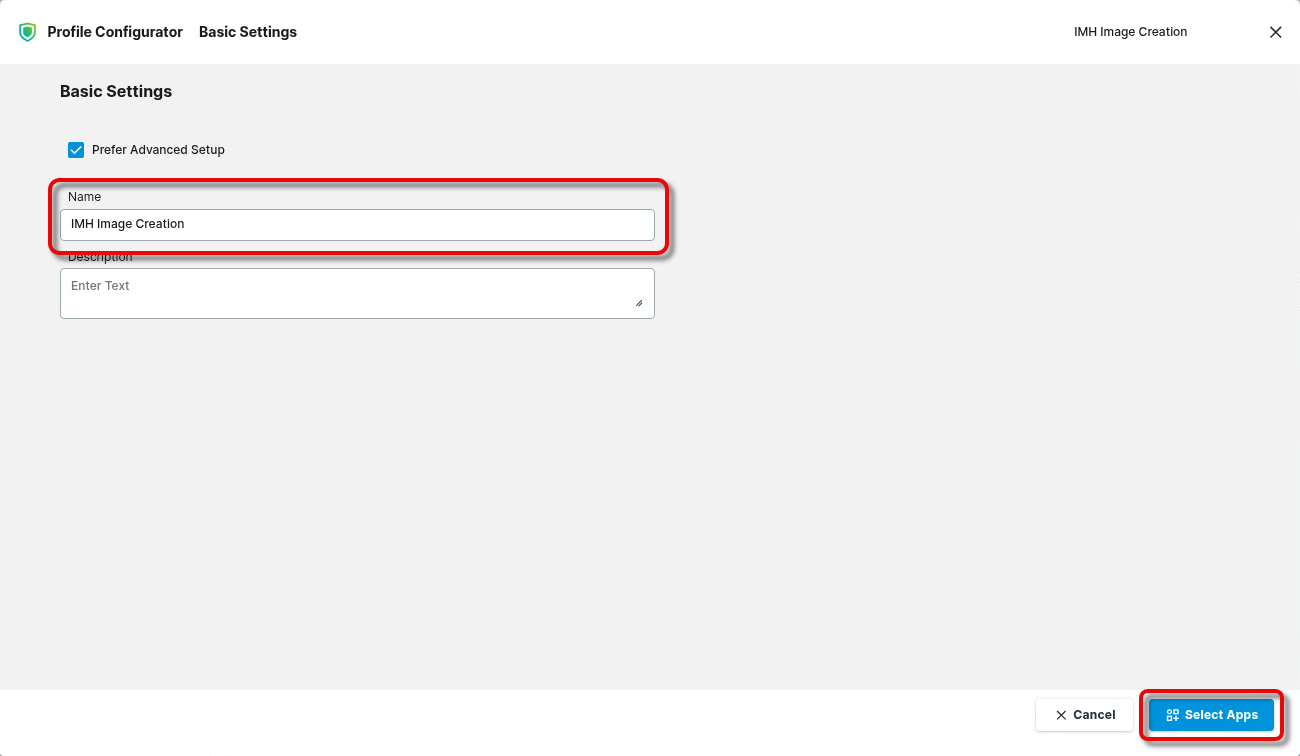
Provide a Name for the profile and click Select Apps.
-
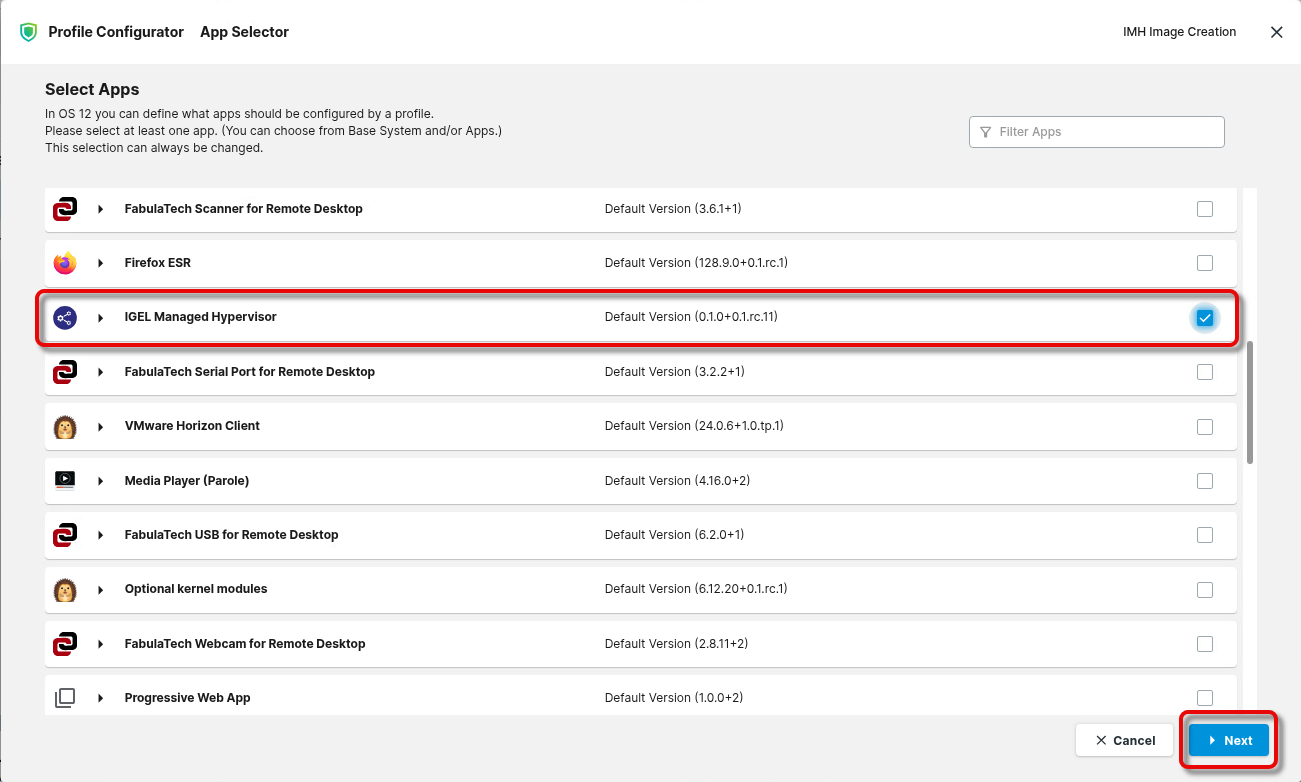
Select the app IGEL Managed Hypervisor, ensure that the correct version is selected, and click Next.
-
Click Save and Close to finish the profile.
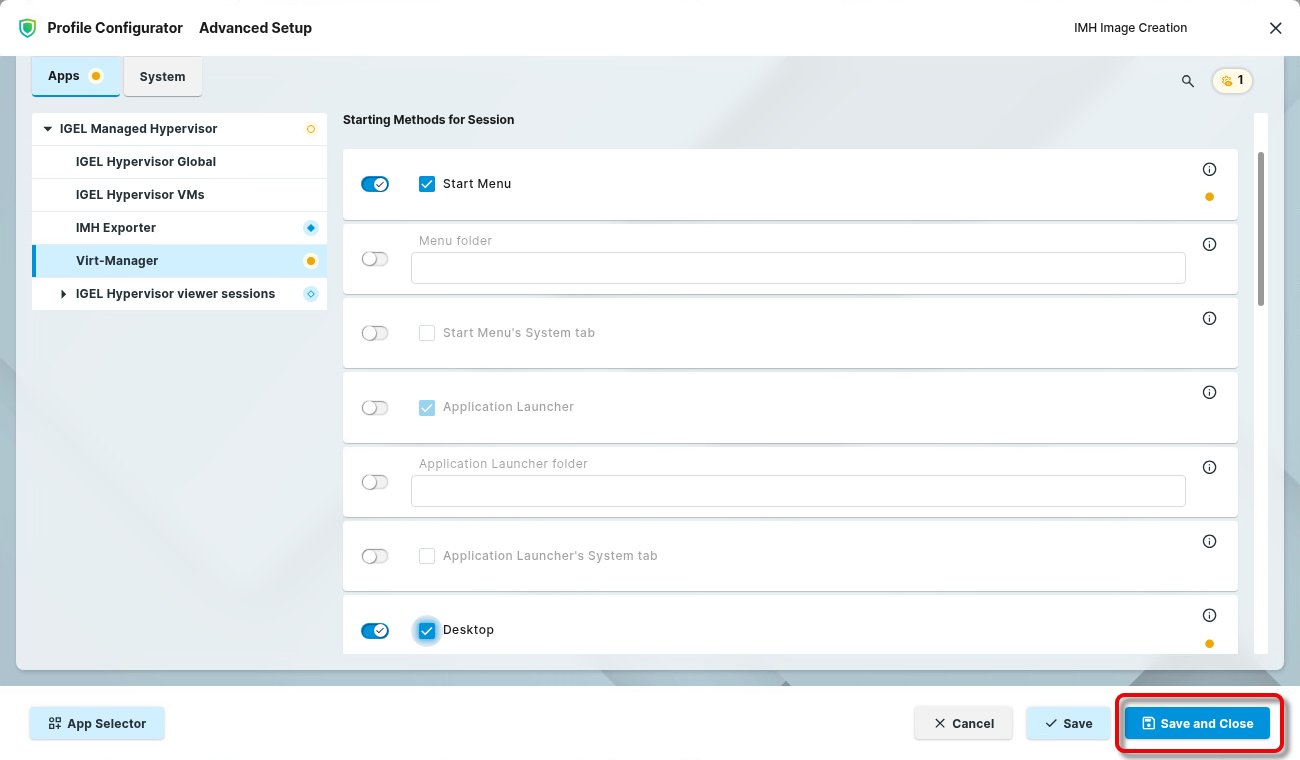
-
Go to Devices, select your image creation machine, and click Assign Object.
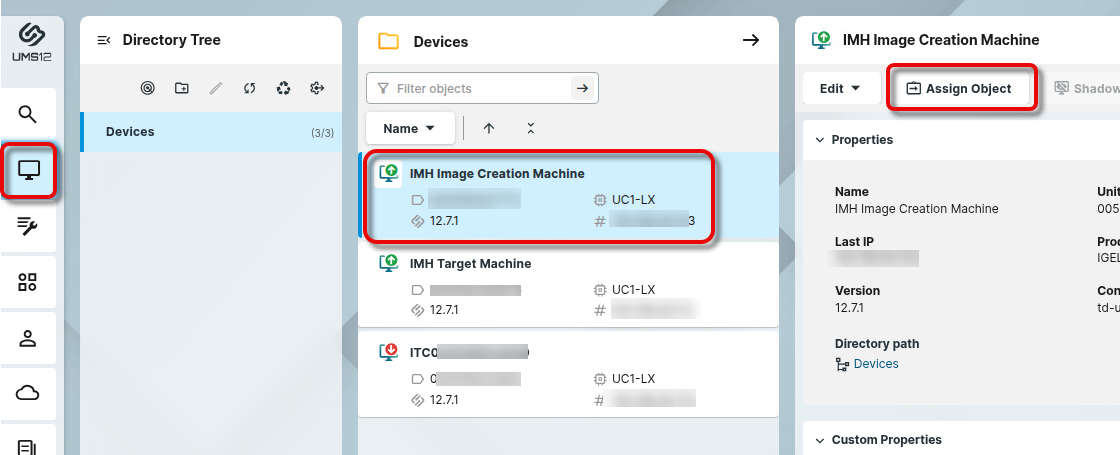
-
Find and select your profile and assign it to your device.
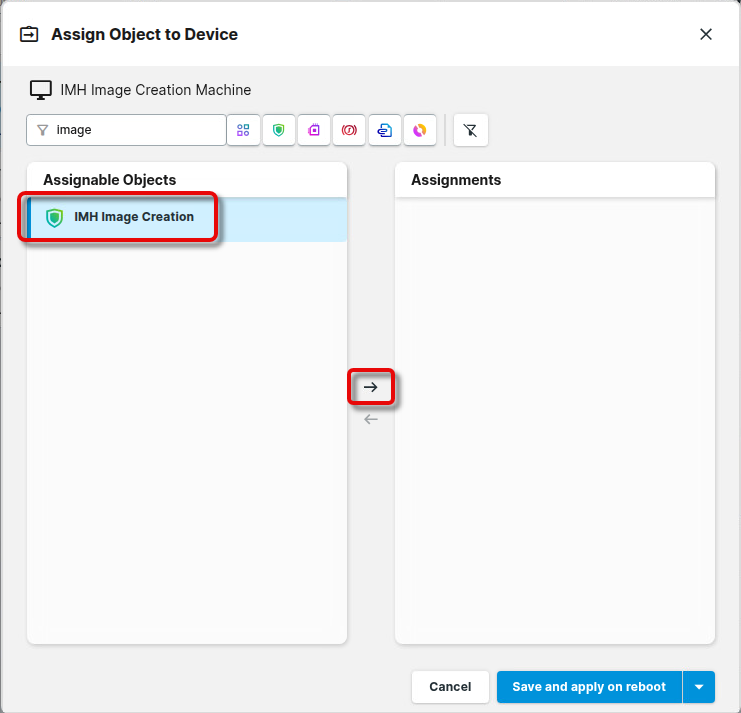
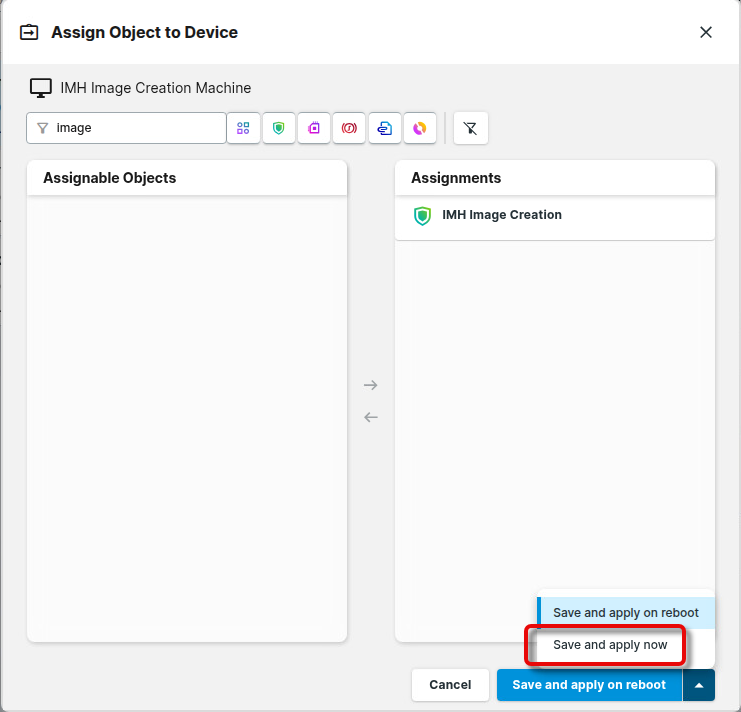
Creating Your Golden Image on the Image Creation Machine
Creating the Golden Image from an ISO File
We must ensure that the ISO file we will use to create the Golden Image is available to the image-creation machine.
You can use the following methods to provide the ISO file:
-
Local installation media (ISO image on a USB memory stick, network drive, or CD-ROM)
-
Network installation
-
Manual installation
In our example, we will use a network drive.
Ensure that the installation media is accessible for IGEL OS. If you are using a network drive, it is recommended to copy the file to the local storage of your image creation machine, for instance, to /userhome/.
-
On your designated image-creation device, log in at a local terminal as root and run
virt-manager. If no local terminal has been configured yet, see Local Terminals.

The Virtual Machine Manager appears.
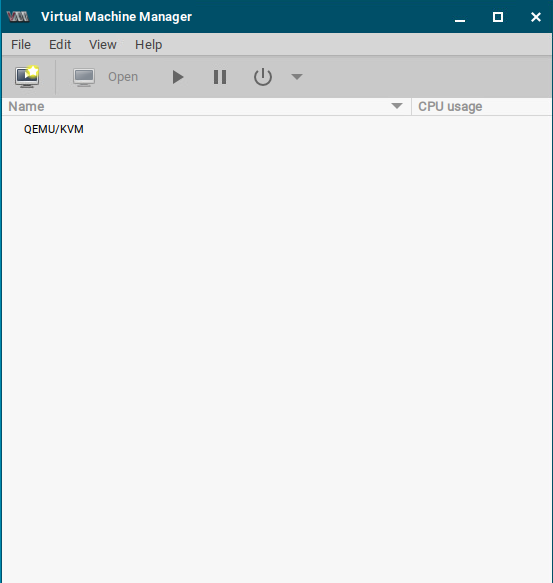
-
Click

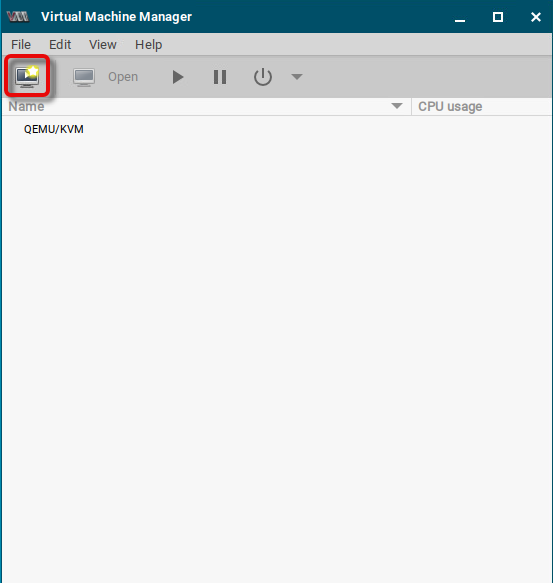
-
Select the source for the new virtual machine (in our example: Local install media (ISO image or CDROM)) and click Forward.
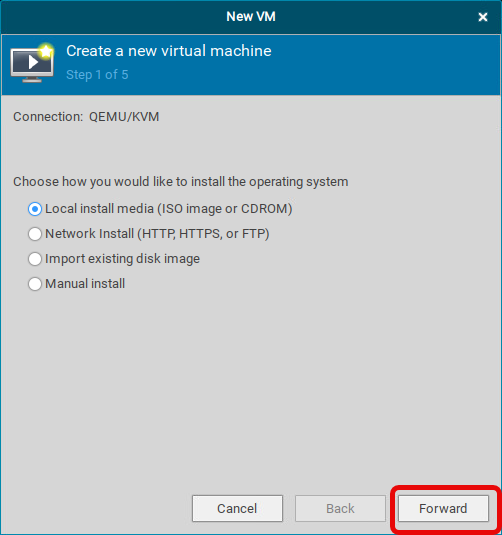
-
Click Browse…
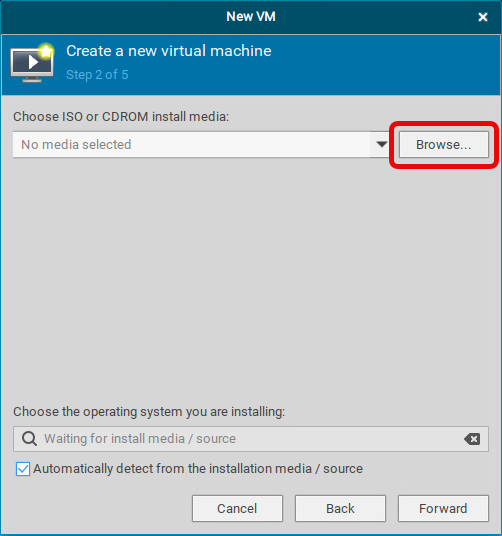
-
Click Browse Local.
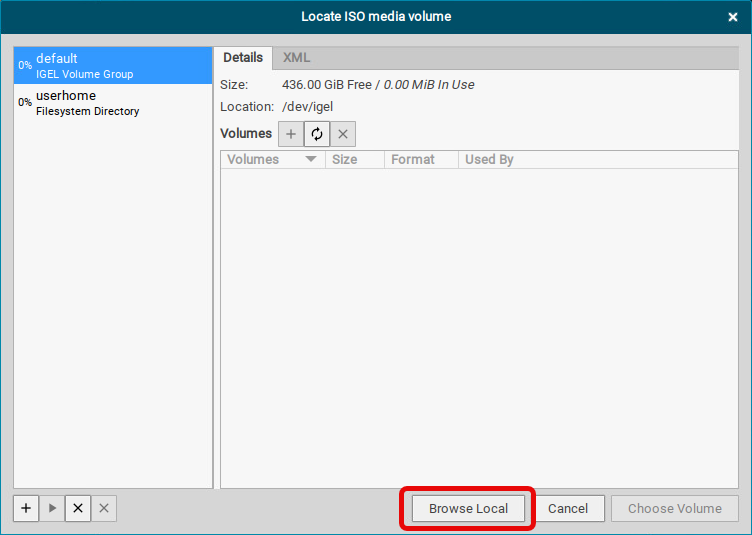
-
Find the ISO file and click Open.
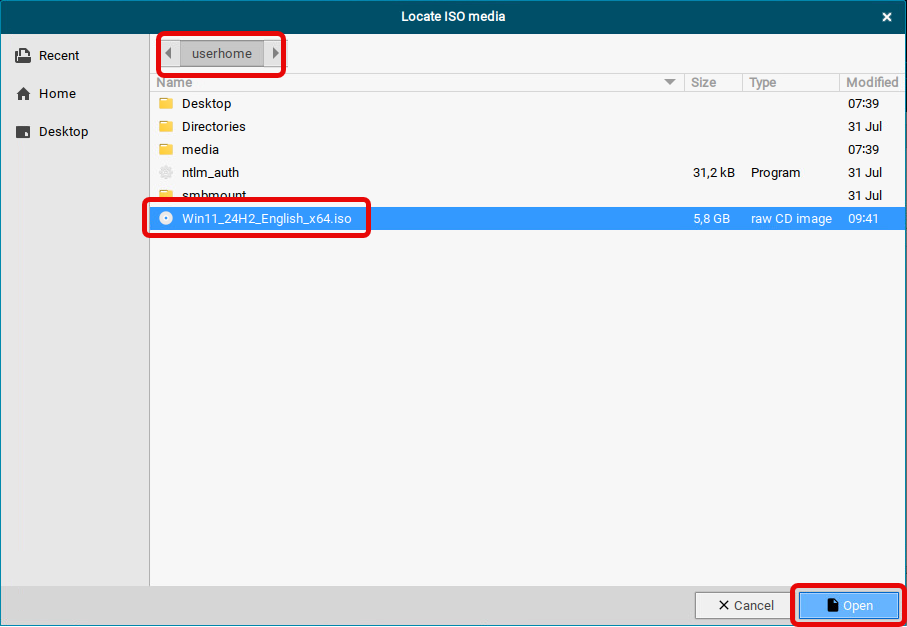
-
Click Forward.
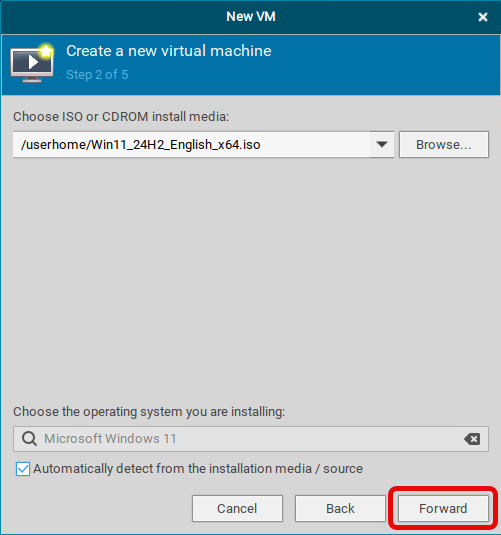
-
If you see a message about missing permissions, click Yes.
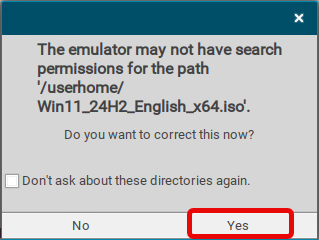
-
Review the memory and CPU settings for your virtual machine and then click Forward.
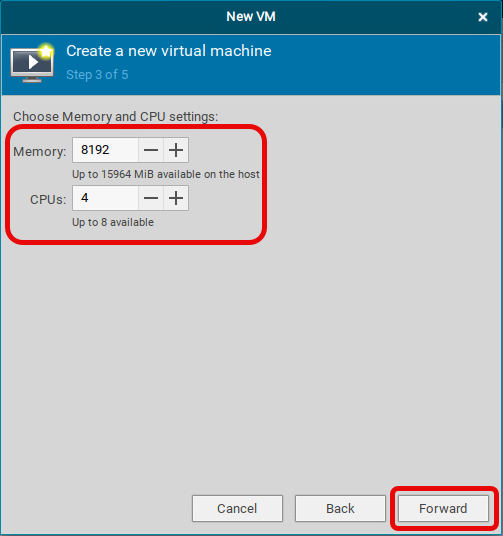
-
Review the size of the disk image to be created and click Forward.
We do NOT recommend selecting or creating custom storage; this might interfere with the preconfigured storage provided by IGEL Managed Hypervisor.
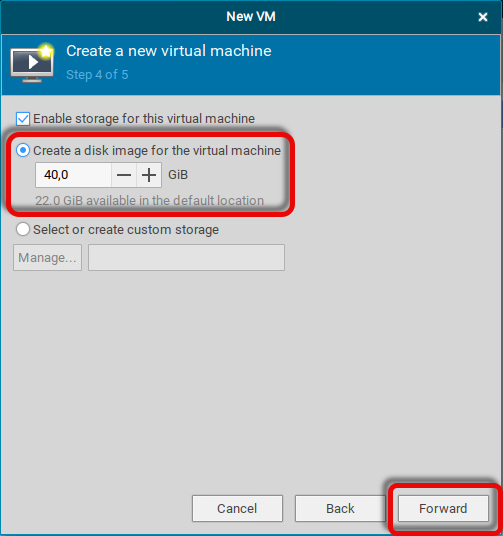
-
If you see a message about missing permissions, click Yes.
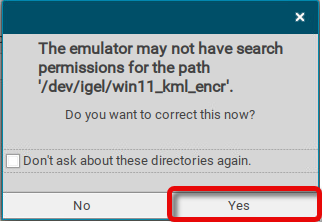
-
Edit the Name according to your preferences.
The name cannot contain spaces.
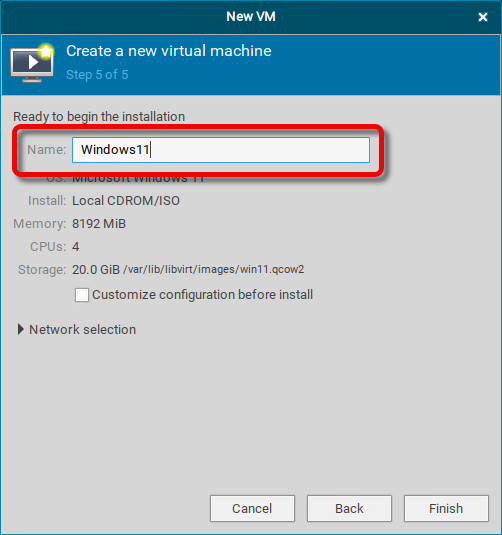
-
Select the network to be used by the virtual machine.
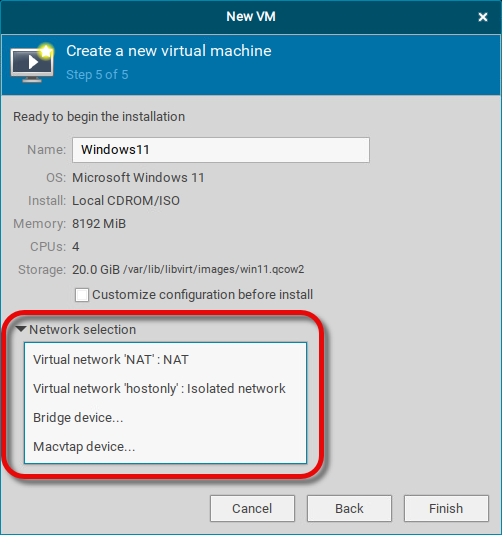
-
Review the settings and click Finish.
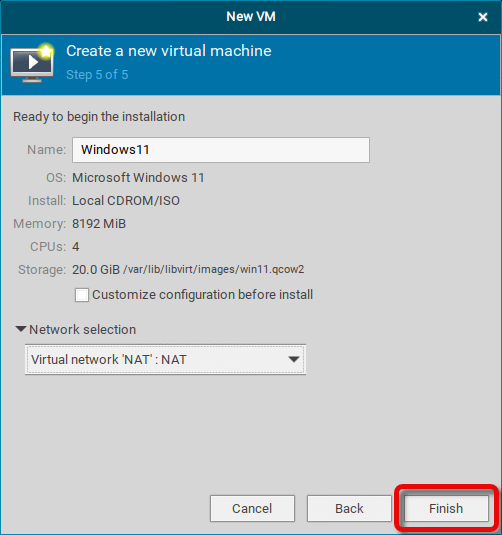
The installer provided by the ISO file starts.
-
Follow the instructions to install your guest system. If required, modify it according to your needs.
Creating the Golden Image from an Existing Virtual Machine
You can import existing virtual machines into IGEL Managed Hypervisor.
The following file types are supported:
|
File type |
What it is |
Typically exported from |
What you get after conversion |
|---|---|---|---|
|
|
A complete virtual machine package: settings plus disk(s), in one file |
VMware, VirtualBox |
A fully defined virtual machine with its disk(s) ready to run |
|
|
A single virtual disk |
VMware |
A new virtual machine created around that disk |
|
|
A single virtual disk |
VirtualBox |
A new virtual machine created around that disk |
|
|
A single virtual disk |
Microsoft Hyper-V |
A new virtual machine created around that disk |
|
|
A single virtual disk |
KVM / QEMU / Linux virtualization tools |
A new virtual machine created around that disk |
|
|
A raw virtual disk |
Various tools |
A new virtual machine created around that disk |
To create your Golden Image:
-
On your designated image-creation device, log in at a local terminal as root and run
imh-converter. If no local terminal has been configured yet, see Local Terminals.

-
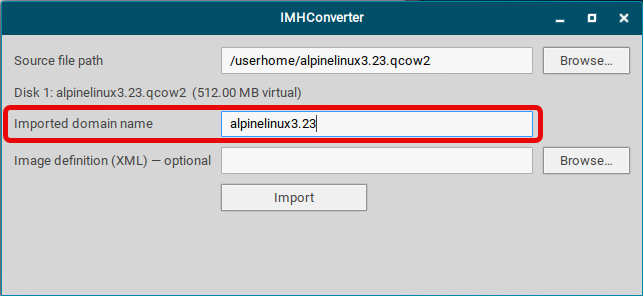
Click Browse and find the appropriate file on your device.
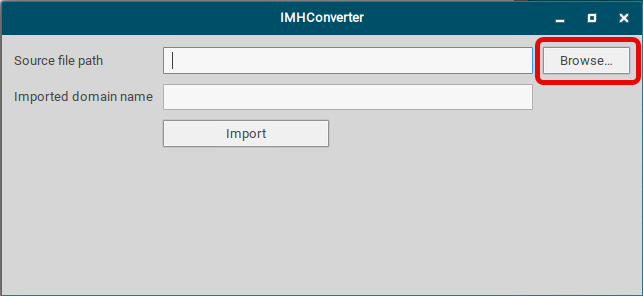
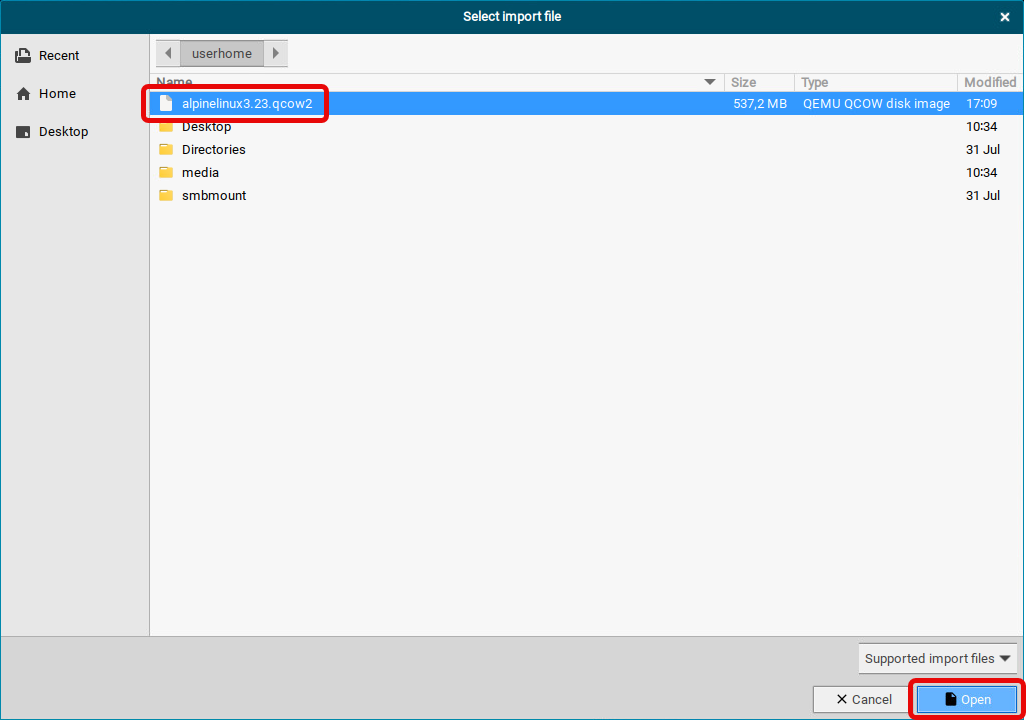
-
Add or edit the data as required.
-
Click Import.
The virtual machine is imported into IGEL Managed Hypervisor.
-
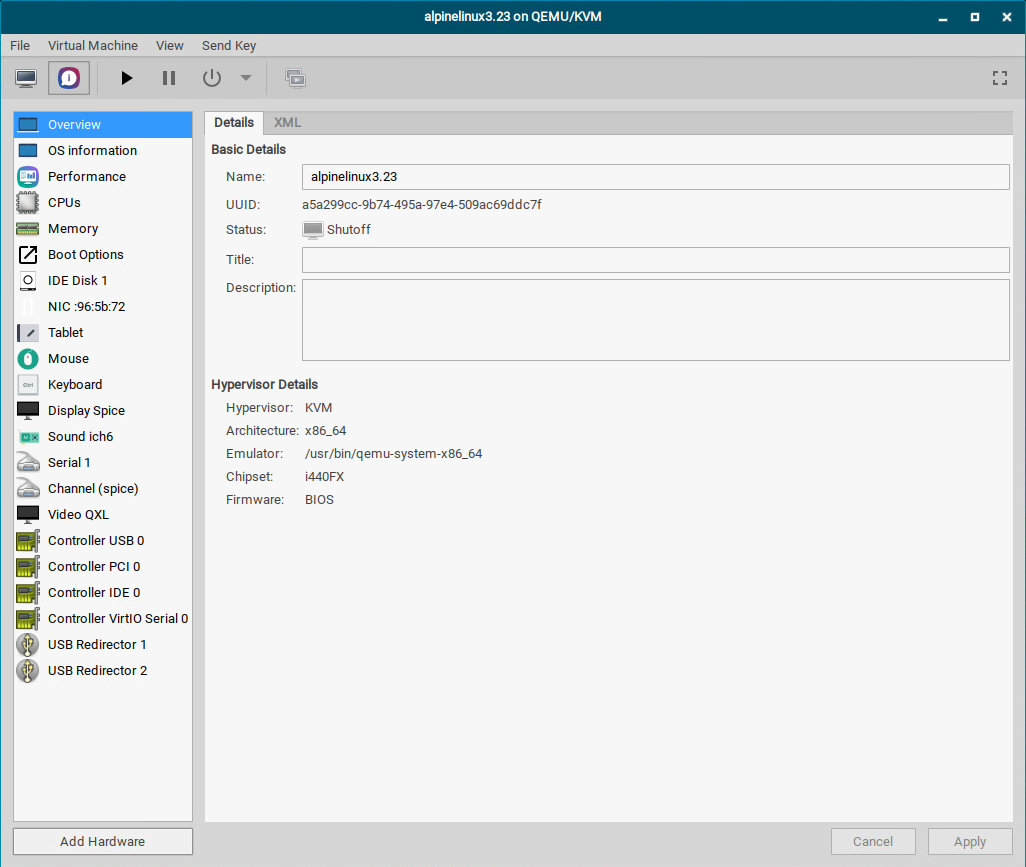
Review your virtual machine’s settings and make changes as required.
Exporting Your VM Image to a Storage Server for Distribution
In this step, we will export the following data to a server:
-
One image file per disk (optionally compressed)
-
One configuration file (XML) describing the VM, generated automatically and uploaded once all disk images have transferred successfully
The following protocols are supported:
|
Protocol/Destination |
Typical Use Case / Notes |
|
HTTP ( |
Simple upload to a basic web server. Not recommended for production |
|
HTTPS ( |
Upload to a web server over an encrypted connection |
|
SFTP ( |
Secure upload to any SSH/SFTP-capable server |
|
SMB / Windows share ( |
Upload to a Windows file share or NAS Please note that the destination URL must include the share name, e.g. |
-
On the image creation machine, shut down the virtual machine.
-
On your designated image-creation device, log in at a local terminal as root and run
imh-exporter

-
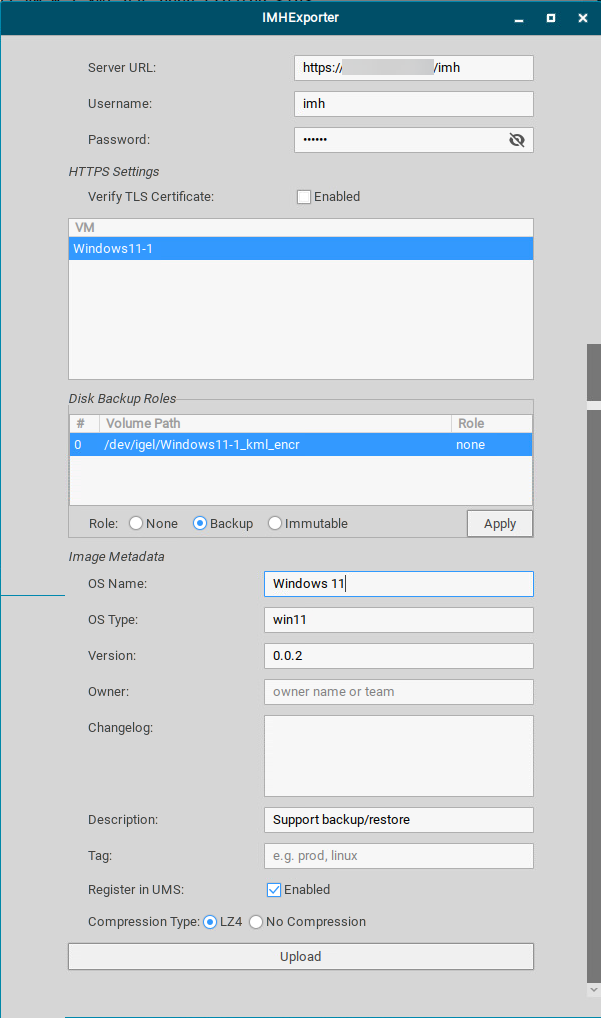
Provide the required data for storage and the metadata for the image:
-
Server URL: The URL of the directory on the repository where the VM files will be stored. Example:
https://192.168.123.123/imh -
Username: The username for write access to the repository
-
Password: The password associated with the username.
-
Verify TLS Certificate (if HTTPS or Amazon S3 / S3-compatible storage is used): When enabled, the endpoint must present a valid, CA-trusted HTTPS certificate. If you are using a self-signed certificate, e.g., in a local test setup, disable this option. For anything but local test setups, the option should be enabled.
-
SSH private key (if SFTP is used): Instead of a password, you can authenticate with an SSH private key file.
-
SSH key passphrase (if SFTP is used): Only needed if your private key file is itself password-protected. If your key has no password, leave this field blank.
-
Domain / Workgroup (if SMB / Windows share is used): The Windows domain (Active Directory) the account belongs to, if applicable. Leave blank for local/workgroup accounts.
-
Region (if Amazon S3 / S3-compatible storage is used): The AWS region your bucket lives in (required for AWS S3; usually not needed for on-premises/self-hosted S3-compatible storage)
-
Endpoint URL (if Amazon S3 / S3-compatible storage is used): Required when using anything other than AWS S3 itself (e.g. MinIO, Ceph). This tells the exporter where to send requests (with AWS S3, this would be the default AWS endpoint)
-
VM: Select the name of the image you have created.
-
Role: Select the disks listed under Disk Backup Roles to assign roles to them. By assigning a role, you define if it should be persistent, explicitly backed up, or reset on each reboot. Please note that each export captures the disk roles as they are at the time of export. If an administrator changes a role afterward, the virtual machine must be re-exported for that change to take effect for the exported configuration.
The following disk roles are available:-
None (default): The disk behaves as normal persistent storage. It will not be changed on reboot. The disk is not automatically included in backups.
-
Backup: The disk is automatically included every time a backup job runs. Use this option for disks that contain critical data, like databases, user files, or application states. Please note that backups are encrypted and can currently only be restored to the same host they were created on, as the encryption key is not exported.
-
Immutable: The disk returns to its original state whenever the virtual machine reboots. Use this option for virtual machines that require a clean, consistent starting point every time, with no manual cleanup. Please note that a separate immutable setting also exists in the IGEL Registry. This setting applies to the entire virtual machine. If enabled, it forces every disk on the virtual machine to be immutable, overriding the disk’s individual role.
-
-
OS Name: A display name for the image
-
OS Type: The type of operating system. Default: The name that has been provided by
virt-managerwhen the virtual machine was created. -
Version: Add a version number if you want to apply versioning to your images.
-
Owner: The owner of the image
-
Changelog: If you apply a versioning scheme, you can summarize the changes from the previous version here
-
Description: A short description of the image
-
Tag: You can use tags to help organize your images
-
Compression Type: Select LZ4 or No Compression, depending on your requirements.
-
-
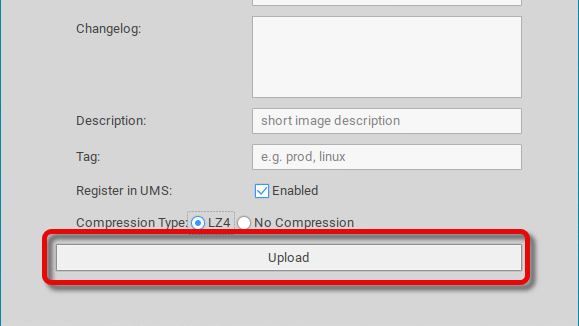
Click Upload.
The following files are uploaded to the storage server:
-
<Server base URL>/<domain>.xml: An XML file that provides the size, URL, checksum, and compression method of the image file. Example:https://123.123.123.123/IGEL_IMH/Windows11-V0.0.1.xml -
<Server base URL>/<domain>_d0.img.lz4:The image file, compressed with lz4. Example:https://123.123.123.123/IGEL_IMH/Windows-V0.0.1_d0.img.lz4
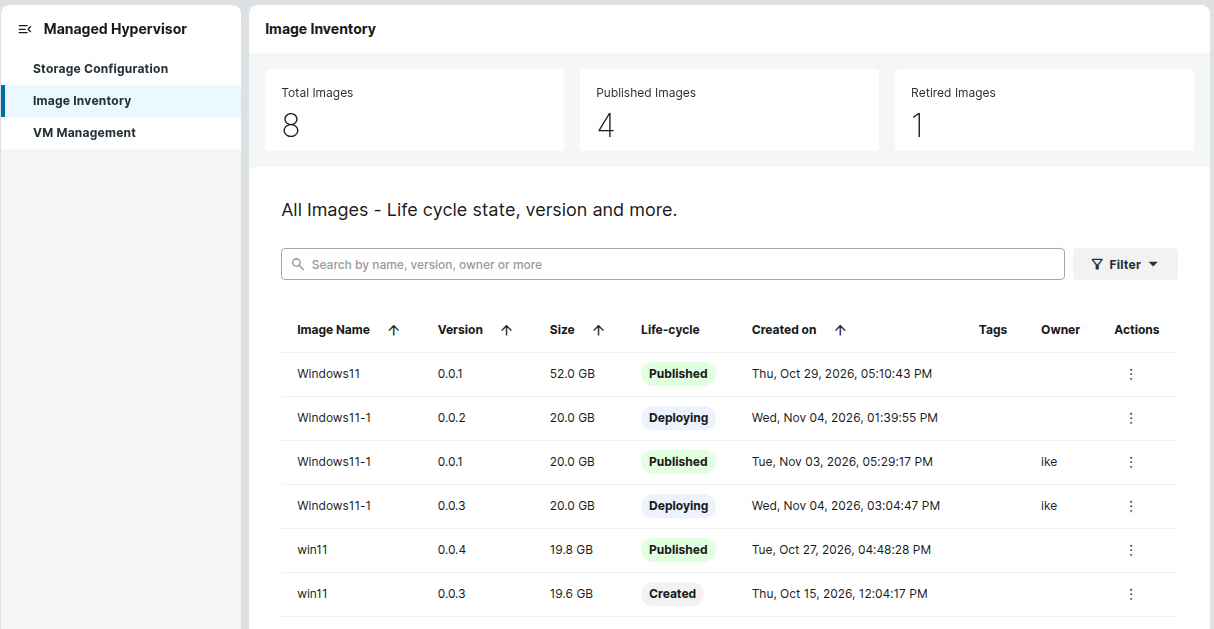
The image file is listed in the UMS Web App under Managed Hypervisor > Image Inventory.