Download PDF
Download page Search for Devices in the IGEL UMS Web App.
Search for Devices in the IGEL UMS Web App
In the Search area of the IGEL Universal Management Suite (UMS) Web App, you can search for devices according to the configured criteria and save your search.
You can also create Advanced Searches, that you can use it in Jobs and Administrative Tasks in the UMS Console, see Using Advance Searches in Jobs and Administrative Tasks in the UMS Console.
Menu path: UMS Web App > Search
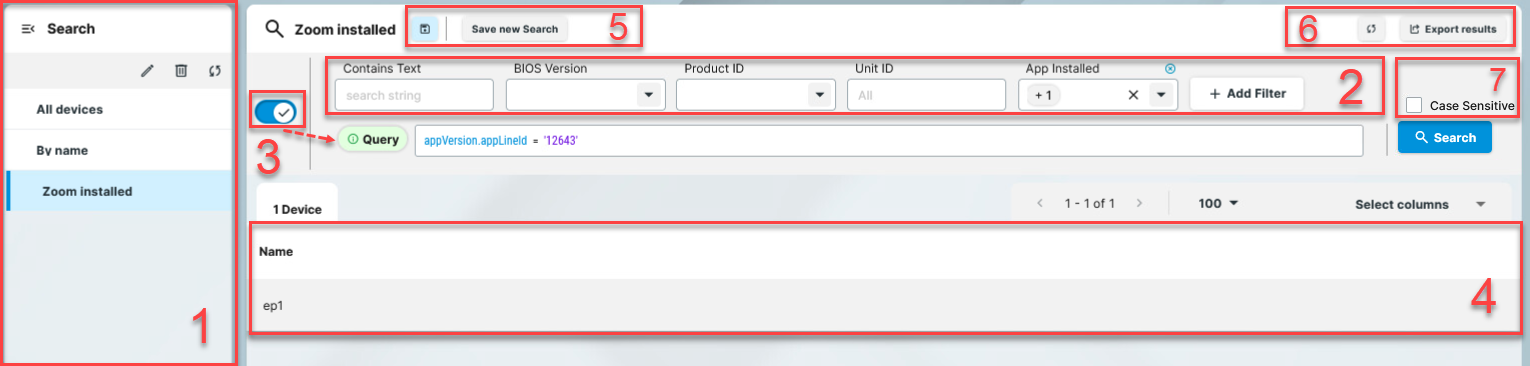
| 1 | List of searches | You can find here the list of all searches that you saved using the Save new Search button. The All devices list shows all the devices registered in the UMS with no values specified for the filters.
|
| 2 | Filter | Shows all filter fields that you added via the Add Filter button.
Currently, the number of criteria that you can add via the Add Filter button is limited. You can use more search criteria in the Query field.
|
| 3 | Advanced search | The Advanced search toggle button adds the Query field that you can use for complex searches. The main features of the query:
For details, see How to Use Advanced Search for Complex Queries. |
| 4 | Search results | Lists the devices that fulfill the specified search criteria. Clicking a device name opens a new browser tab showing the information on this device, see Devices - View and Manage Your Endpoint Devices in the IGEL UMS Web App. To manage the list, you have the following options:
|
| 5 | Save search | Clicking the Save new Search button saves your current search so that you can access it via the list of searches. Clicking the Save Changes icon saves the changes you made in the already saved search. |
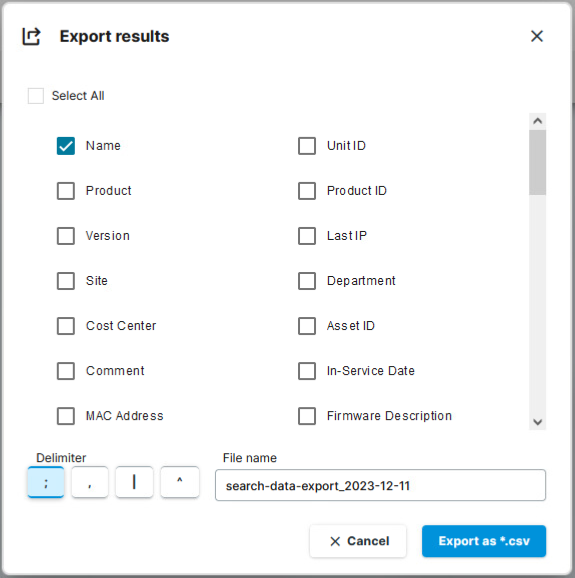
| 6 | Export search results | Clicking the Export results button opens an Export results dialog, where the parameters and delimiters for the CSV export file can be configured. Columns that are selected under Select columns in the search results area are automatically included in the export file if not disabled manually in this dialog.
|
| 7 | Case sensitive search | When Case Sensitive is enabled, all the input in all the text fields is taken case sensitive. When disabled, the search disregards the cases used in the input. To set case sensitive search for selected fields only, you add the cs. prefix to the values in the WQL query. For example: |
How to Add a Search Criterion
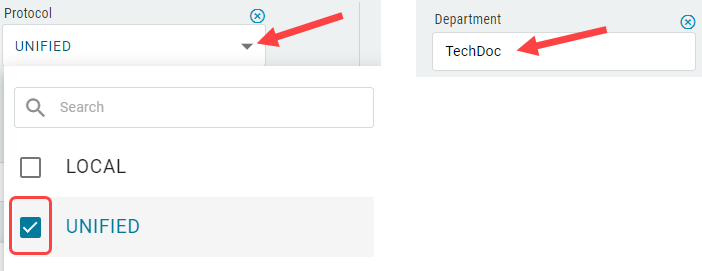
- Click Add Filter and select the required search criterion. To narrow down the list of criteria, start typing the name of the criterion in the Search field:
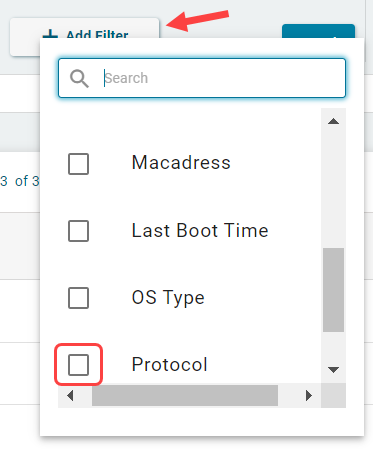
Depending on the criterion, select the value from the dropdown list or type it in the field.
The list of search results automatically updates based on your selection or the value you type.
How to Use the Advanced Search for Complex Queries
Advanced search uses autocompletion that also works when a criterion / operator / value is entered only partially. It will then only show items matching the already entered fragment.
To use the advanced search:

- Activate the Query using the Advanced search toggle button.
- Click in the query field.
The list of available criterion is displayed. - Select the required criterion from the list.
Based on the selected criterion, the list of available operators is displayed. - Select the required operator.
Based on the selected operator, the list of available values is displayed. - Select the value.
To define further criteria, select the logical operator AND or OR.
- After the query is complete, press [Enter] or click Search.
The list of search results updates.
If there is an error in the query, an error message is displayed explaining the problem. You can save the search by clicking Save new Search.
Using Advance Searches in Jobs and Administrative Tasks in the UMS Console
In jobs you can use the saved advance searches as assignment objects. For details, see How to Set Up a New Job and Assigning Objects to a Job
You can use the saved advance searches in the following Administrative tasks:
- Delete Devices
- Export View or Advanced Search Result via Mail
- Save View or Advanced Search Results in the File System
- Assign Objects to the Devices of Views or Device Searches
- Detach Assigned Objects from Devices of Views or Device Searches
- The newly saved searches are shown after the refresh of the UMS Console.
- Updating the advanced search will automatically update the Jobs / Administrative tasks where it is used.