Removing a license from the IGEL License Portal (ILP) and the Universal Management Suite (UMS) does not remove it from the device. In this guide, you will learn how to remove the license from the IGEL License Portal, sync that to the UMS, and then remove the license from the IGEL device.
Environment
-
IGEL OS 11.01.100 or higher
-
UMS 6.01 or higher
Detailed Instructions
The procedure varies, depending on whether the licenses have been deployed via Automatic License Deployment (ALD) or manually. Make sure to select the instructions that are appropriate for your case.
Removing the License from the IGEL License Portal (License Has Been Deployed via Automatic License Deployment)
The first step to completely removing a license from a device is to remove it from the IGEL License Portal (ILP).
-
Identify the unit ID of the device you wish to remove from the Product Pack.
To copy the unit ID from the UMS Console to the clipboard, go to Devices > [device name] > Advanced System Information, select the value of Unit ID, and press [Ctrl] + [C].
-
Log in to https://activation.igel.com.
-
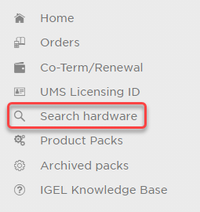
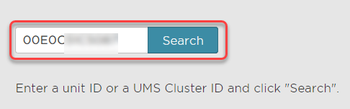
Click Search hardware in the left navigation bar, enter the unit ID, and click Search.
A list of Product Packs the device is associated with is shown.
-
Click the arrow icon of the license pack you want to remove the device from.

-
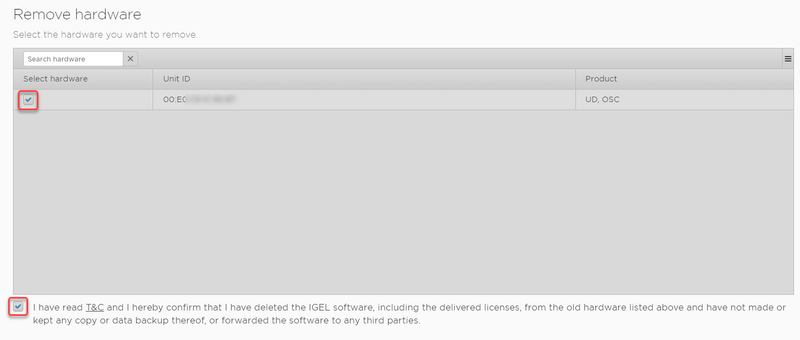
In the Manage dialog, click the Remove hardware button.

-
Check the box next to the unit ID of the device, confirm that you have read the Terms & Conditions, and click OK.
-
Continue with Removing the Device License from the UMS.
Removing the License from the IGEL License Portal (License Has Been Deployed Manually)
The first step to completely removing a license from a device is to remove it from the IGEL License Portal (ILP). If the license has been deployed manually, the license file must then be downloaded and registered with the UMS again.
-
Identify the unit ID of the device you wish to remove from the Product Pack.
To copy the unit ID from the UMS Console to the clipboard, go to Devices > [device name] > Advanced System Information, select the value of Unit ID, and press [Ctrl] + [C].
-
In your browser, navigate to https://activation.igel.com and log in with your account.
-
Click Search hardware in the left navigation bar, enter the unit ID, and click Search.
.png?cb=95fbc85f556aff937cb0947b9ee40dc2)
.png?cb=1a31a4b40da659b9951655c65e9fb0b1)
A list of Product Packs the device is associated with is shown.
-
Click the arrow icon of the license pack you want to remove the device from.
.png?cb=aaa347be88e78307136ae9d179229864)
-
In the Manage dialog, click the Remove hardware button.
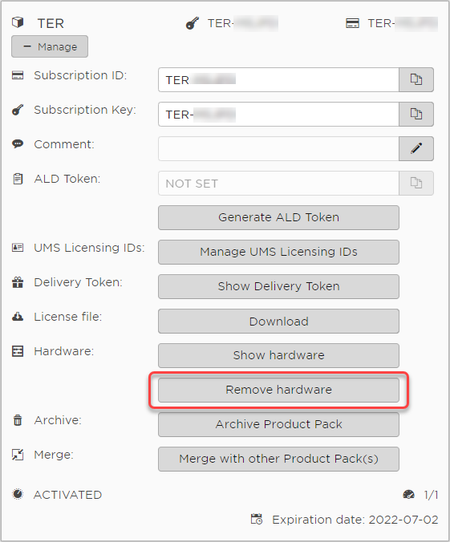
-
Check the box next to the unit ID of the device, confirm that you have read the Terms & Conditions, and click OK.

-
If the Product Pack has zero activated licenses after you have removed the hardware, you must add another hardware now. Otherwise, you will not be able to download the license file.
-
Download the license file and store it on a drive that can be reached by the UMS Server.

-
Continue with Removing the Device License from the UMS.
Removing the Device License from the UMS
-
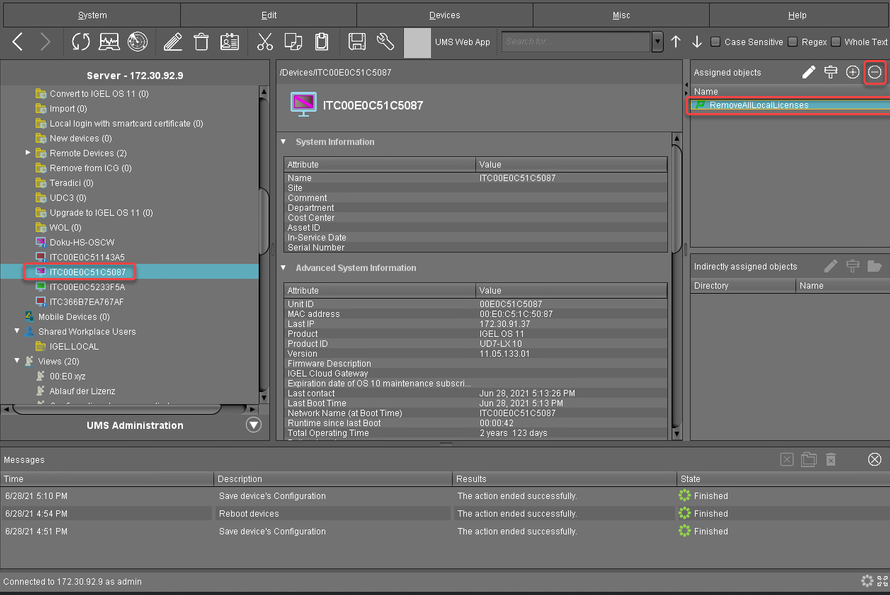
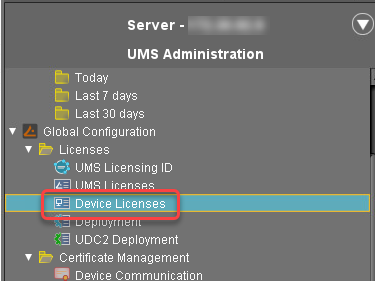
In the UMS Console, open UMS Administration and go to Global Configuration > Licenses > Device Licenses.
-
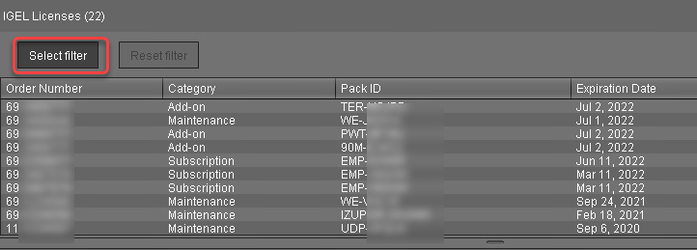
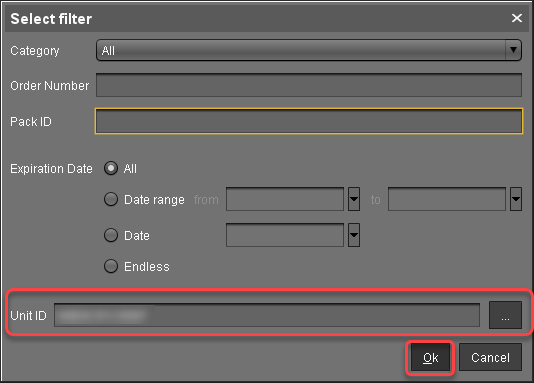
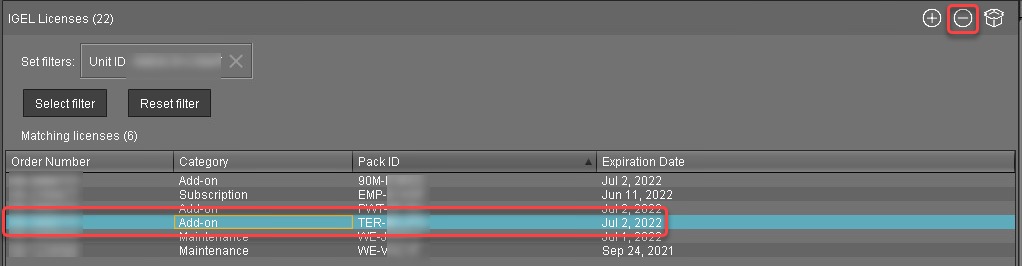
Click the Select filter button, enter the unit ID of the device, and click Ok to locate the device you want to remove.
You can also use the ![]()
-
Select the license you wish to release and then click the minus button in the top right.
-
Make sure that no Product Pack has Automatic License Deployment (ALD) enabled without conditions. Otherwise, the device may get re-licensed. For details, see How to Configure the Distribution Conditions of Licenses in IGEL.
-
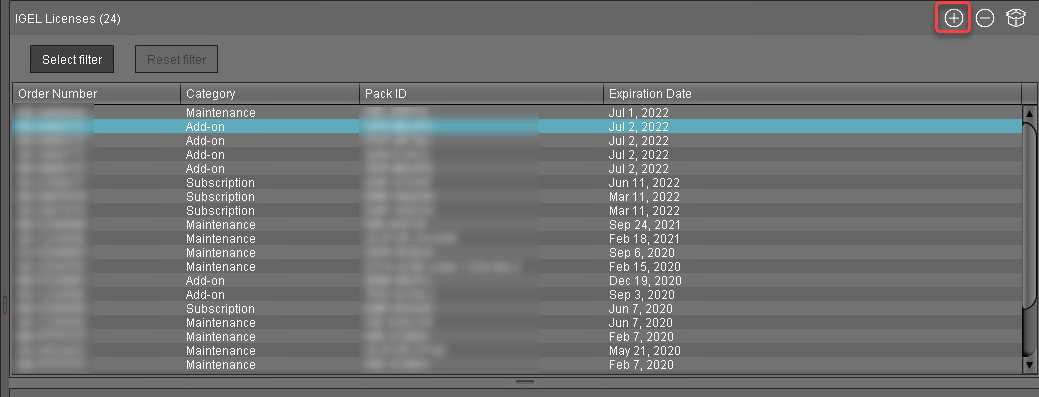
Click

-
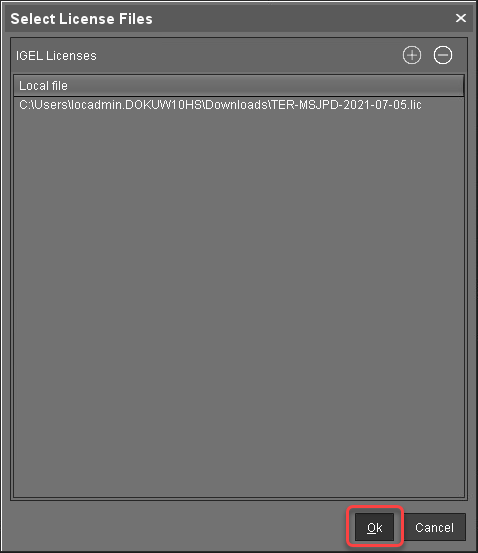
In the Select License Files dialog, click
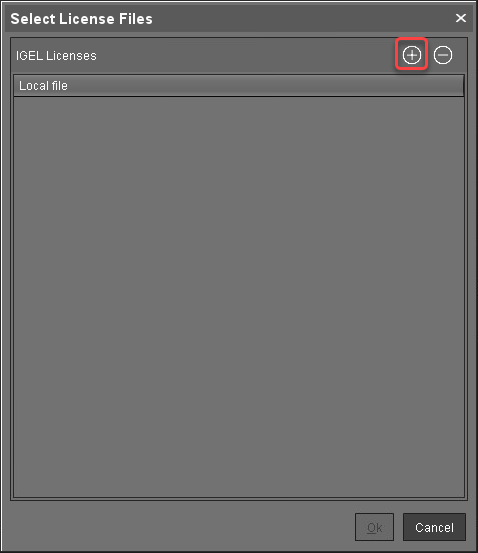
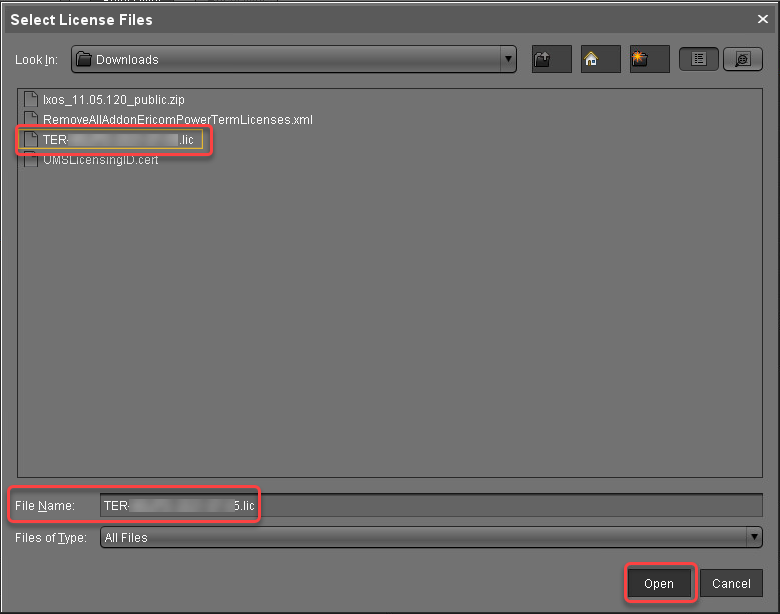
-
Continue with Removing the IGEL Local License File from Your Device.
Removing the IGEL Local License File from Your Device
Now that you have removed the license from the license portal and the UMS, you can move forward with removing the device's local copy of the license. This will be done via a profile that has the appropriate custom commands.
-
Download the right profile for your purposes:
|
Licenses to be removed |
Profile |
|---|---|
|
Remove all 90meter add-on licenses |
RemoveAllAddon90MeterLicenses.zip
|
|
Remove all Enterprise Management licenses |
RemoveAllEnterpriseManagementPackLicenses.zip
|
|
Remove all Ericom PowerTerm add-on licenses |
RemoveAllAddonEricomPowerTermLicenses.zip
|
|
Remove all evaluation licenses |
|
|
Remove all licenses |
|
|
Remove all Teradici add-on licenses |
RemoveAllAddonTeradiciLicenses.zip
|
|
Remove all Workspace Edition licenses |
RemoveAllWorkspaceEditionLicenses.zip
|
-
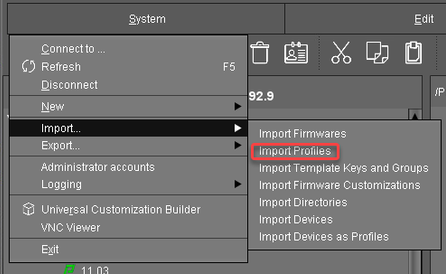
In the UMS Console, select System > Import > Import Profiles.
-
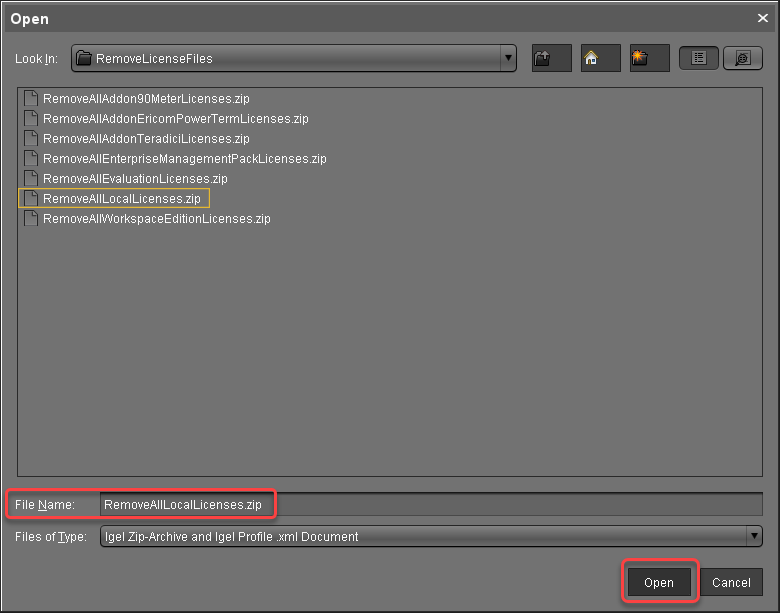
Select the zipped profile and click Open.
-
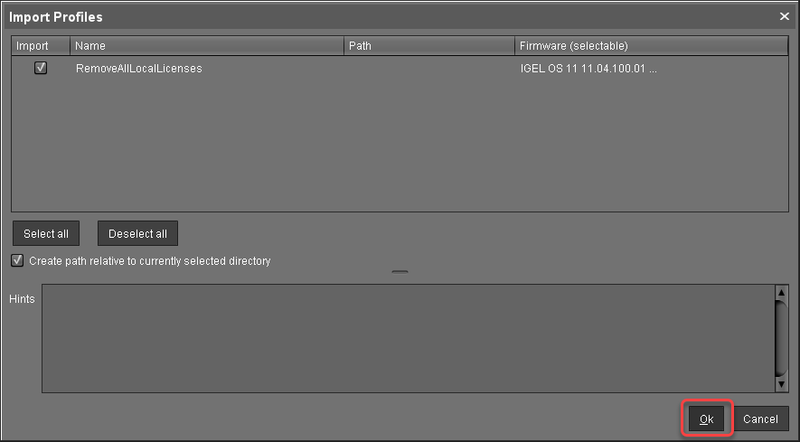
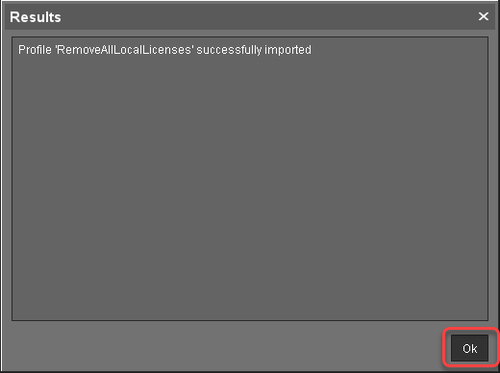
Review the next dialog and, if everything is correct, click Ok.
-
Click Ok to close the confirmation dialog.
-
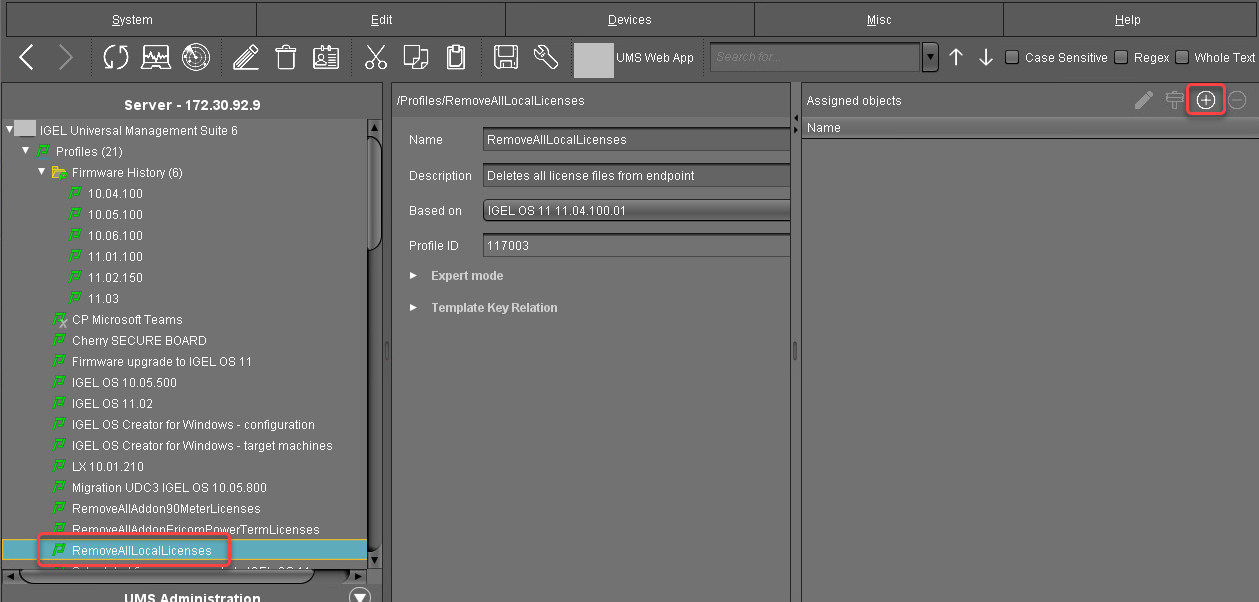
In the structure tree, select the removal profile and click the

You can only assign one removal profile to devices at a time.
-
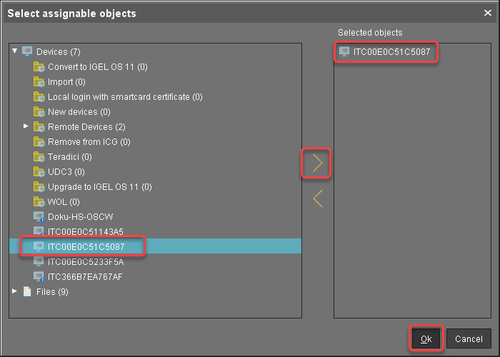
Select the devices from which you want to remove the license files and click Ok.
-
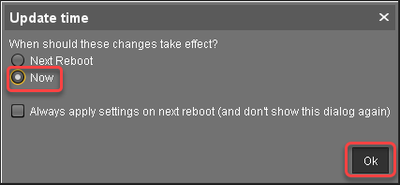
In the Update time dialog, select Now and click Ok.
-
In the structure tree, select the devices from which you want to remove the license files, and then select Reboot from the context menu.
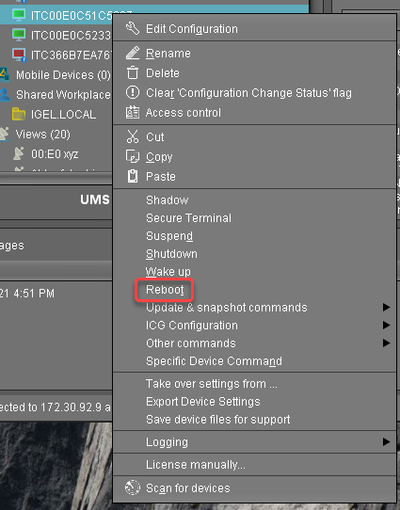
During system startup, the license files are removed from the device.
-
Remove the profile from the device. Once the profile is removed, you can license the device with another product pack if you want, see Deploying Licenses.
It is important to remove the profile once the license files are removed and before the device gets licensed again.